
We are eager to get back in the field teaching classes and guiding trips, but until that time, we’ll be working on honing our skills close to home. Actually, I’ve studied and practiced wilderness survival skills close to home for decades. Sure, they may help me stay alive, but I’ve also found that practicing many of these skills is just plain fun! They provide a chance to connect with nature, enjoy the sense of accomplishment that comes with learning, and feel the rewards of working with your hands instead of staring at a screen. A chance to go deeper into building my skills and knowledge, and connection with the wild world, practicing techniques such as friction fires to knife handling to navigation tactics, when I don’t have a chance to go farther away for a wilderness trip.
Check out these five areas of wilderness skills that can help you enjoy your time in the woods, are fun to practice at home, and may even save your life!
Navigation
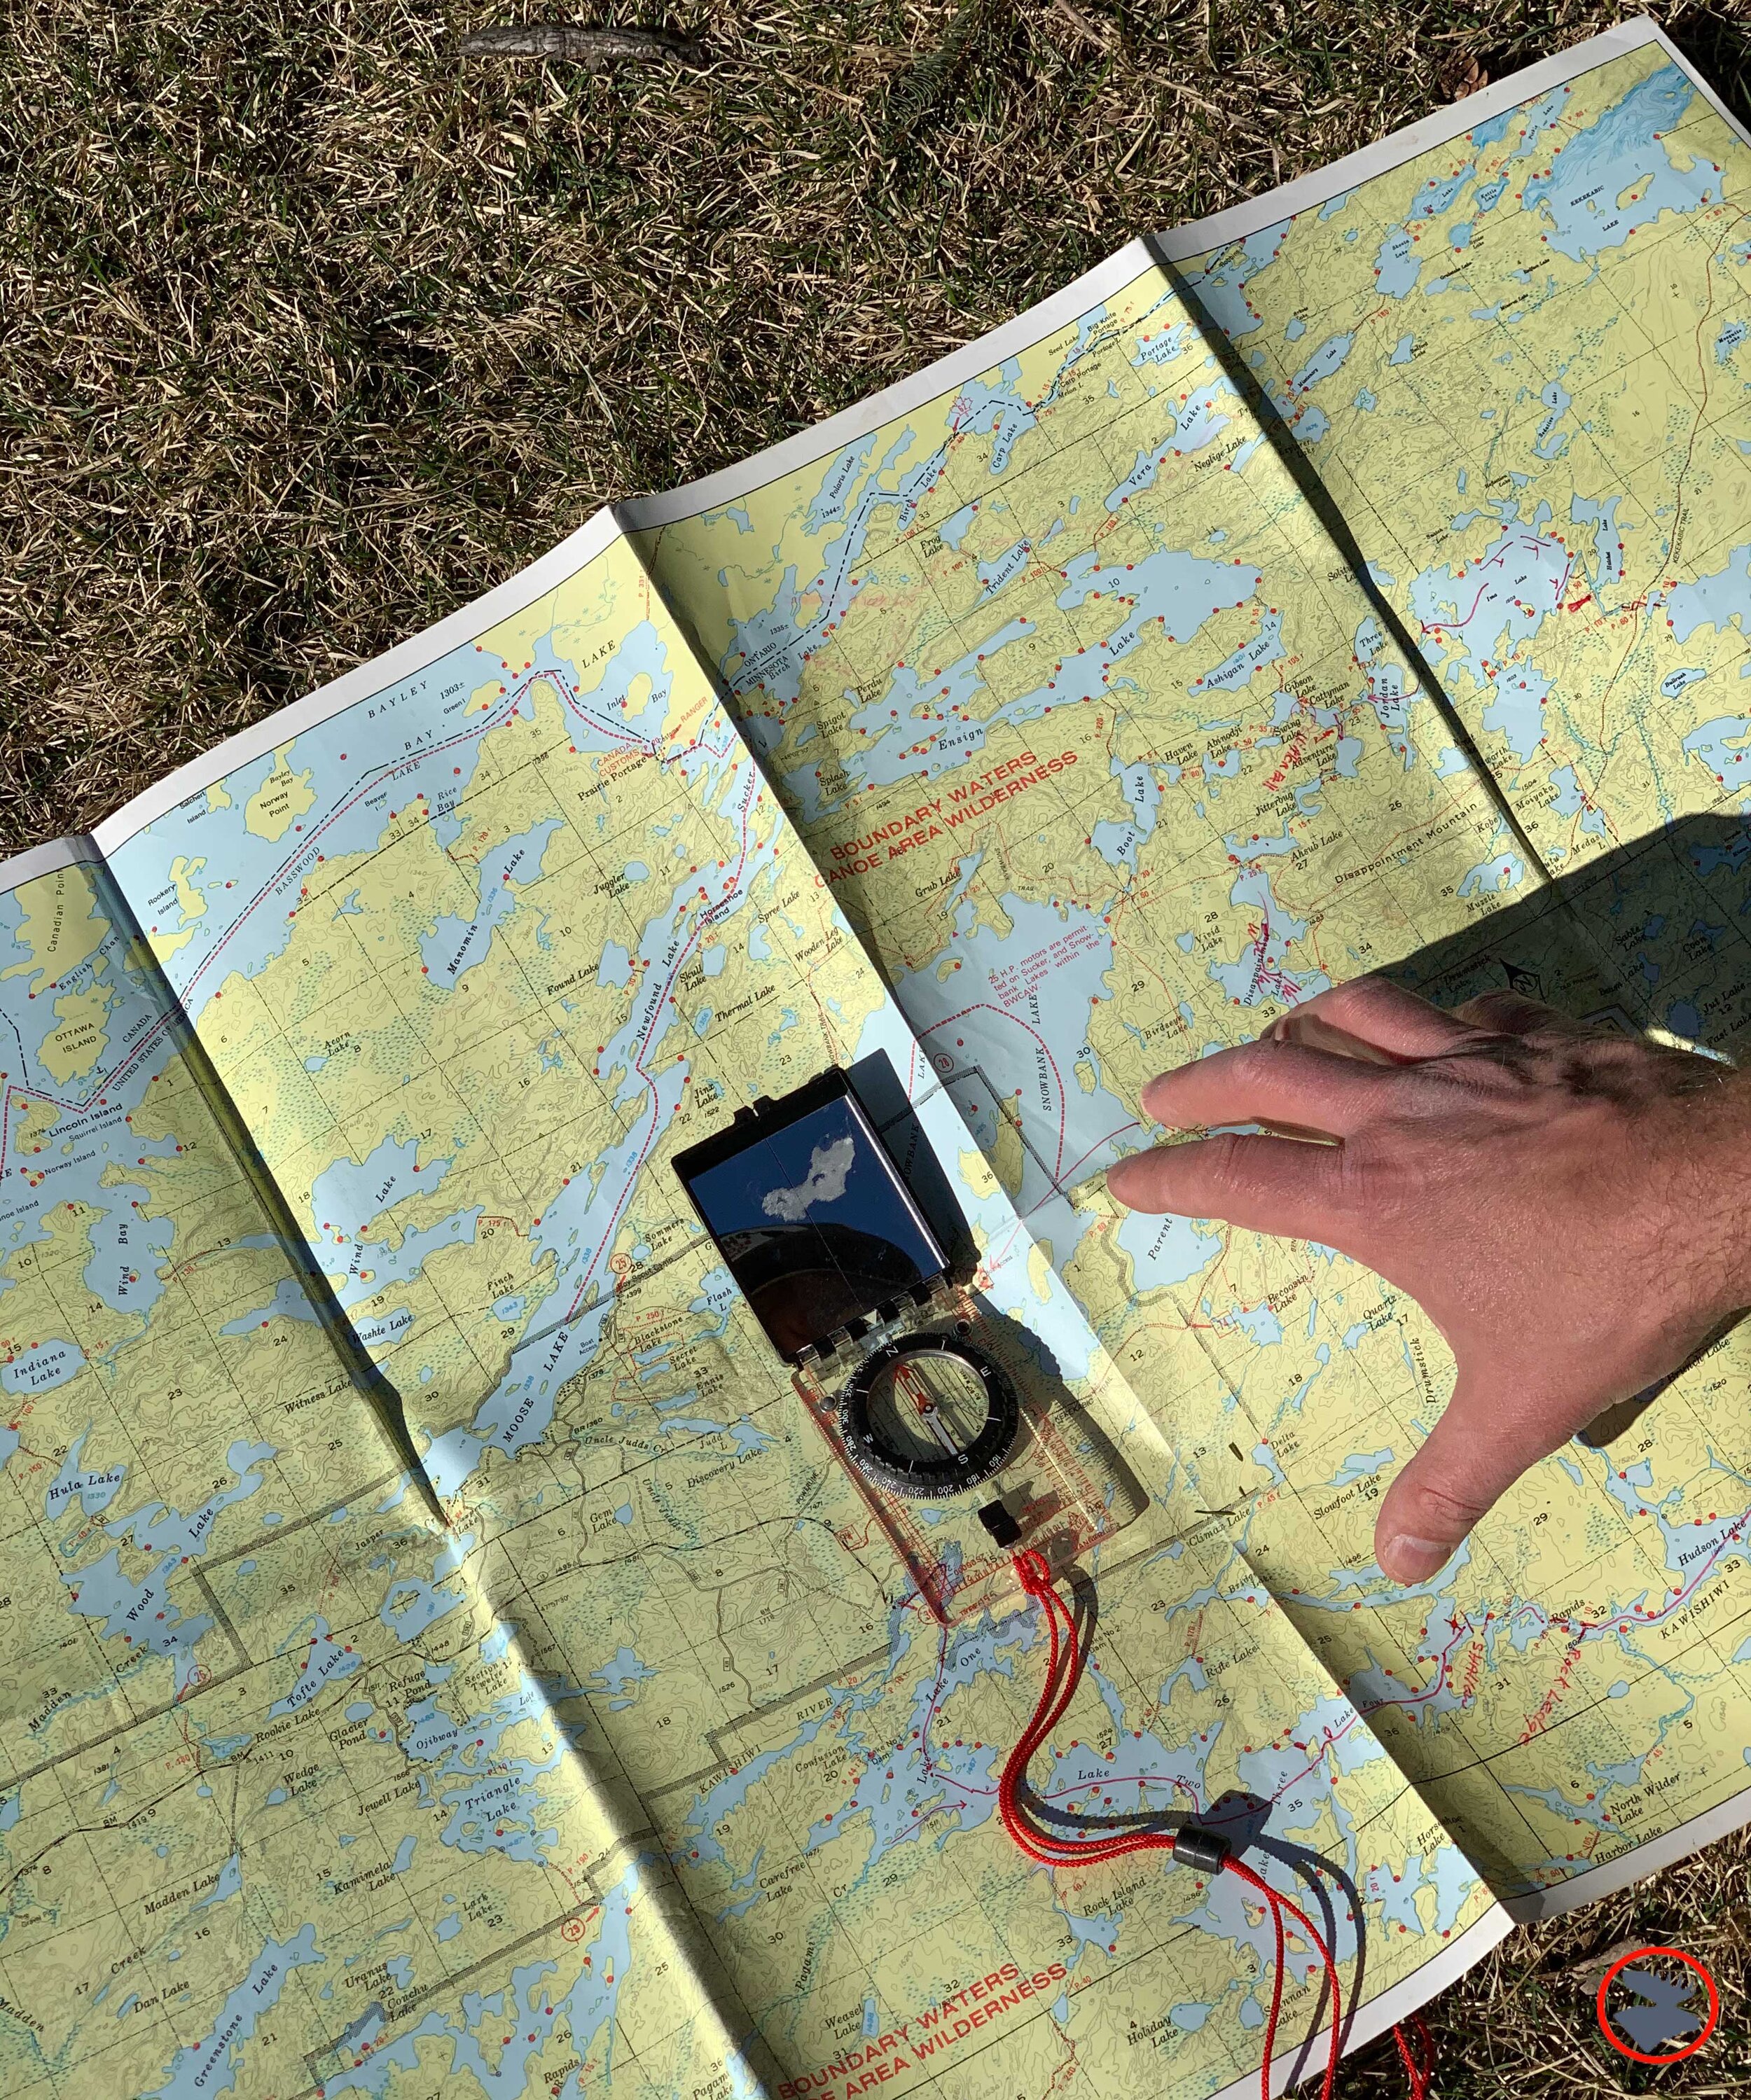
There are many reasons to have solid map and compass skills. Relying solely on your phone’s map is not a good idea. Many urbanites are surprised to learn that if they venture afield, they actually run into areas without cell coverage! Once they come to terms with that unimaginable reality, there’s also the issue of batteries dying (which happens quickly in the cold) and phones dying when they get wet.
Map and compass skills are somewhat perishable. Even if you learned land navigation during your Boy Scouts days or time in the military, chances are good that you could use a refresher. Getting lost, feeling confused, and becoming panicked as darkness falls in the middle of the wild is no time to realize that your orienteering skills are outdated!
Practice Pointers
Know your compass and how to read a map.
Learn the difference between compass types (unless you have a military background, most people will be better with an orienteering-style compass) and the compass features. Learn to understand map scale, contour lines on topographic maps, and map symbols. Understand magnetic declination and how to adjust for it.
Take a bearing. Learn how to take a bearing and back (reciprocal) bearing with a compass. These simple steps can help you find your way to a road or trail if you need to bushwhack.
Use map and compass together. Learn the “Silva 1-2-3 Method,” which is a great starting point! Also, learn how orient a map and compass.
Navigation techniques. Learn how to measure distance in the field. Learn how to establish a baseline, “aim off,” use “handrails,” and box around obstacles.
Natural navigation. Using nature’s clues to obtain a sense of direction can be challenging and will heighten your sense of awareness and observation. I don’t advise eschewing map and compass for natural navigation, but instead add it to your quiver of skills and abilities. Check out Tristan Gooley’s (“The Natural Navigator”) fascinating teaching in this area!
Fire Making
If you’ve ever asked “does anyone have a fire starter?” or used gas or lighter fluid to start a fire, this one’s for you. Learning how to start a fire in any condition is a critical life-saving skill that all wilderness enthusiasts should know! Plus, being able to skillfully create and manage a fire can bring about a deep primal pride and joy. I’ve noticed an interesting dynamic, fire-making and managing skills, even amongst experienced outdoors people, are generally very poor these days. Yet, at the same time, with the information and idea sharing available online today, there is also a group for whom primitive fire-making is a hobby and an art form, and they have developed remarkable proficiency in creating the element of fire!
Practice Pointers
Principle of fire making. Necessary elements: heat, oxygen, and fuel to burn. Grading of firewood: tinder, kindling, and larger fuel wood.
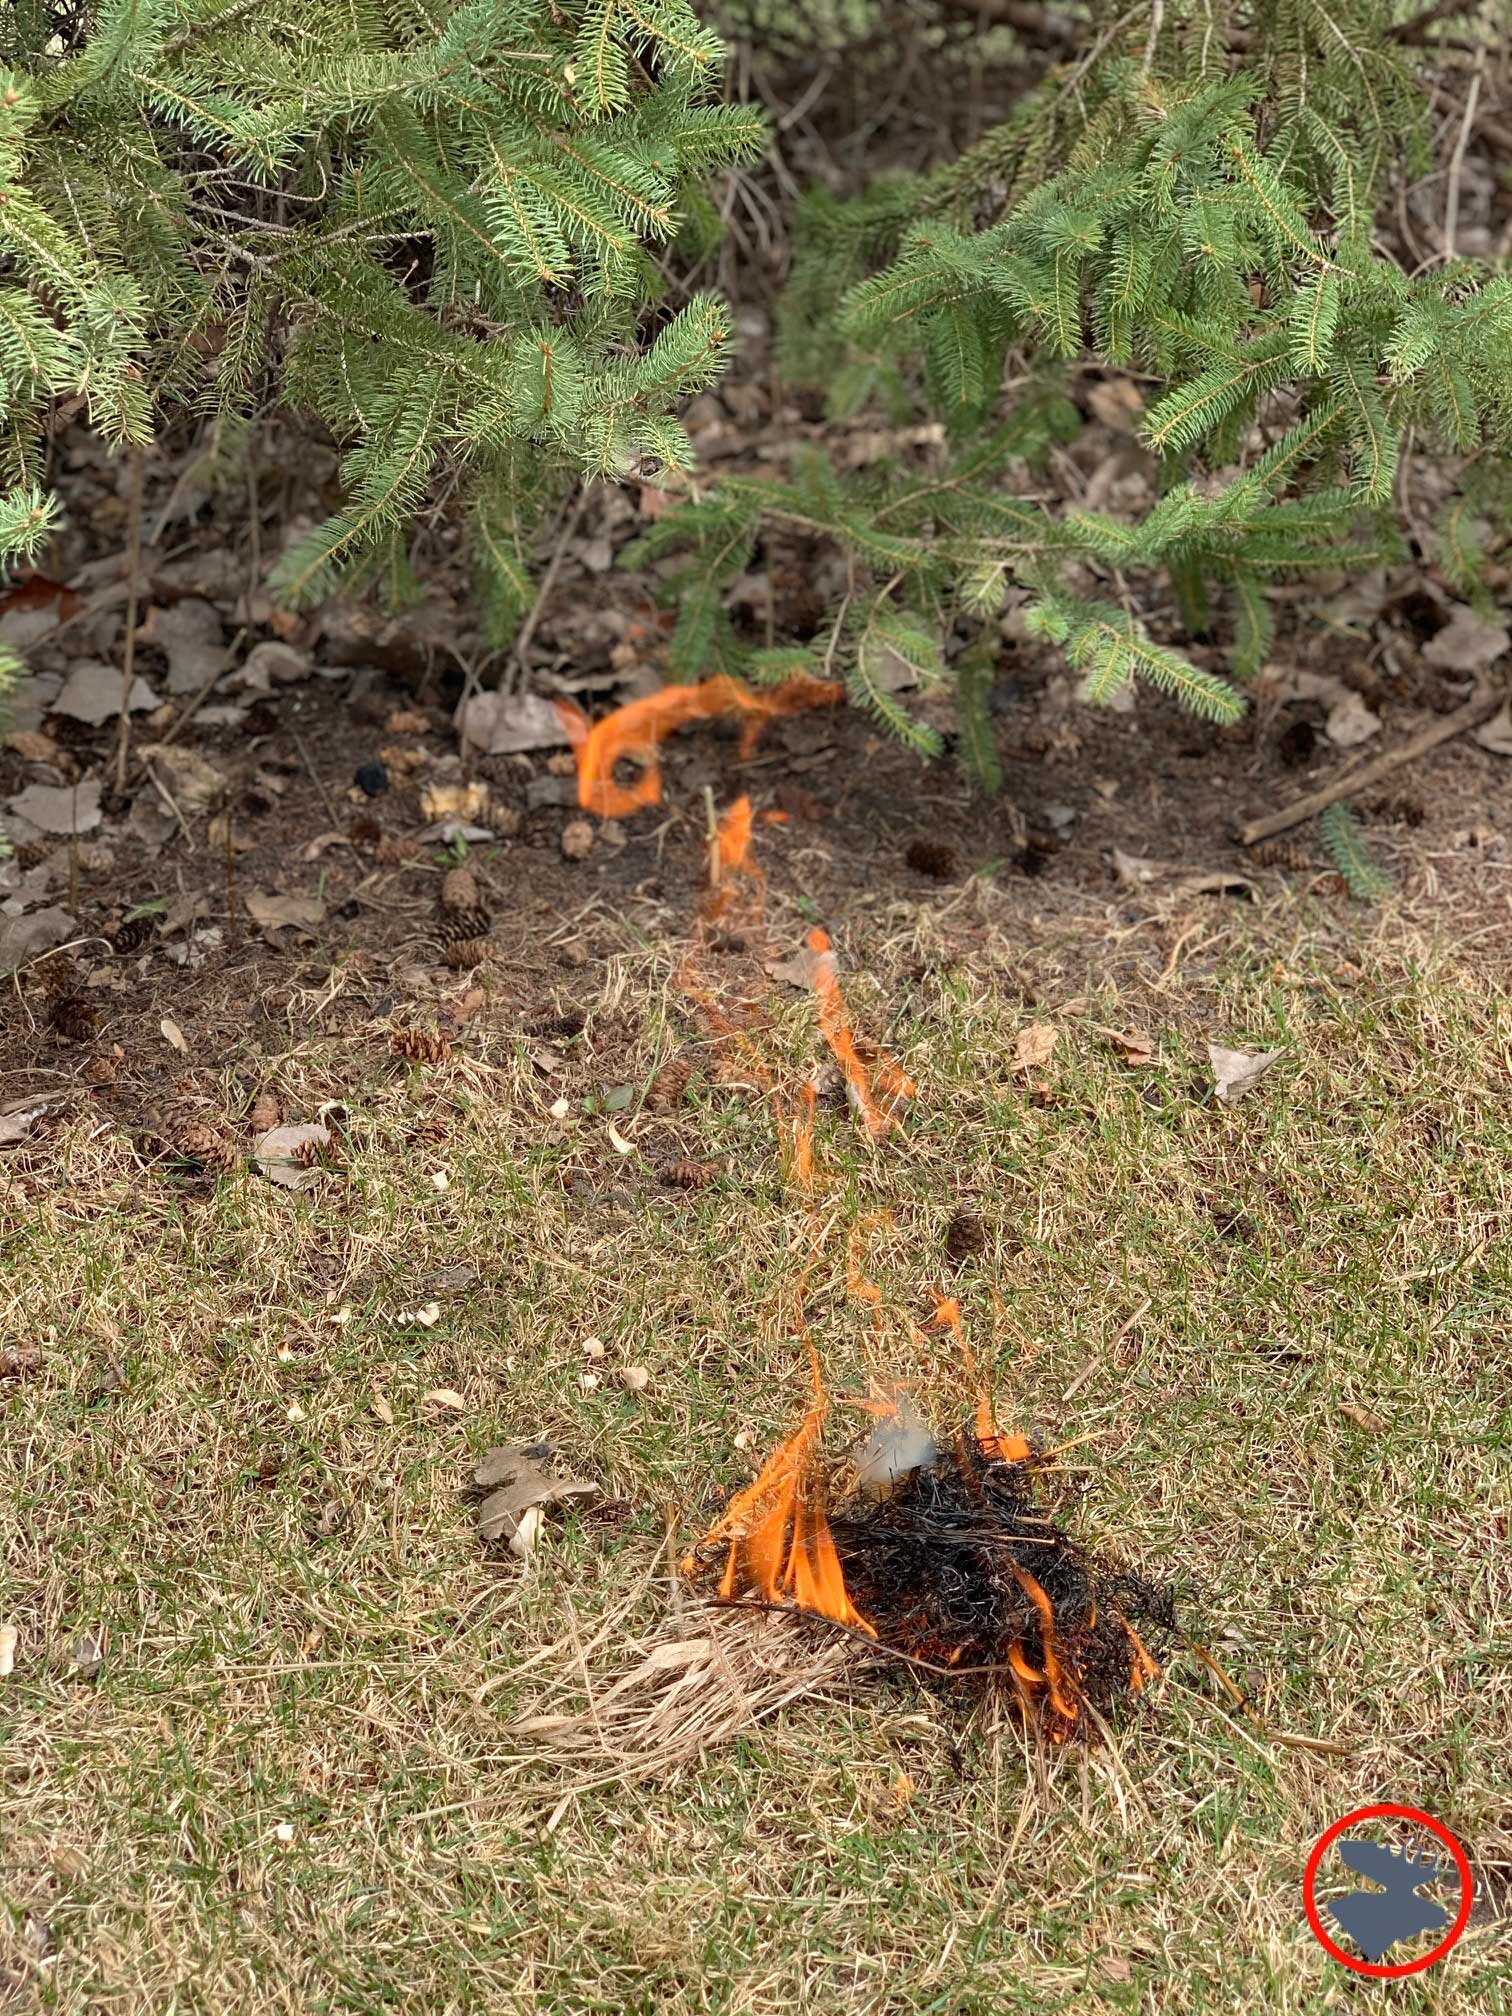
How to build a fire. The classic teepee fire arrangement is alright, but I’ve come to believe that the “platform and brace” is a better approach in most cases. It’s quicker, protects the fire from the wet and cold ground when it is vulnerable and in its infancy. It also allows for good air flow.
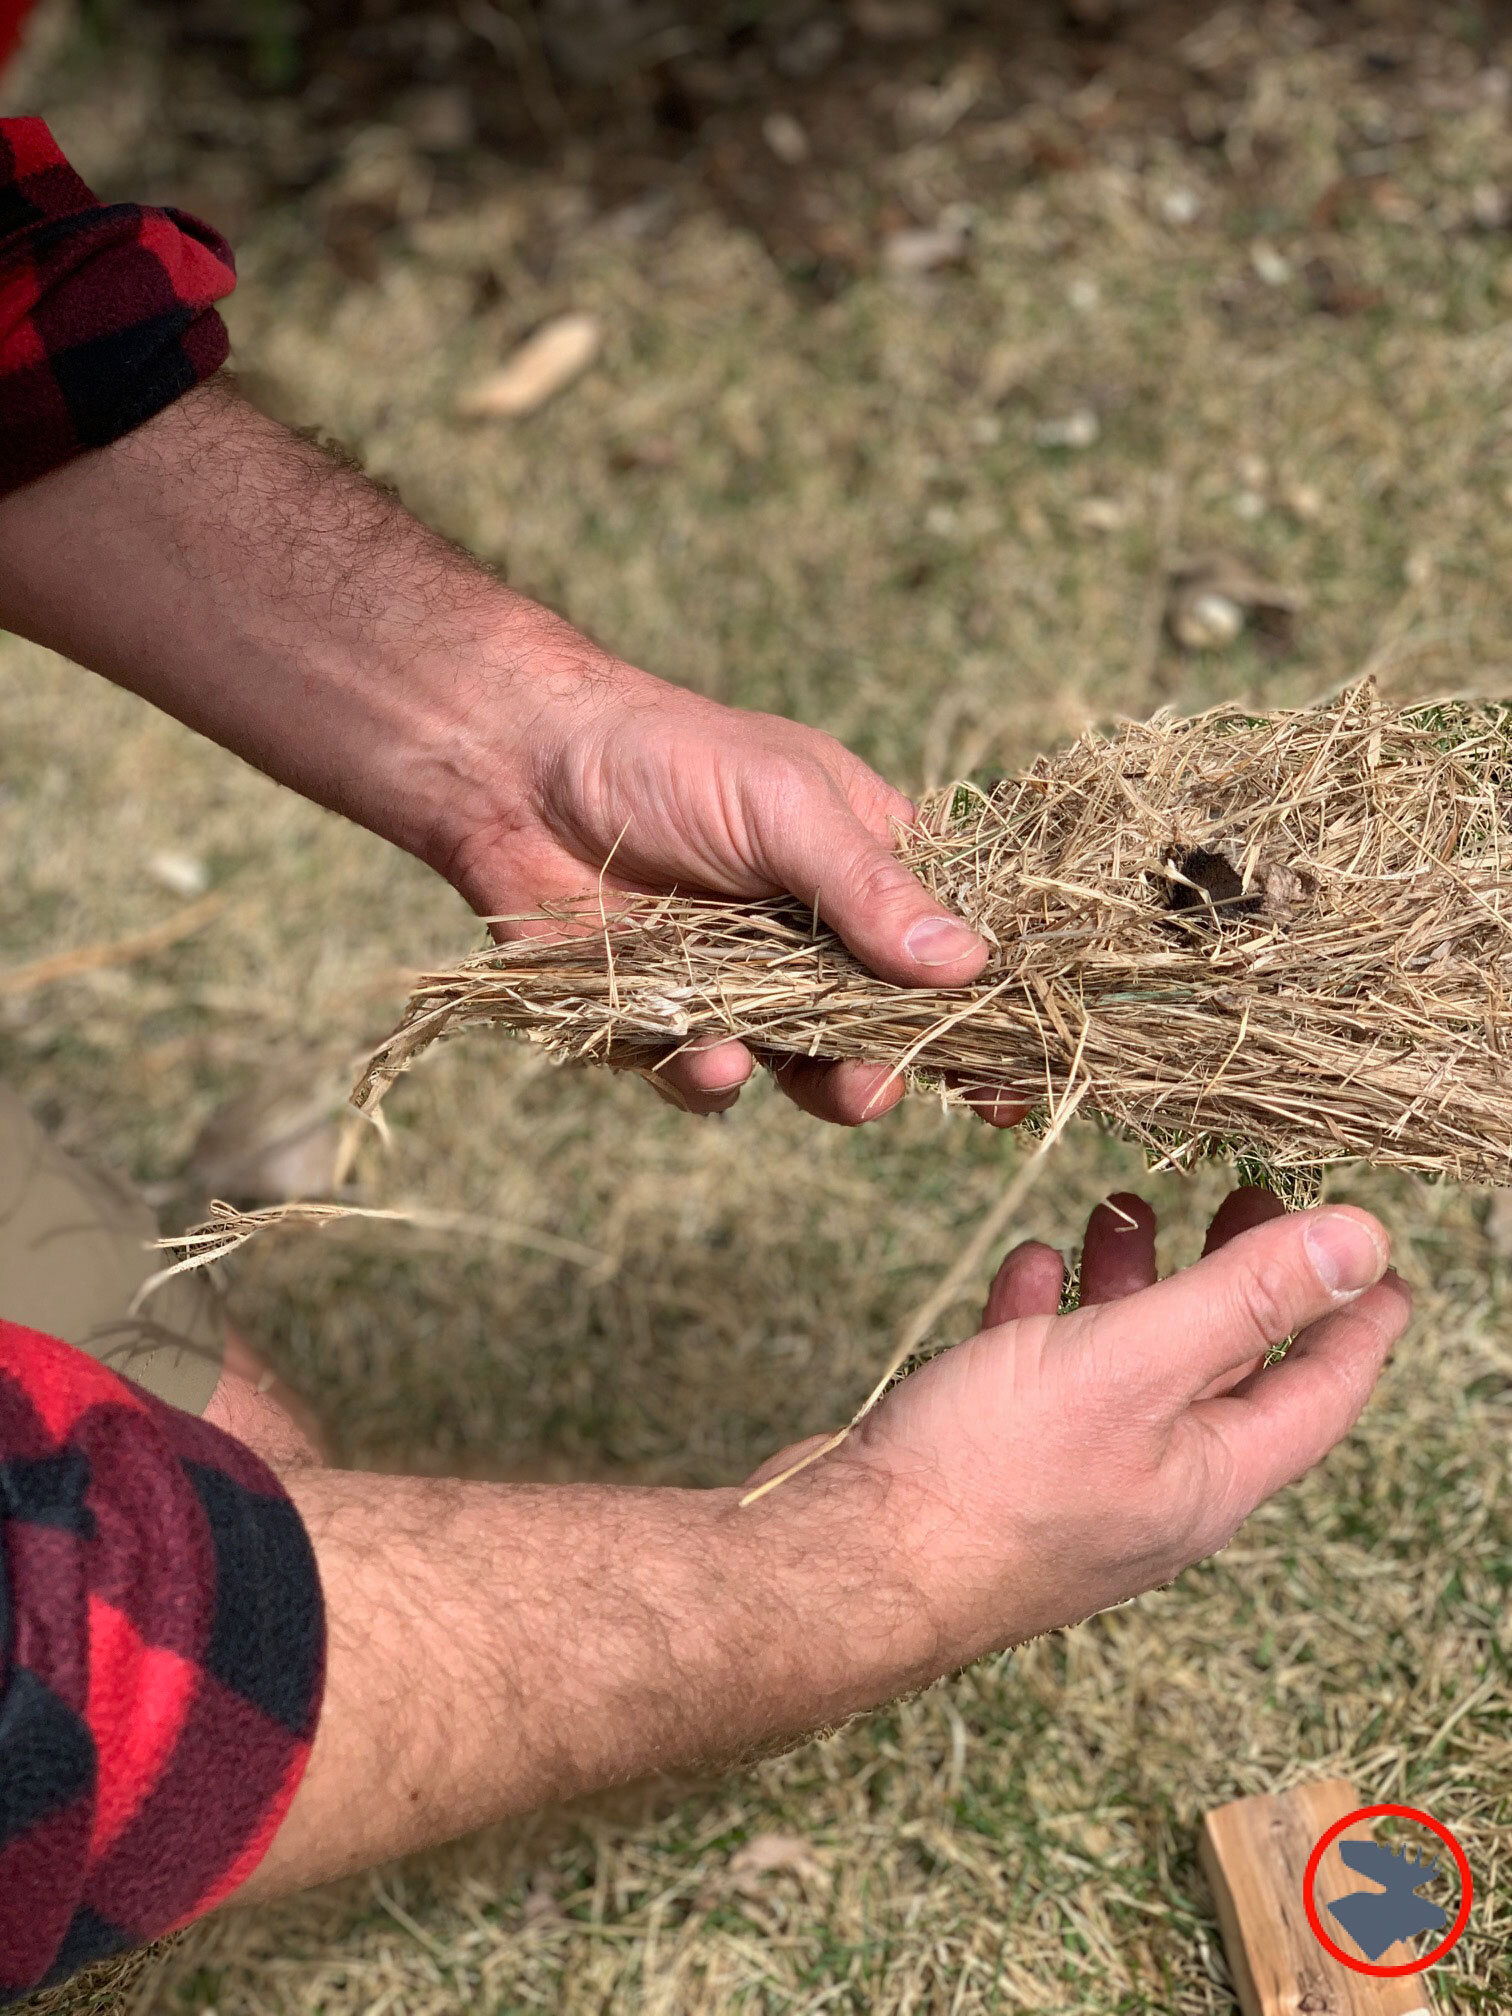
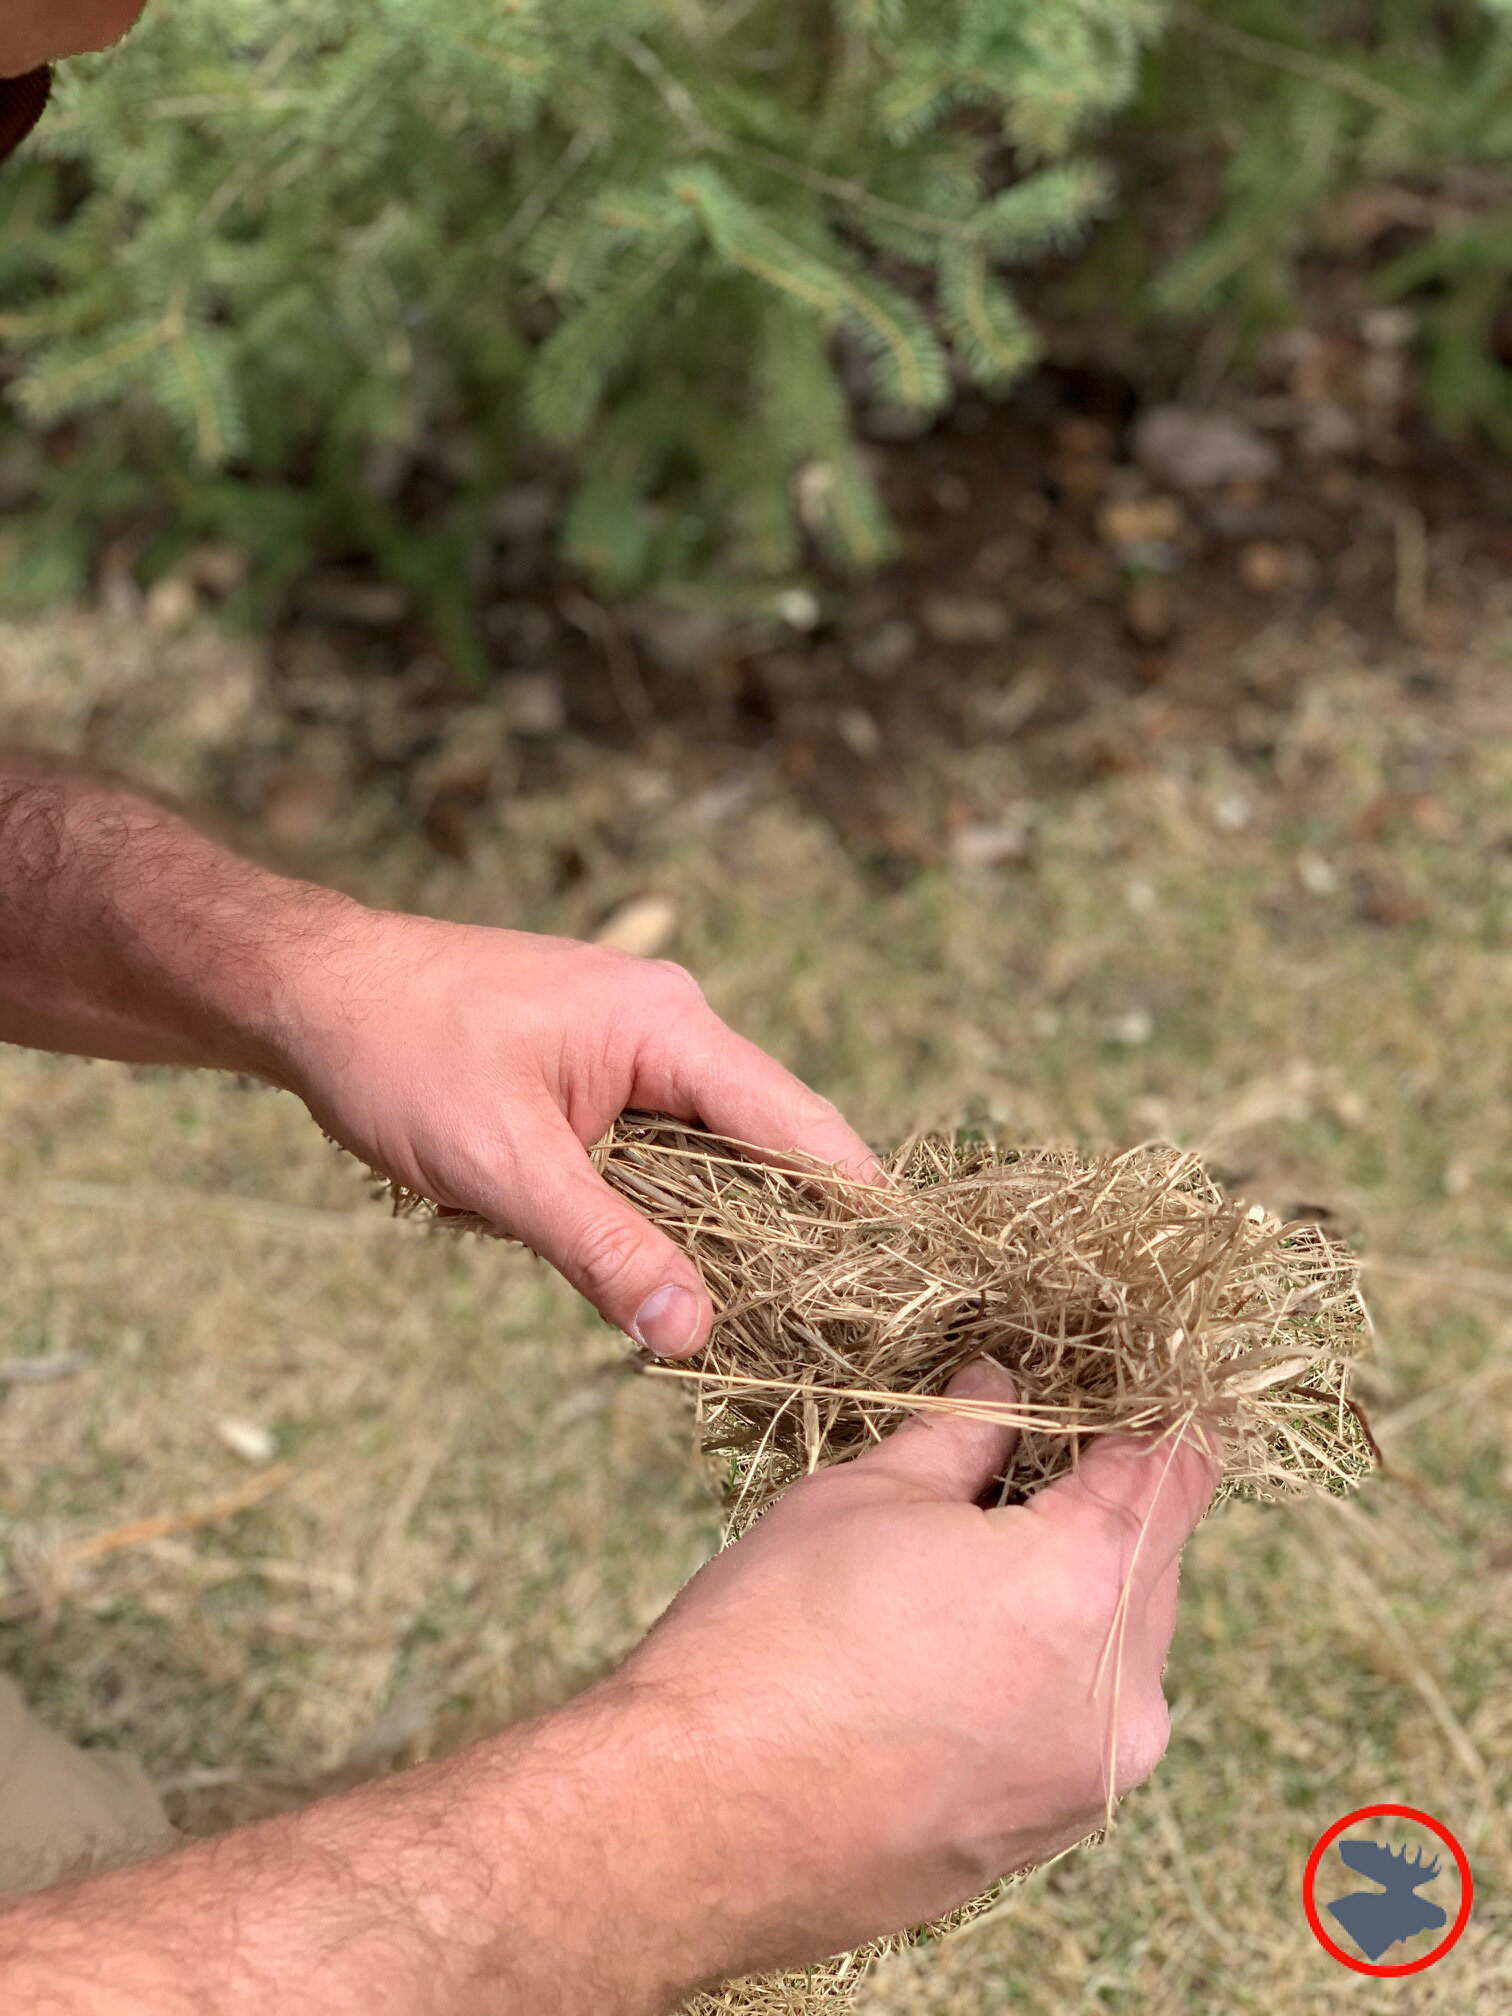
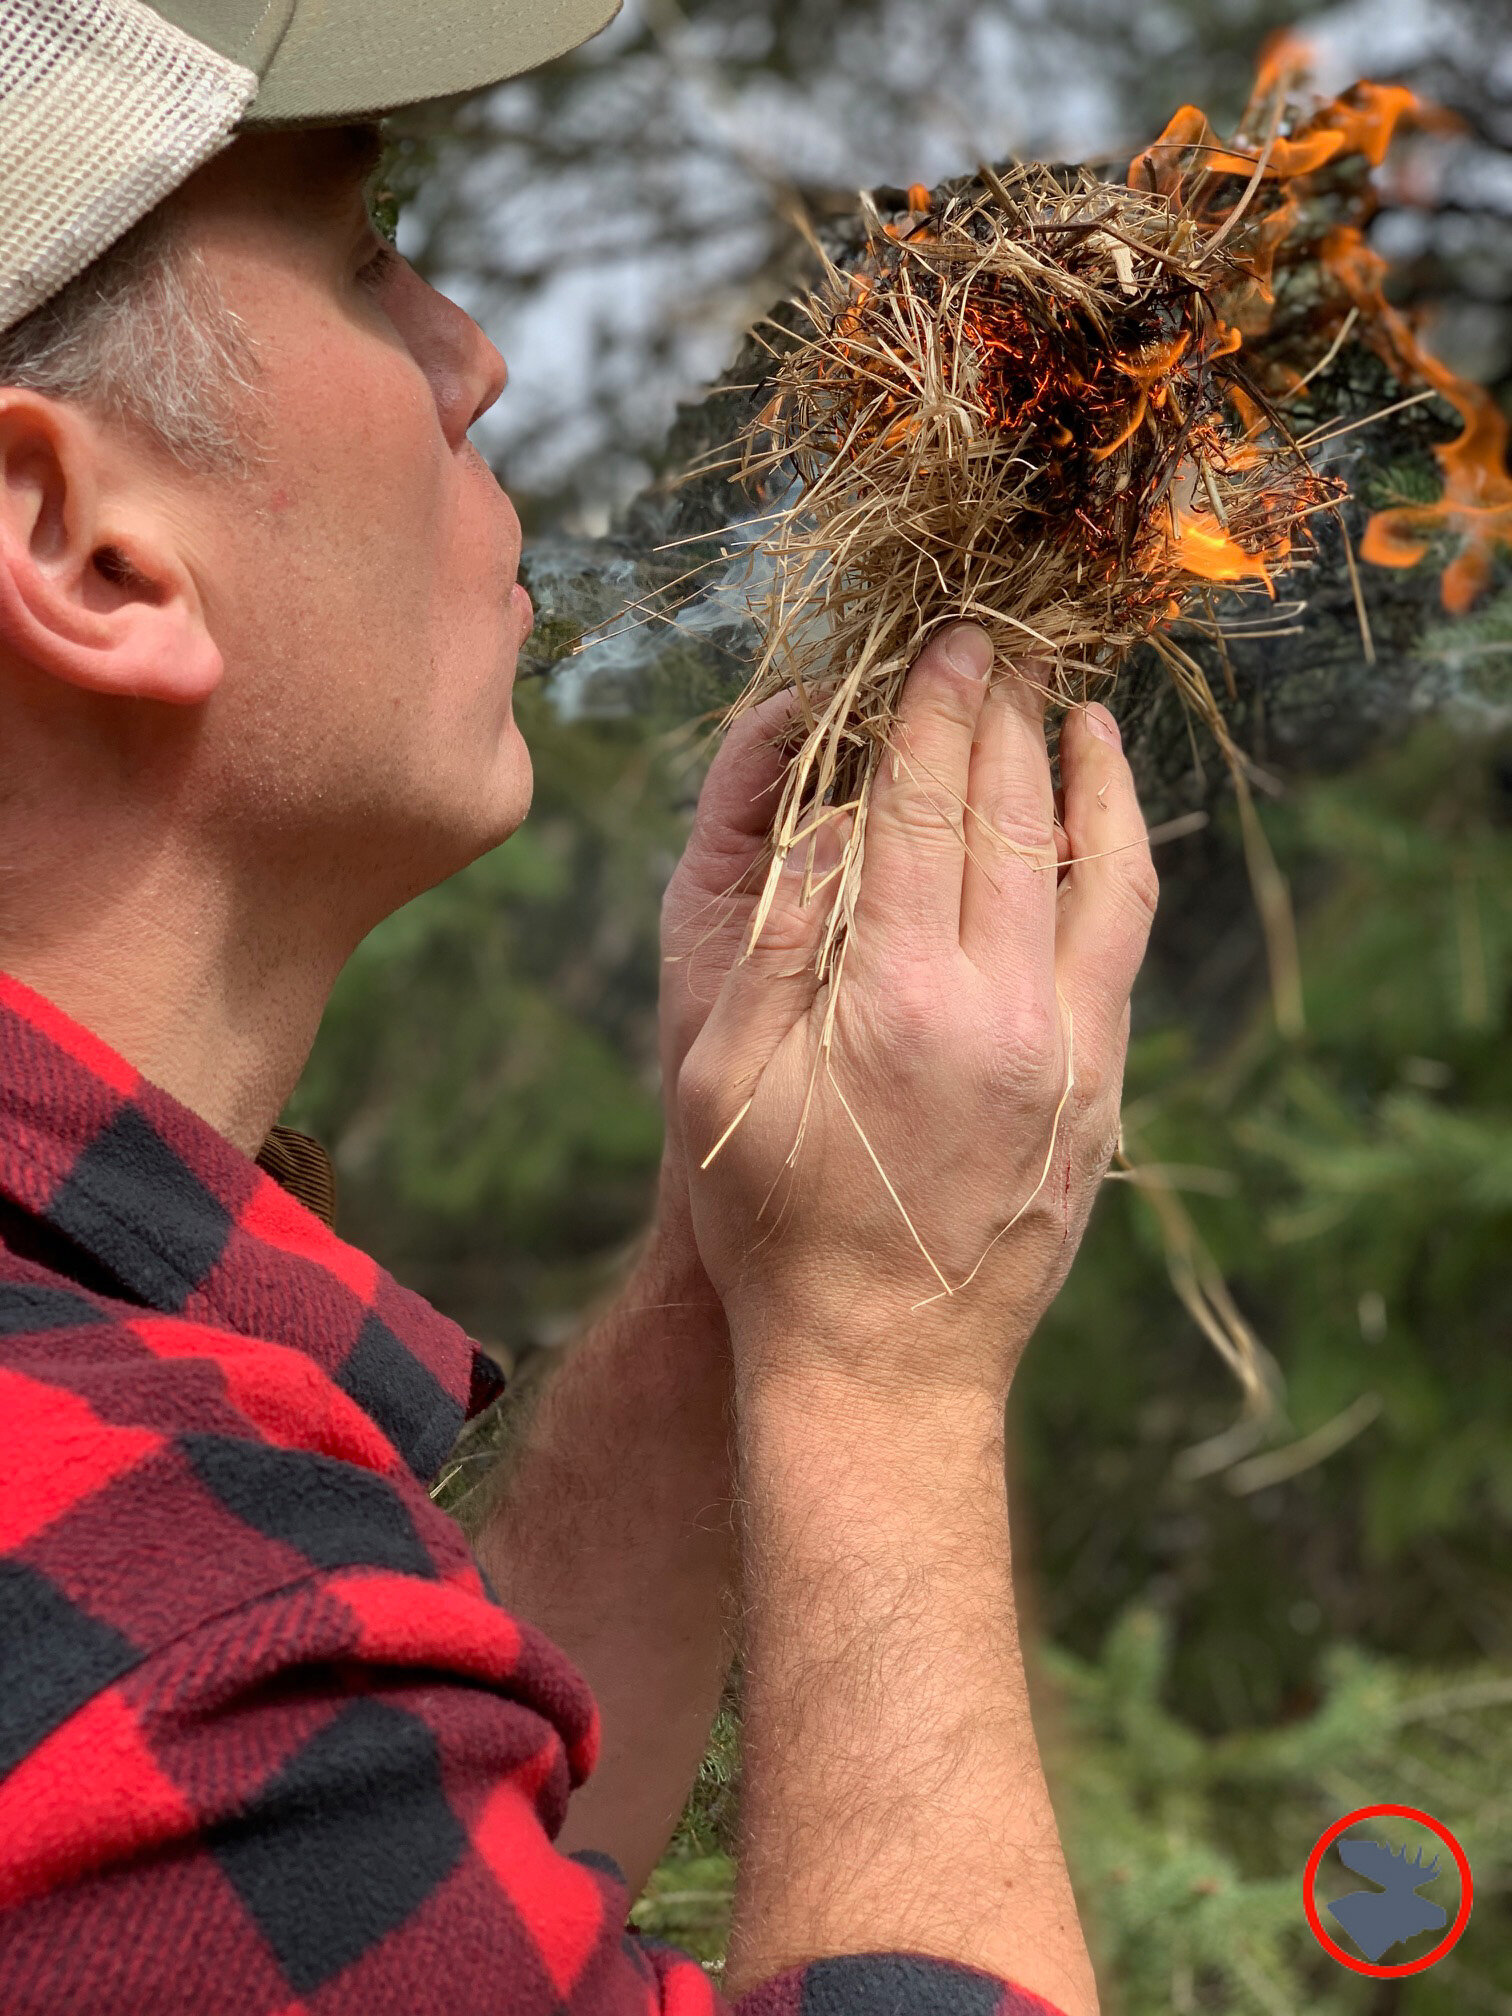
Tinder master! Master the natural tinders in your region! Cattail fuzz, shredded dried grass, inner poplar or cedar bark, along with a myriad of other natural materials can serve as excellent tinder to help ignite your fires—if you know to look for them! Always carry some emergency man-made tinder (Vaseline-coated cotton balls in a water proof container are one of my favorites) and a couple sources of ignition (lighter, quality waterproofed matches, ferro rod), but also take the opportunity to practice lighting fires with natural materials whenever possible.
Know your wood. Wood is wood, right? No. Birch can be an excellent firewood, if it is split and dried; however. birch it will also rot within its own bark, and even dead birch will burn poorly if it is encased in its watertight bark and not seasoned. Pines are smokey and sparky, while oak burns long and hot. Getting to know the fuel woods in your region of travel can help improve your camp cooking, and let you enjoy bright and hot fires, instead of smoldering smokey messes! Study the trees and natural materials in your neck of the woods, make a list of desirable species and identifying characteristics, and keep it in your pack.
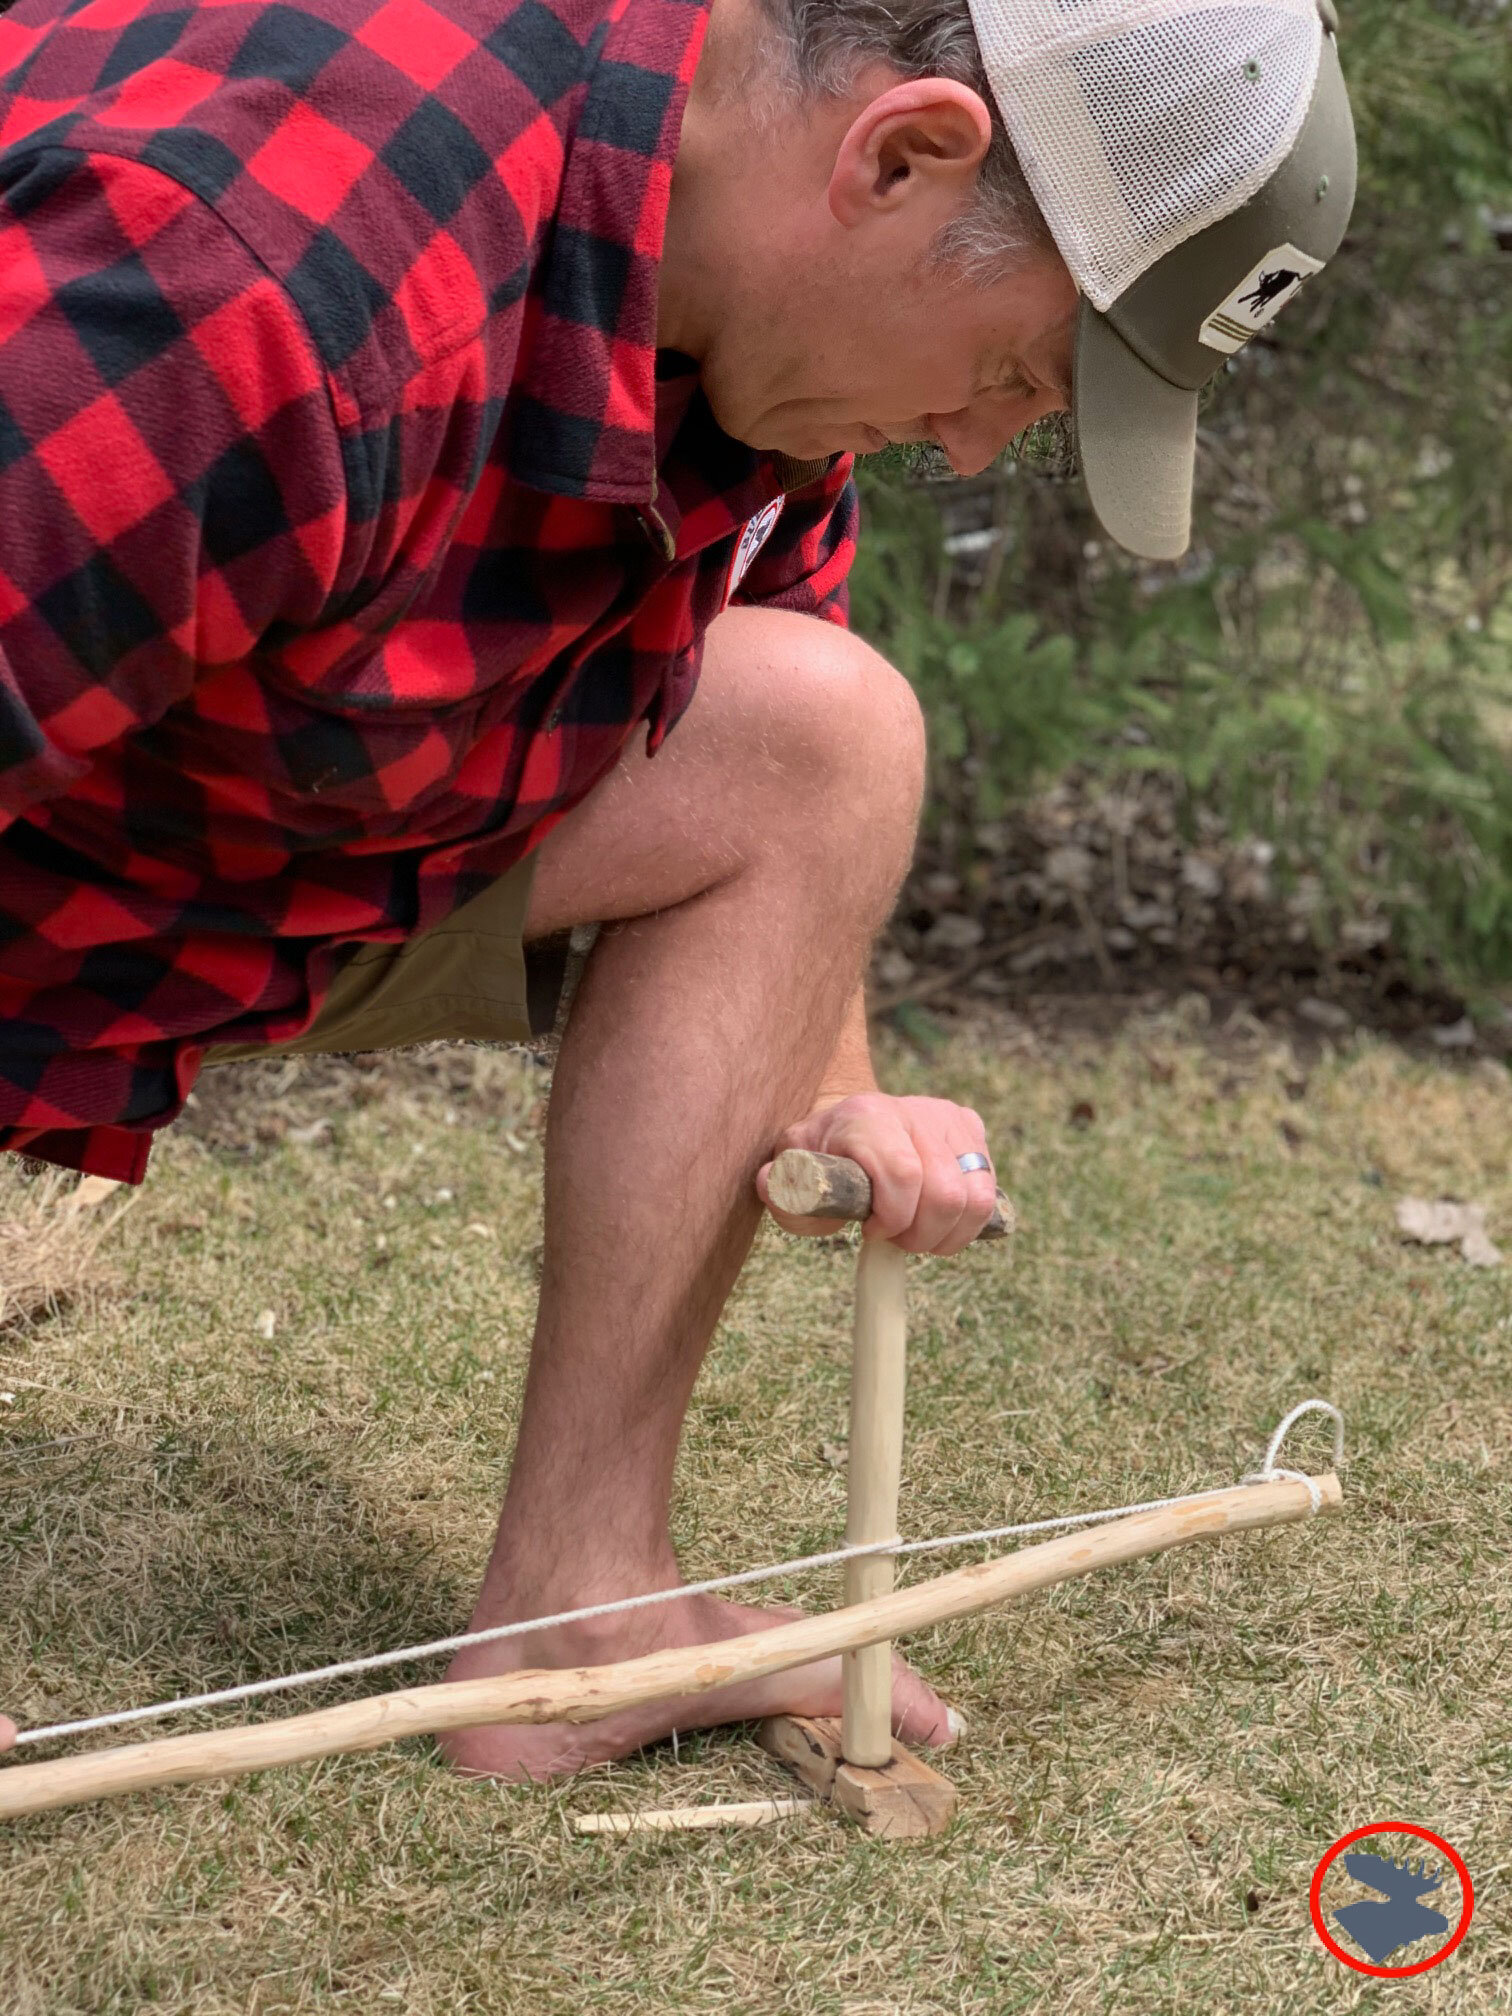
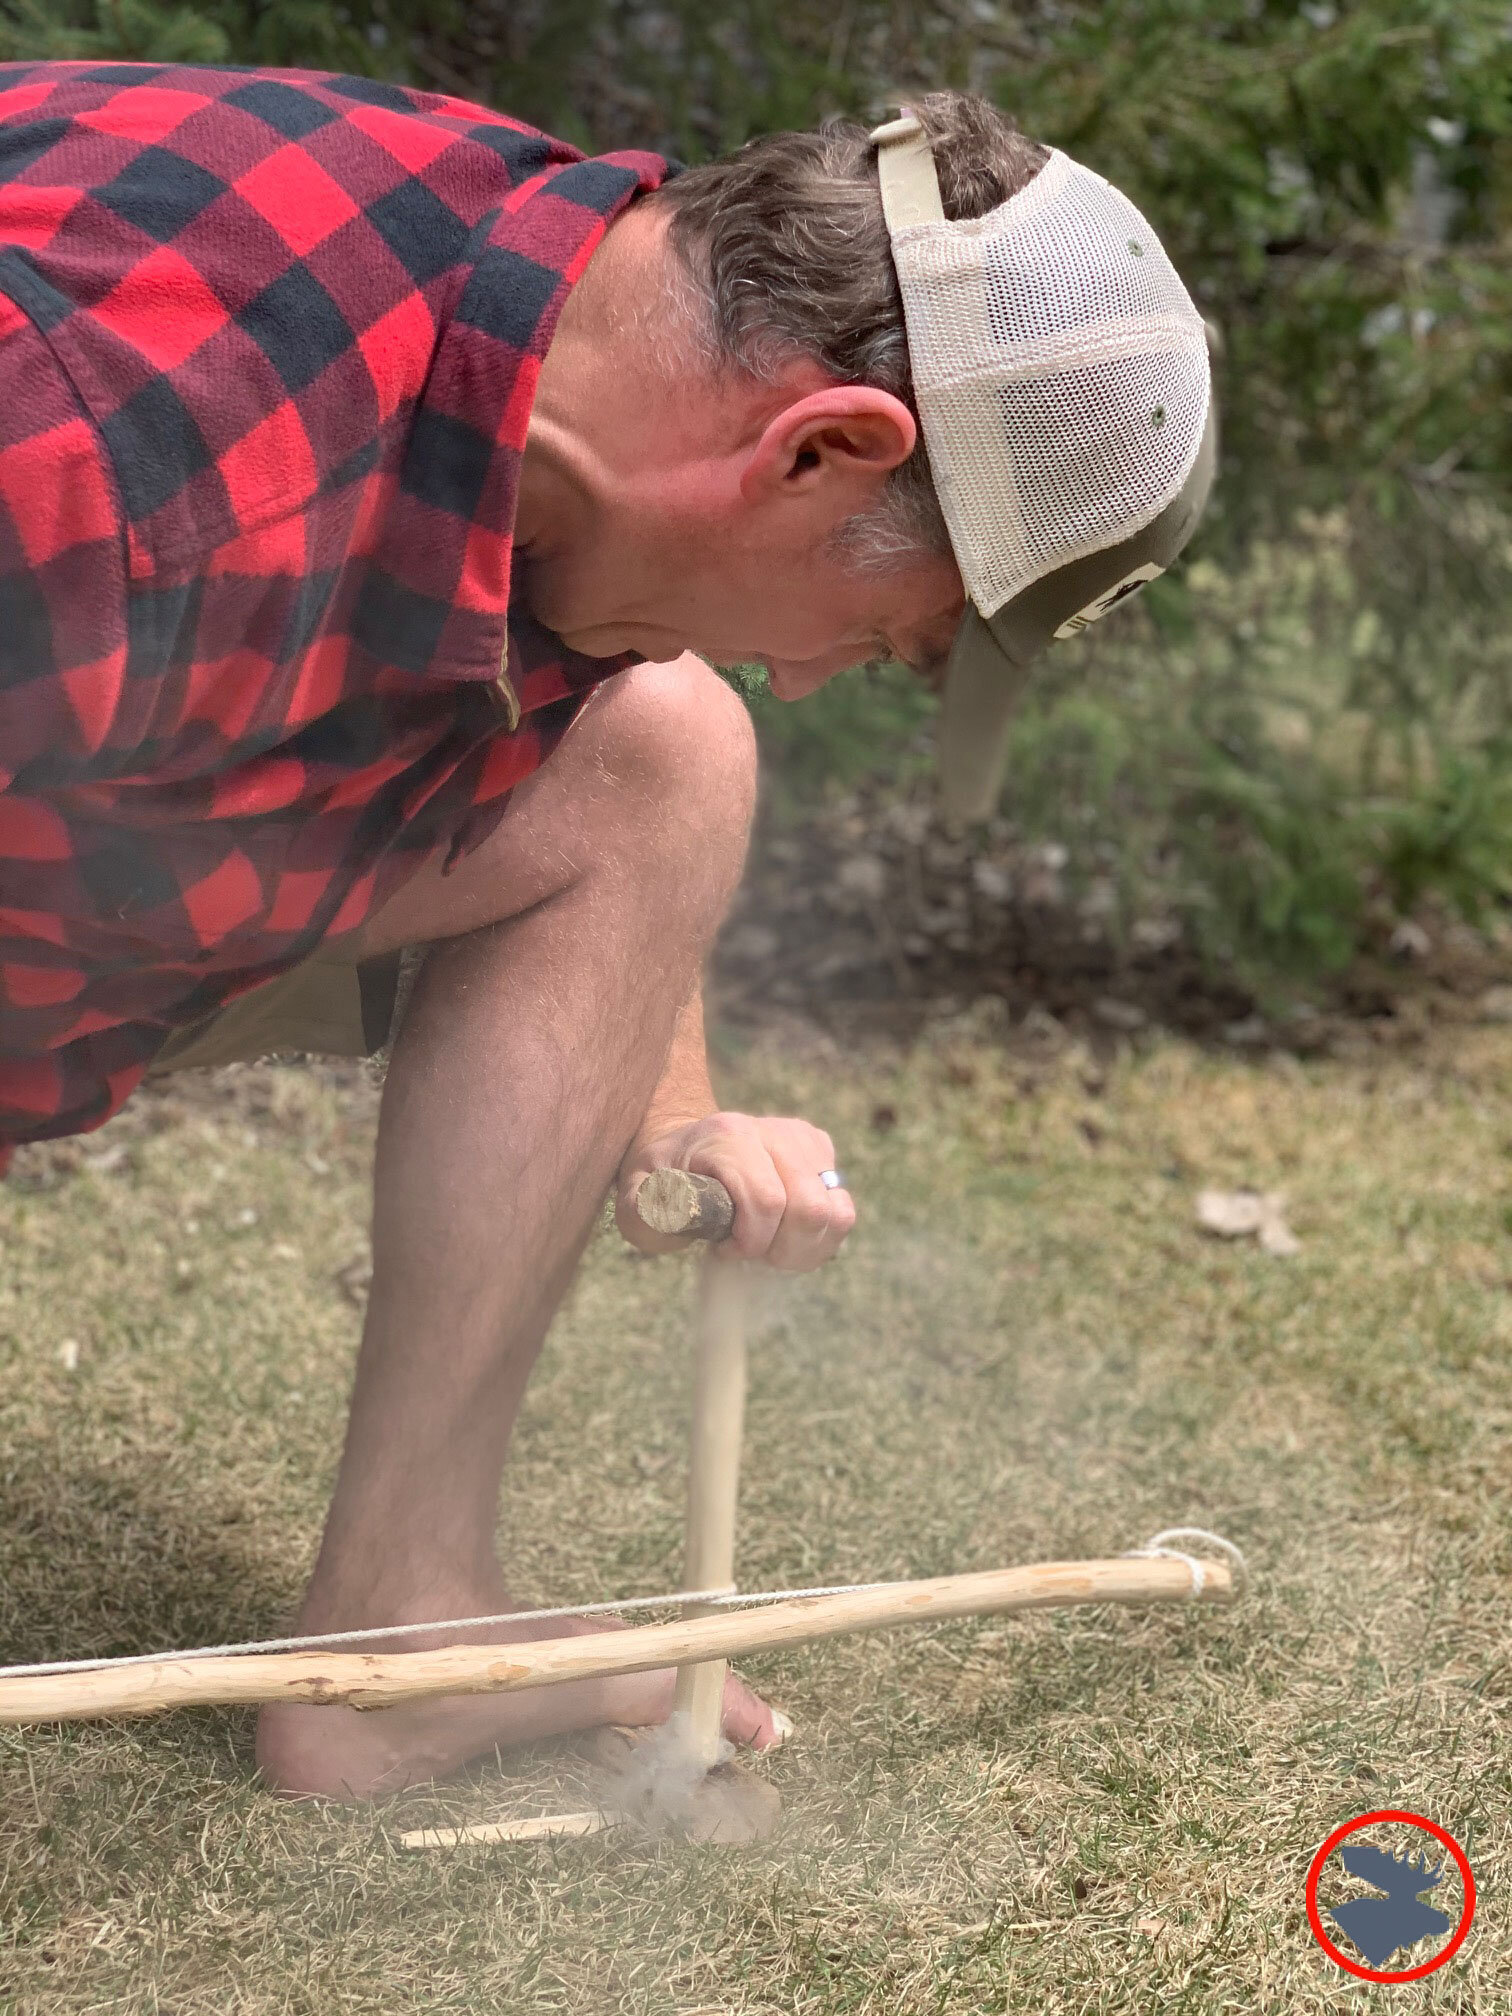
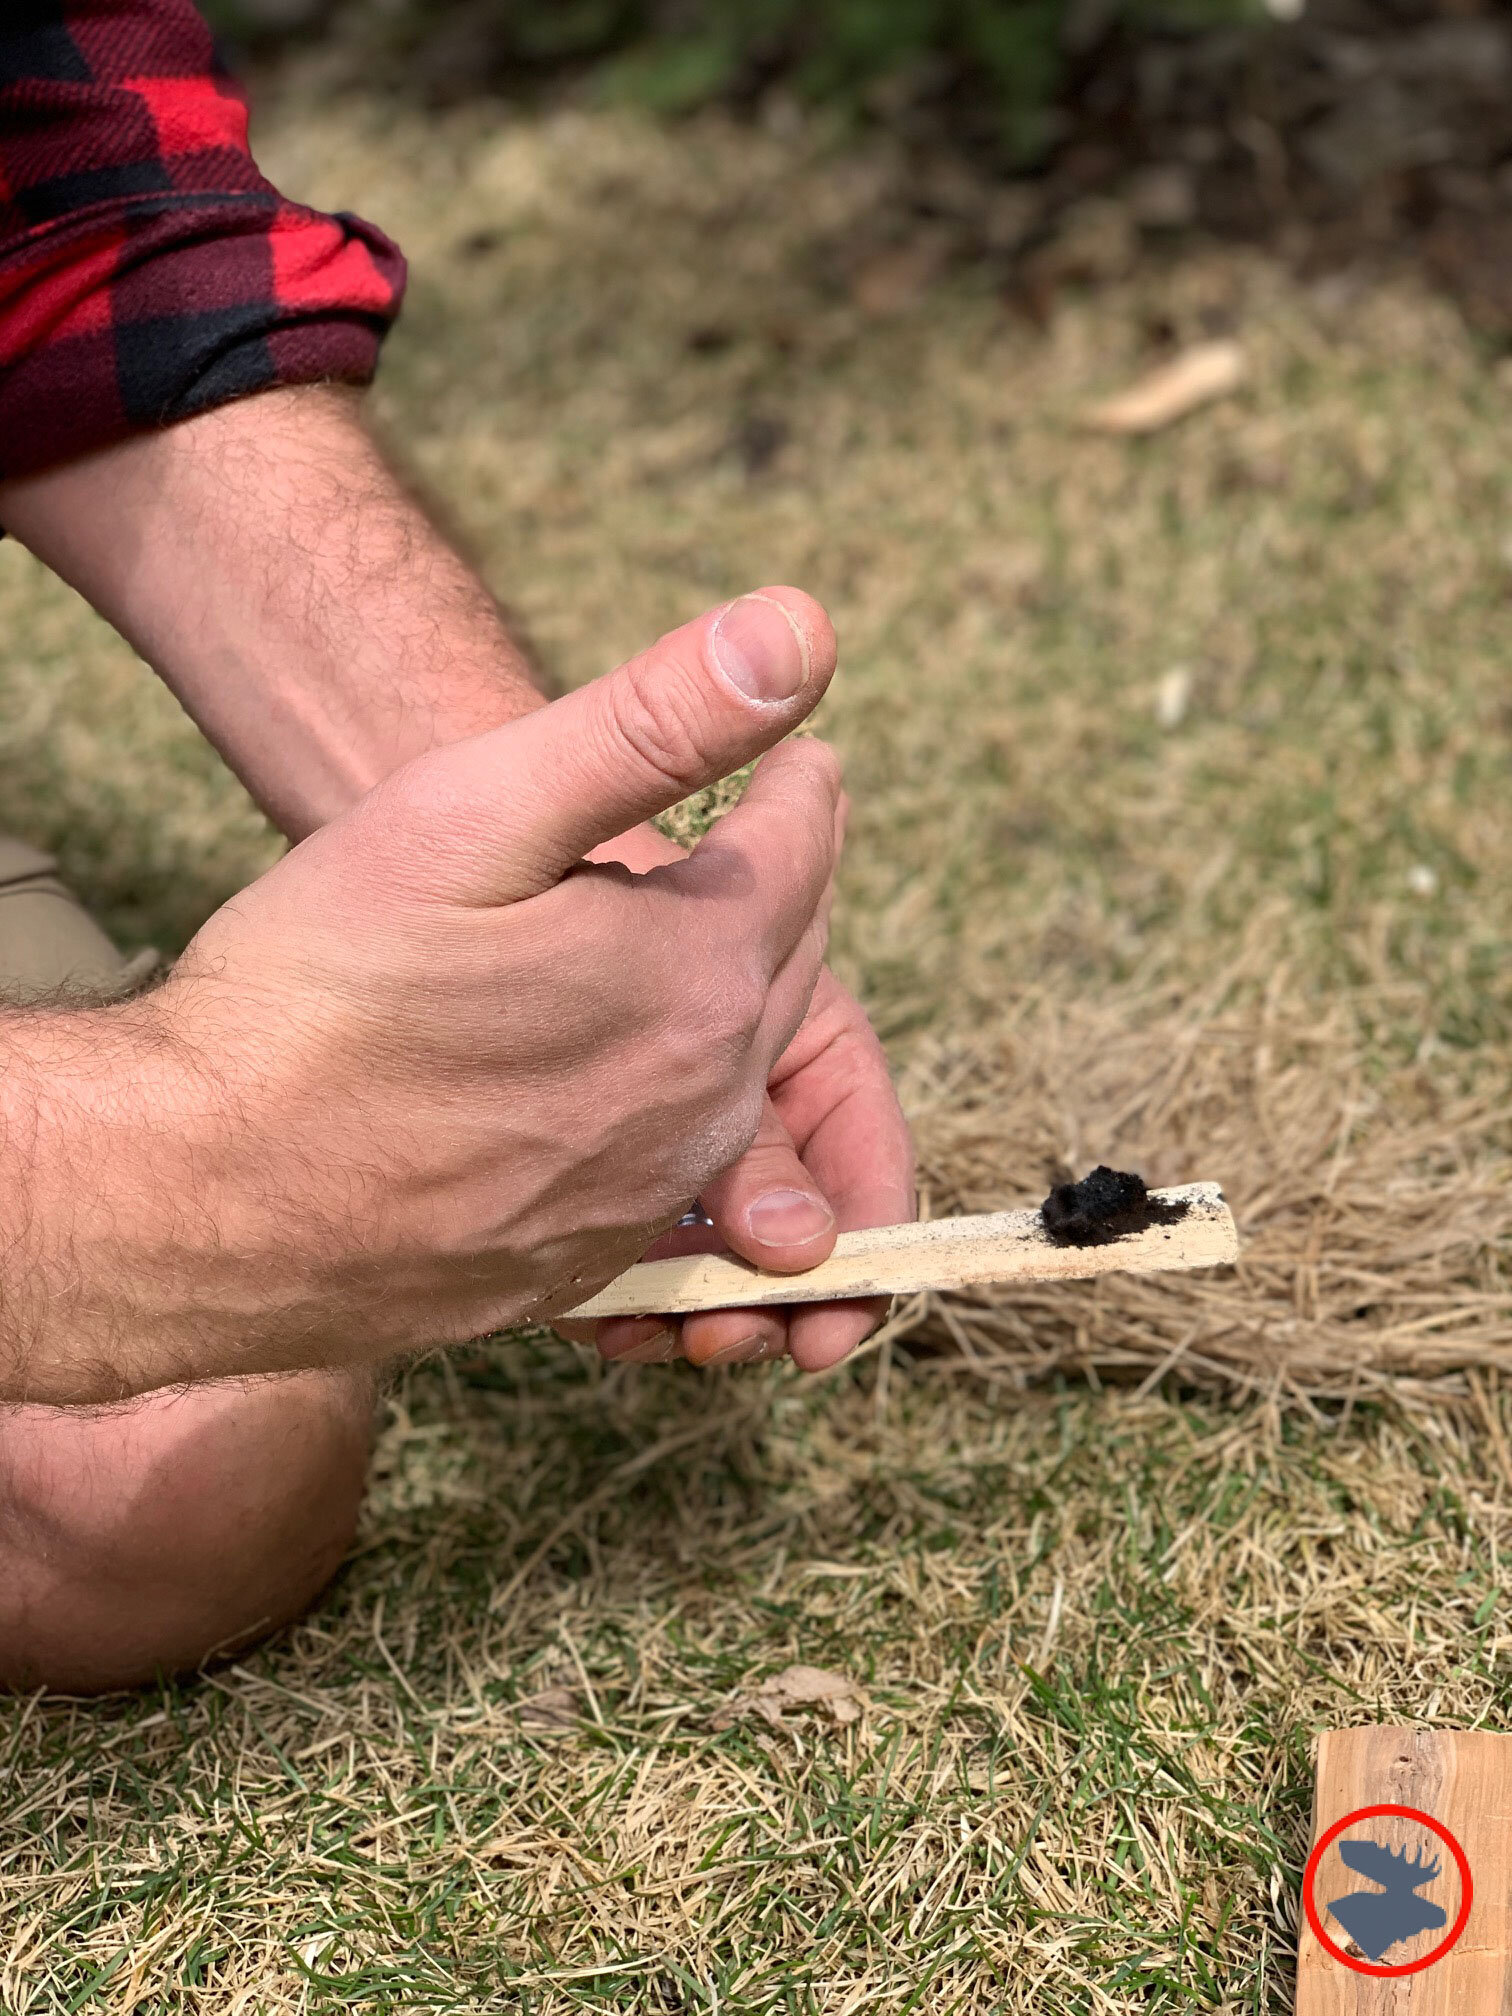
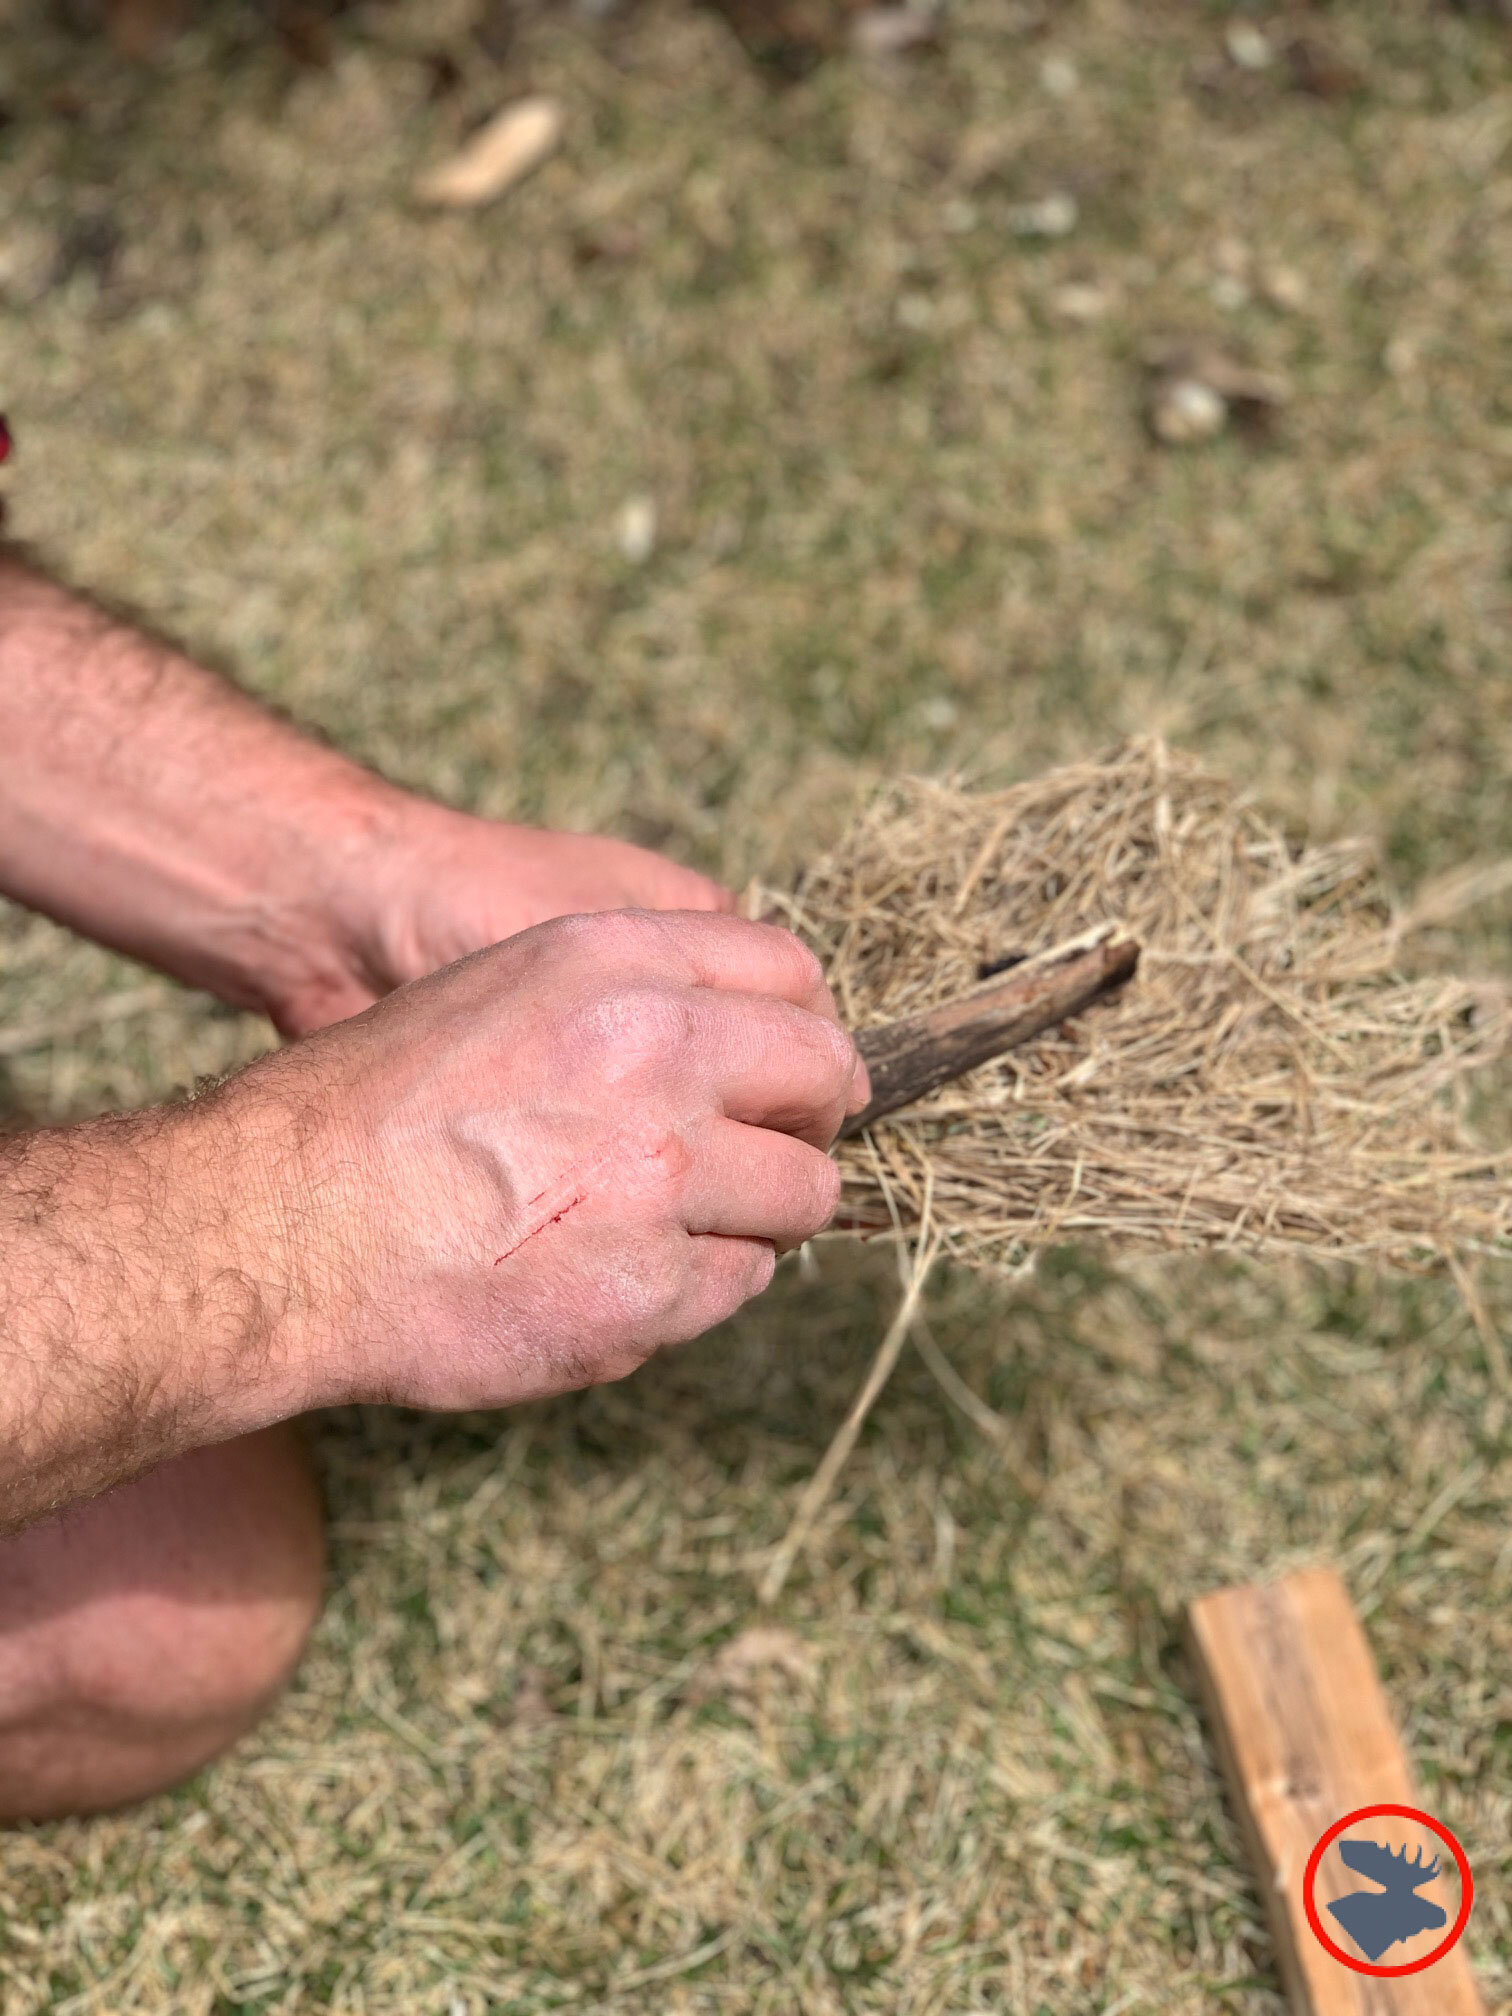
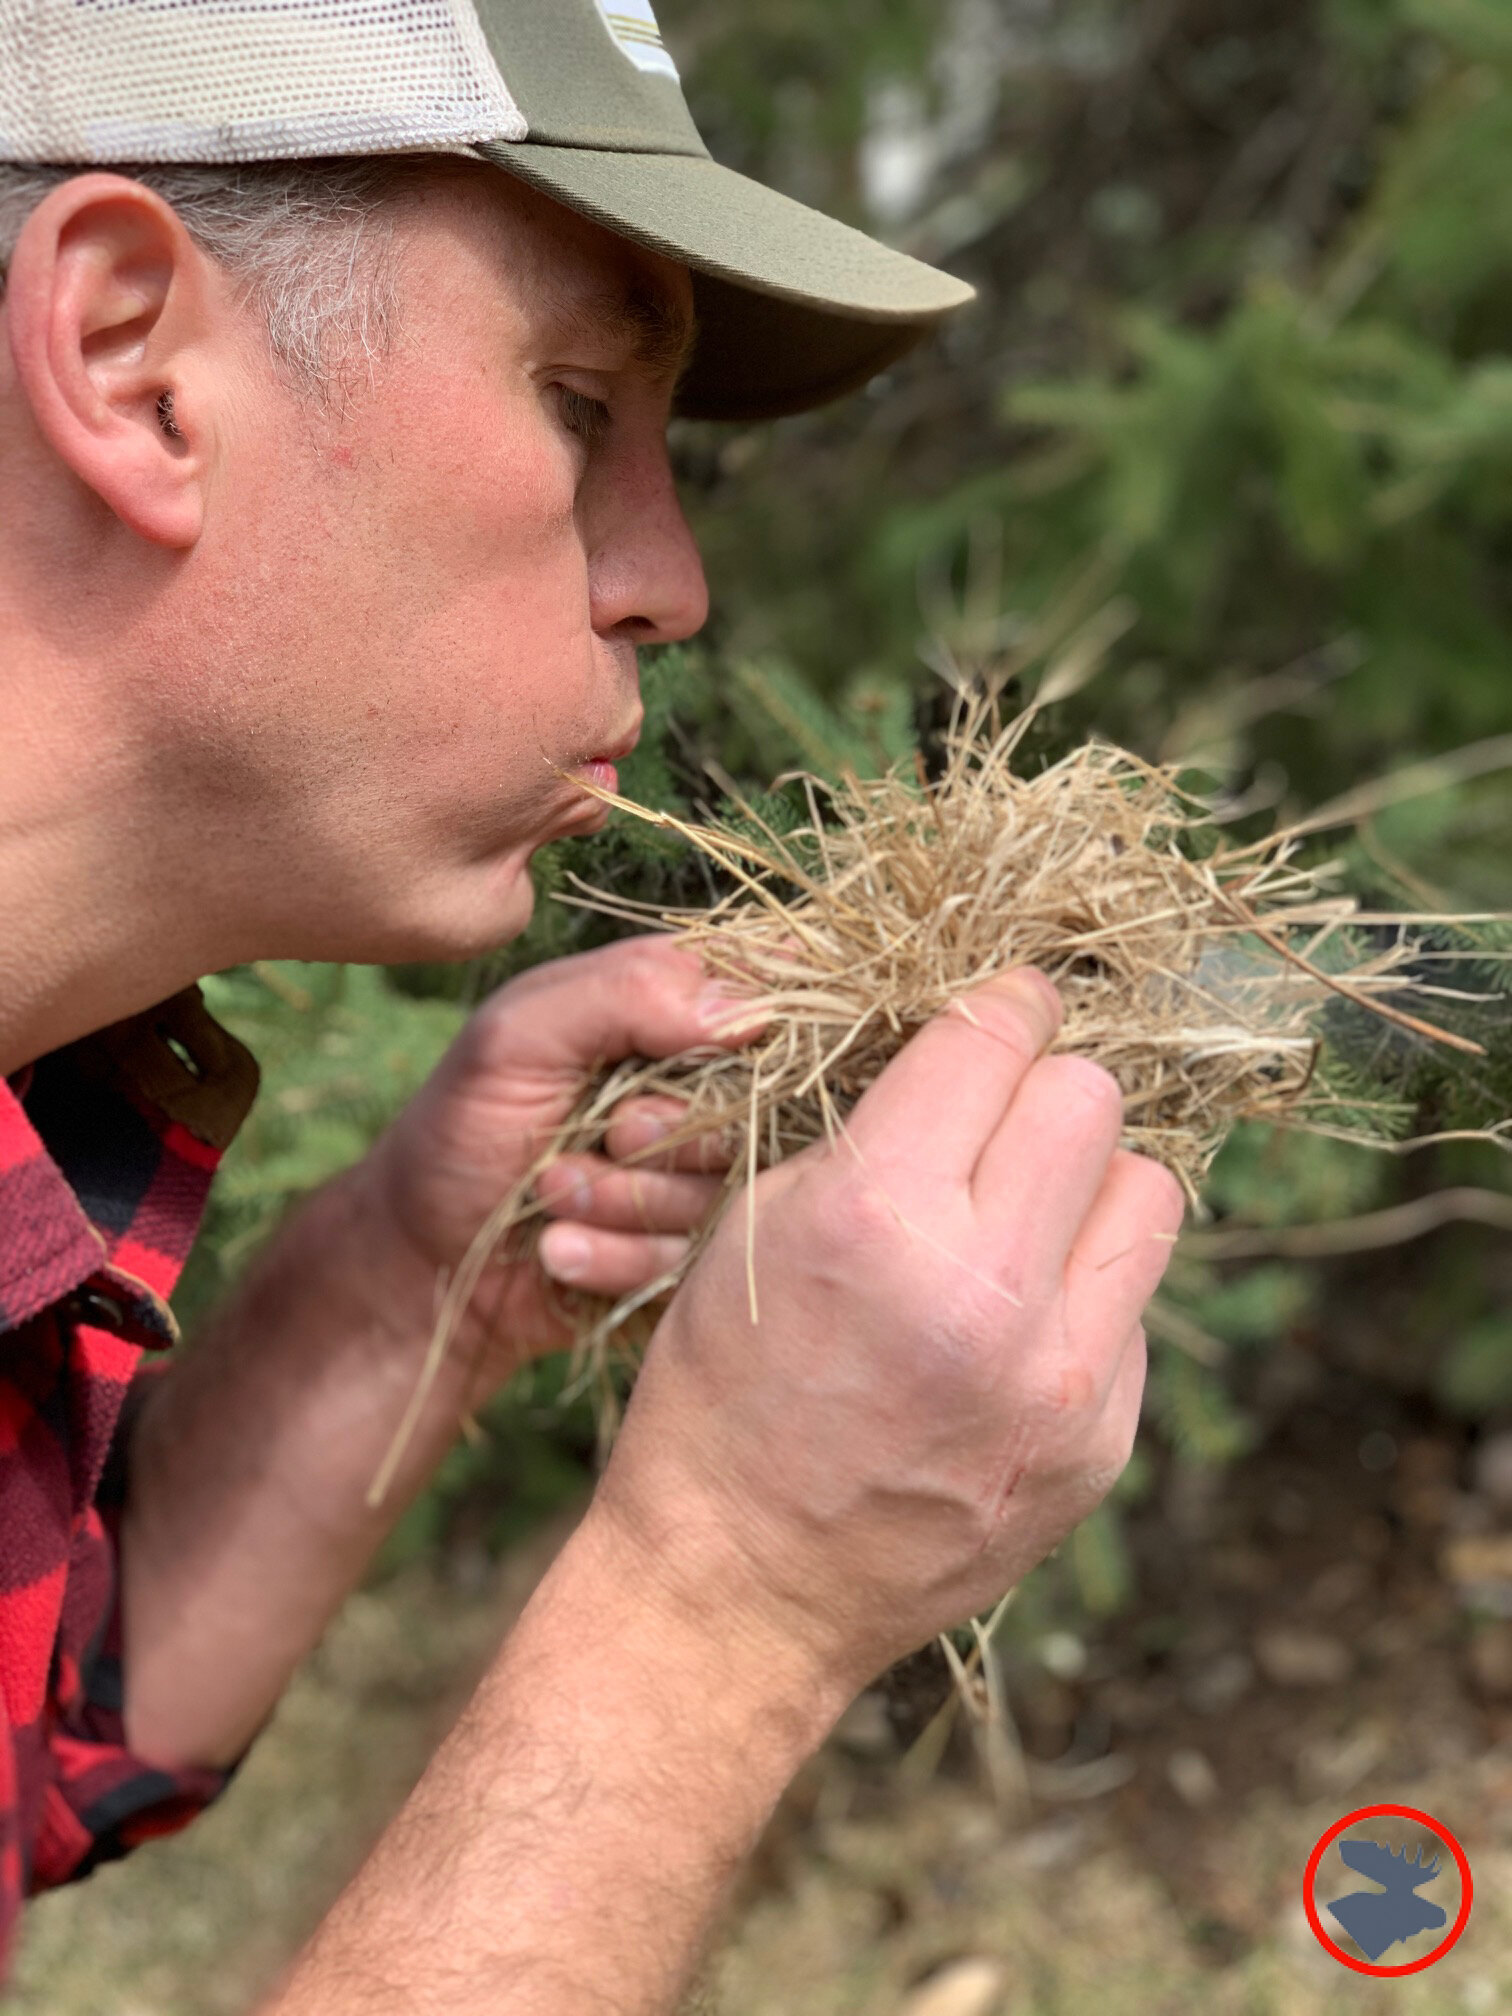
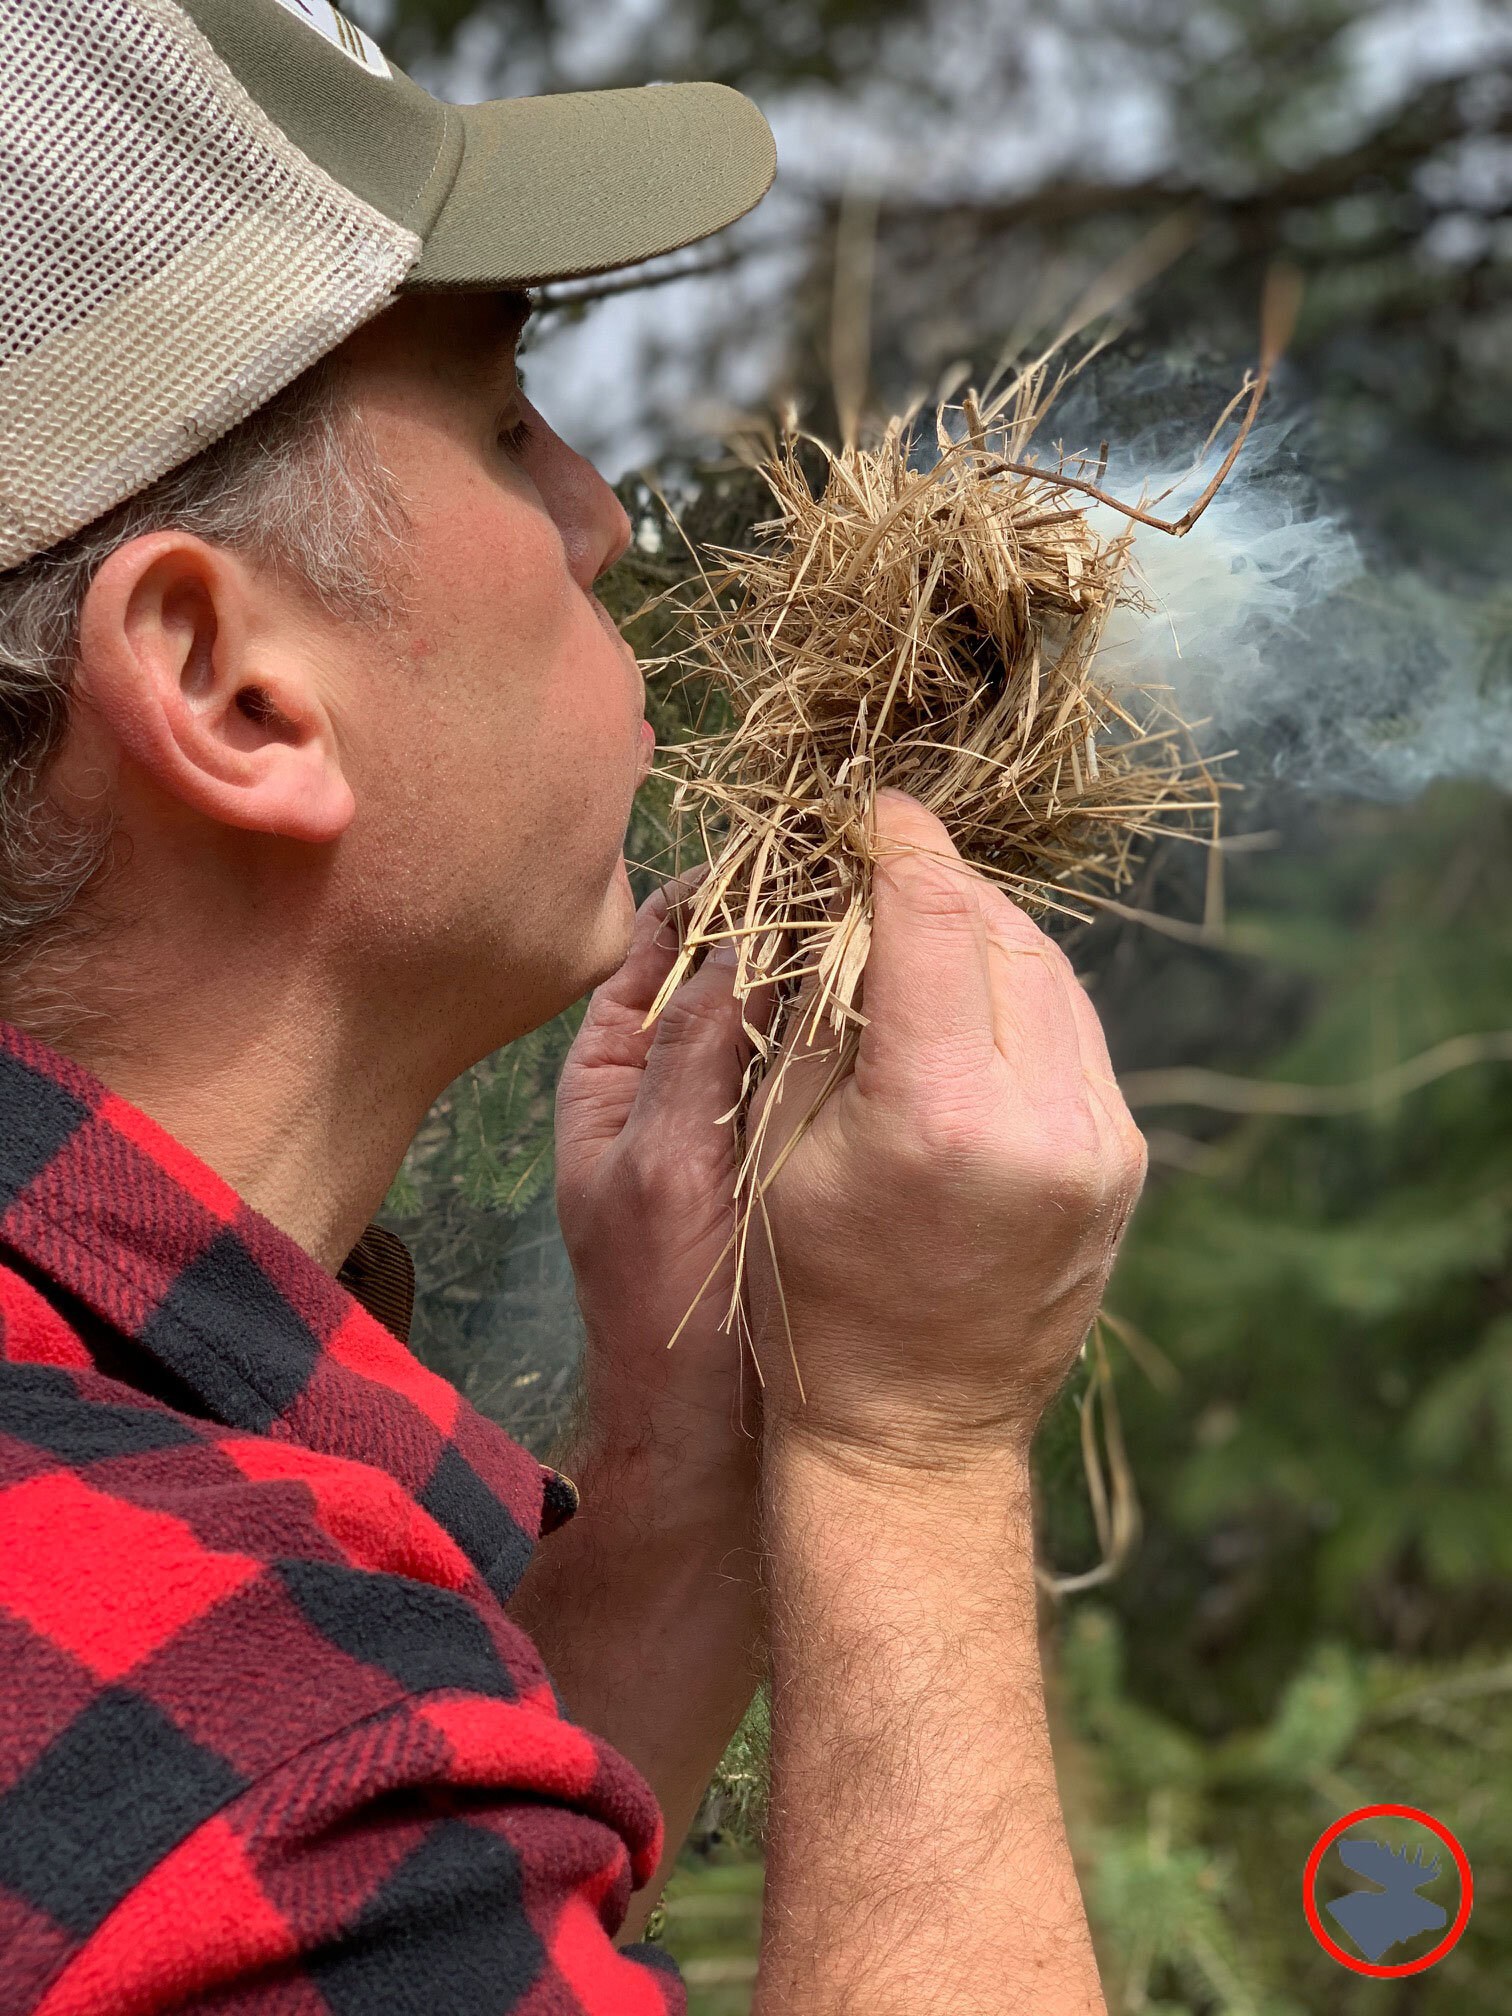
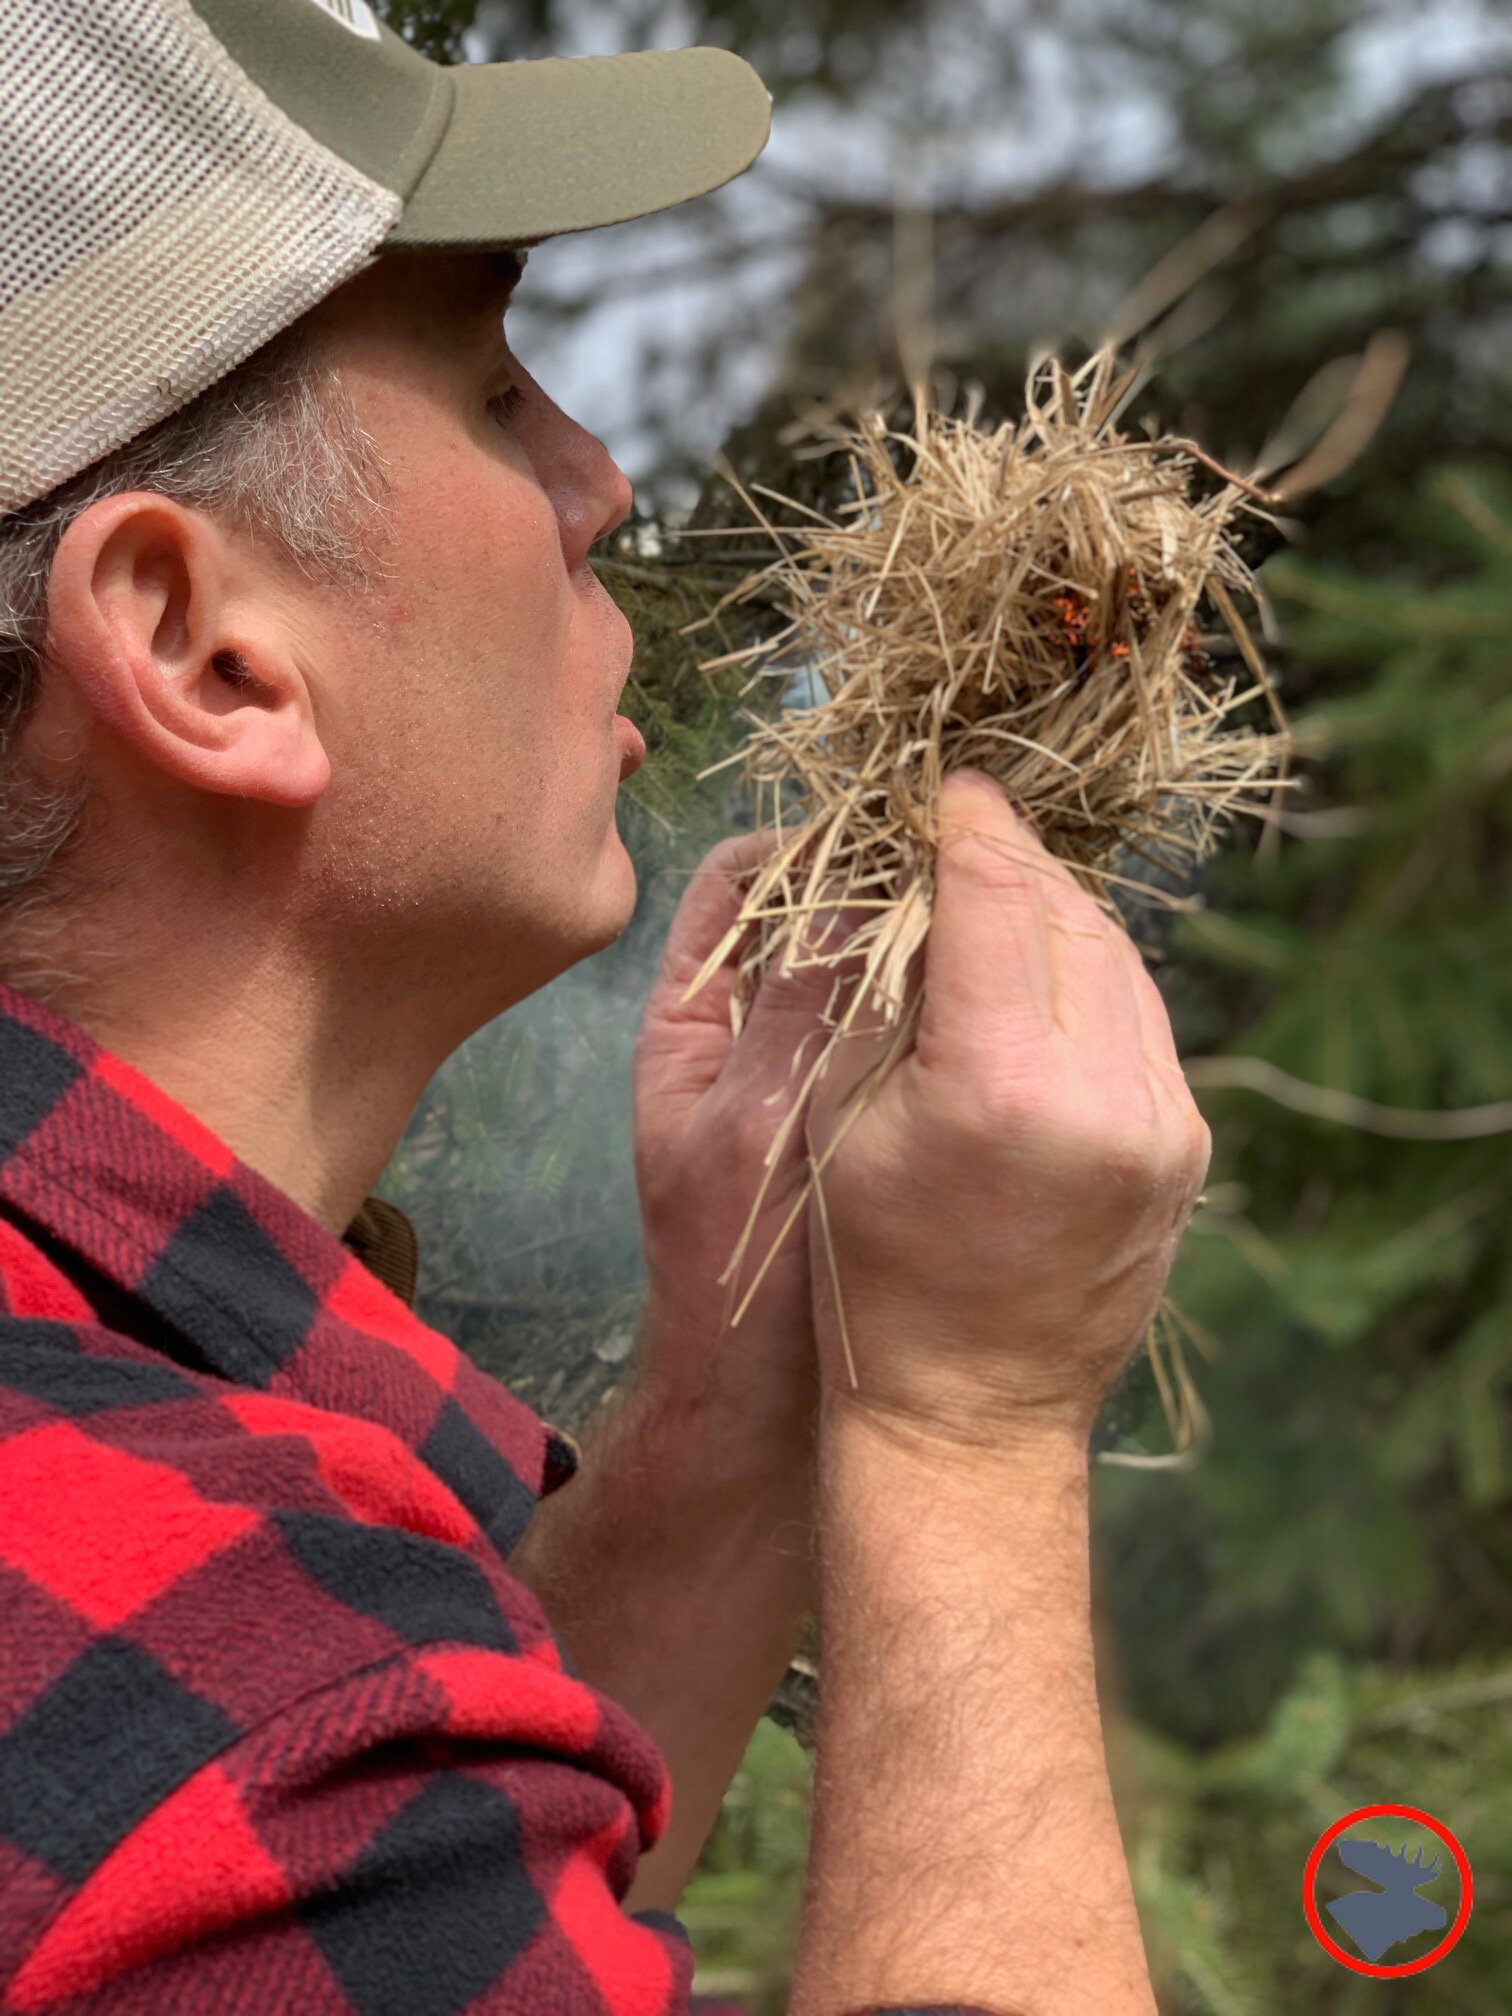
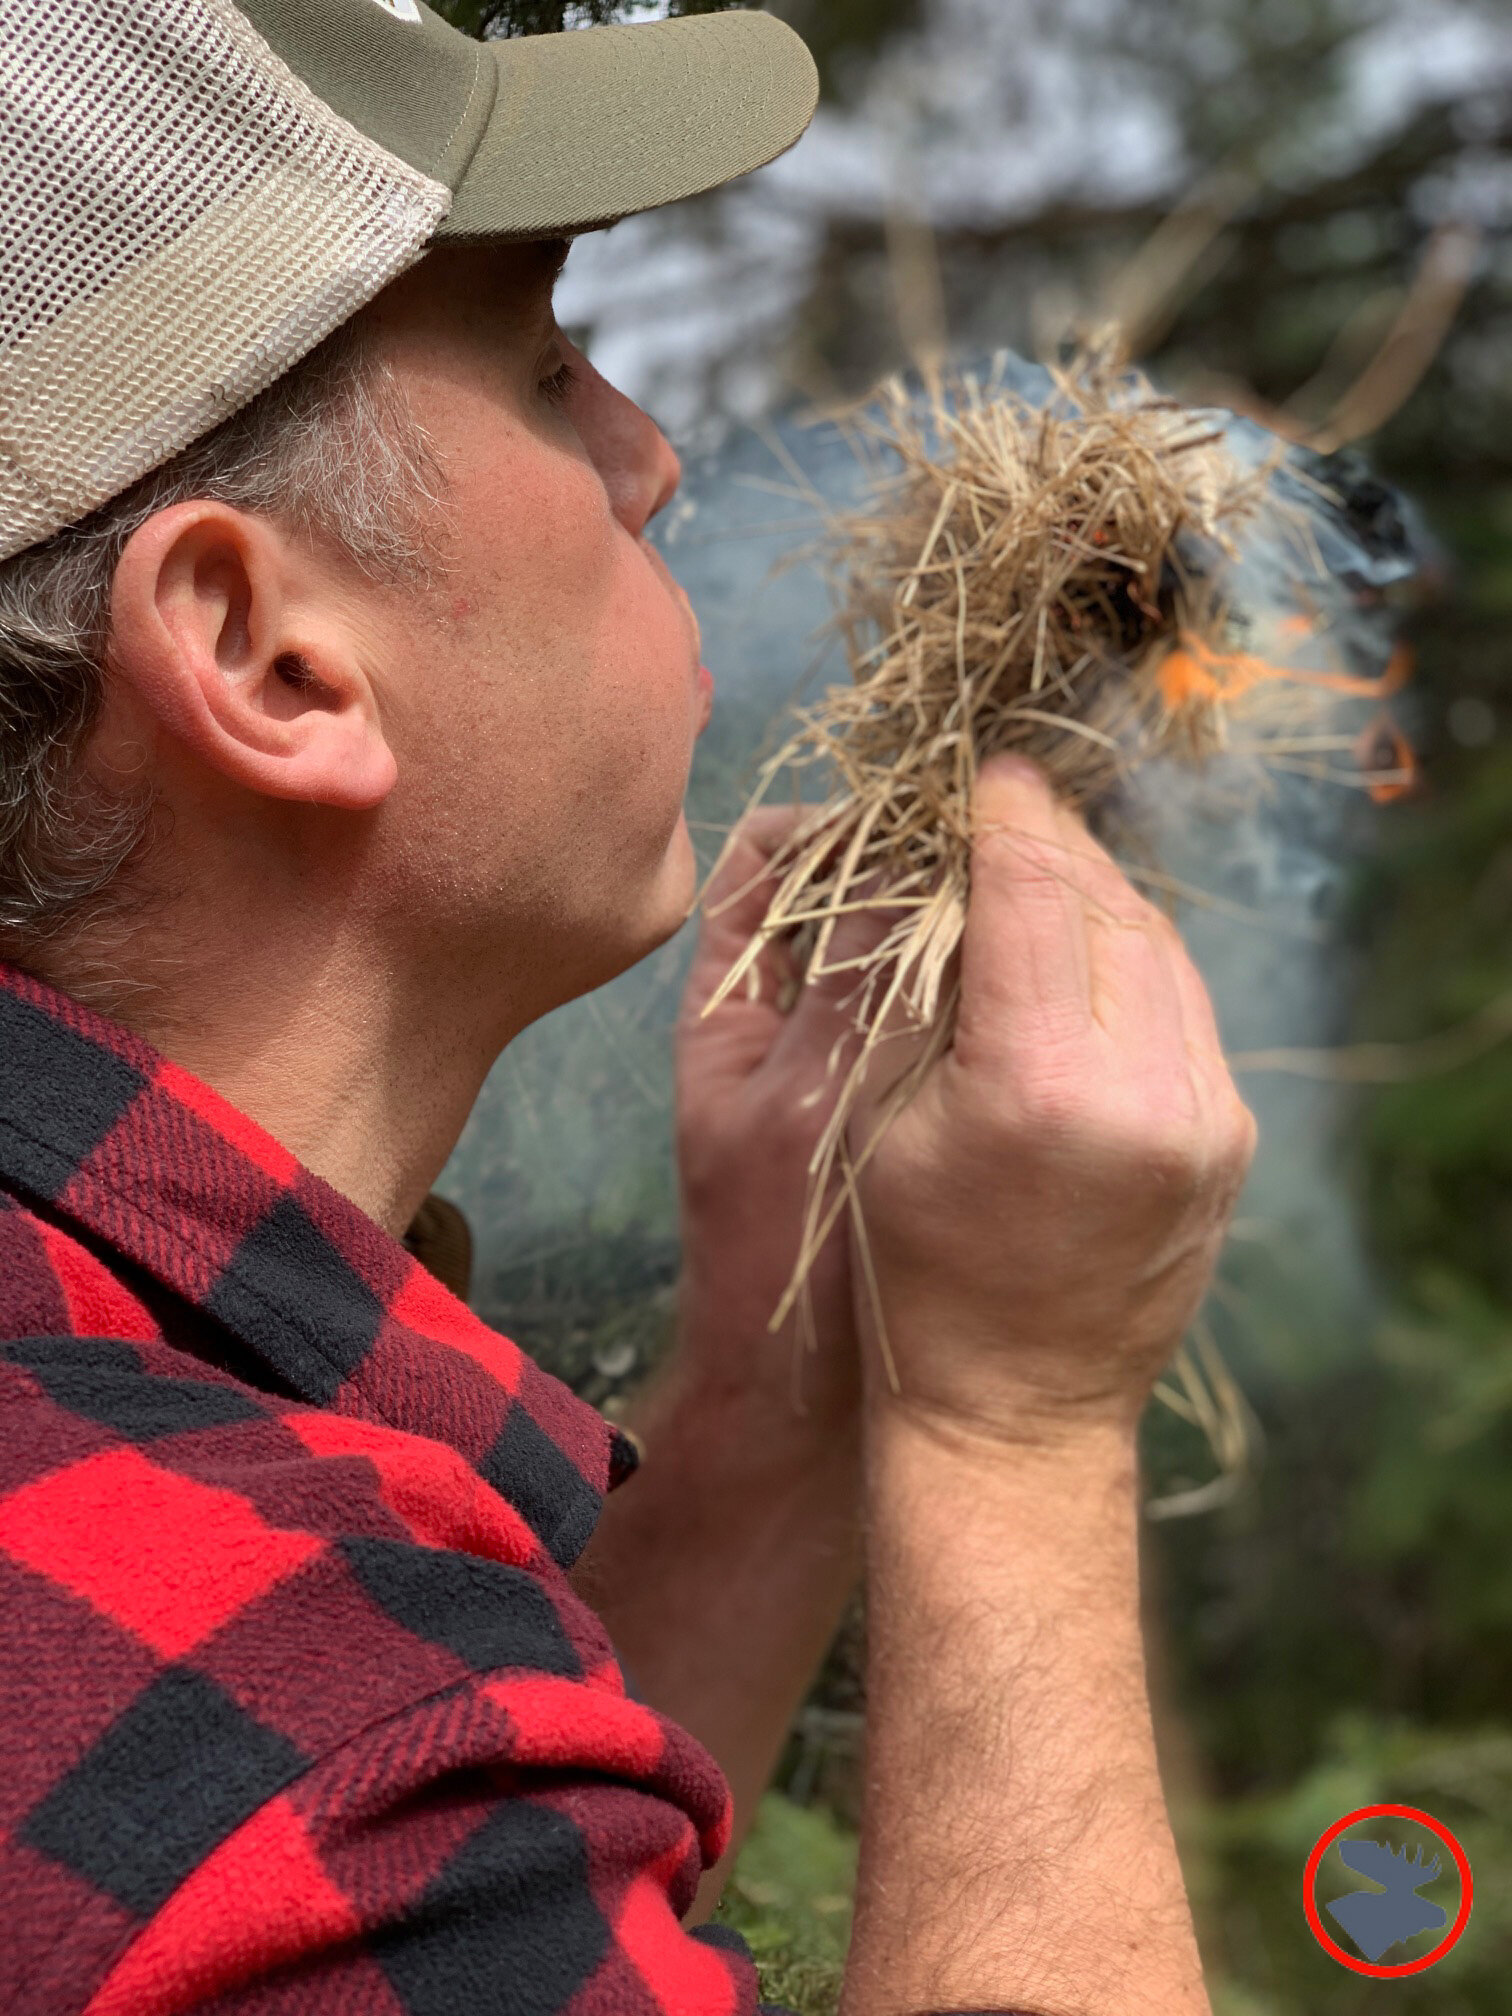
Fire by friction. The bow drill and hand drill fire by friction techniques can be difficult to master, but so satisfying when you create an ember and turn it into a flame! Using your brain and your body to create the element of fire with what nature provides is captivating and has become a lifelong hobby for so many people. With common sense safety precautions, working to obtain an ember from the bow or hand drill is something that can even be practiced indoors. These techniques do not cause a burst of flame; instead, they create a small pile of hot dust, which, if managed properly, will grow into a glowing ember, and can then be blown into a flame inside a properly prepared tinder bundle. If you’re looking for inspiration, check out NW Primate’s YouTube channel.
Knife Skills

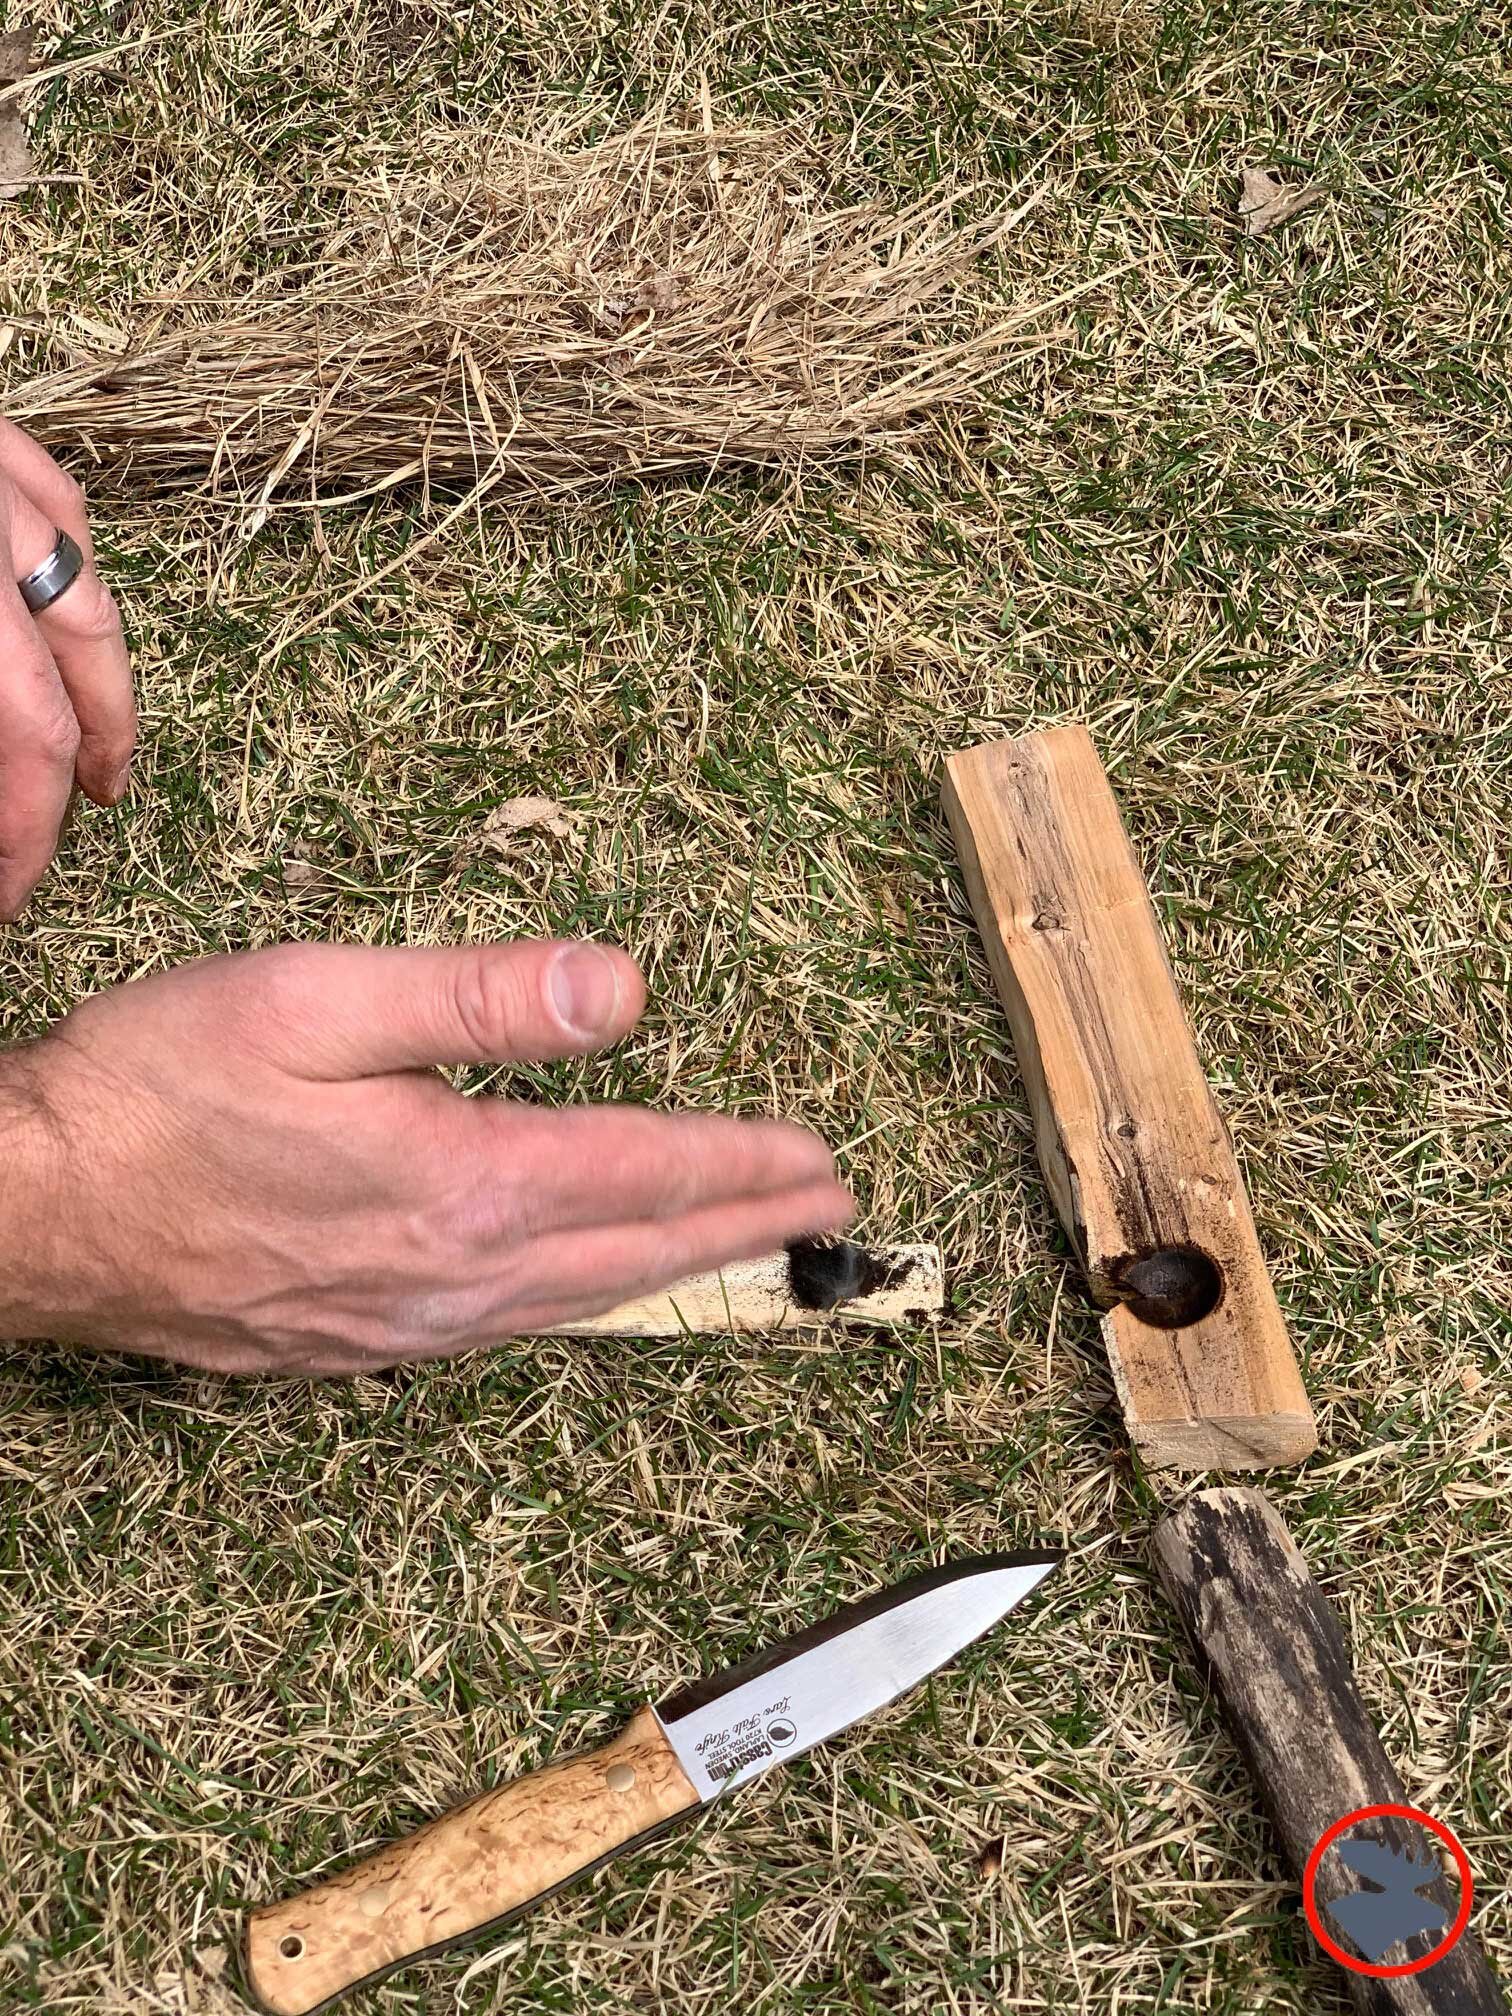
The Lars Falt knife from Casstrom has quickly become a favorite! Fantastic design; it’s a piece of functional artwork!
The knife is one of the most versatile pieces of gear you can carry. From helping to process fire starting material in wet conditions to preparing meals or cleaning fish and game, knowing how to use a knife in the wilderness can not only make life easier for you, it can save your life! In an emergency situation, with the right skills, a knife is the tool you can use to make other needed tools and shelter.
You can do a lot to improve your knife work while in the comfort of your own home or backyard.
Practice Pointers
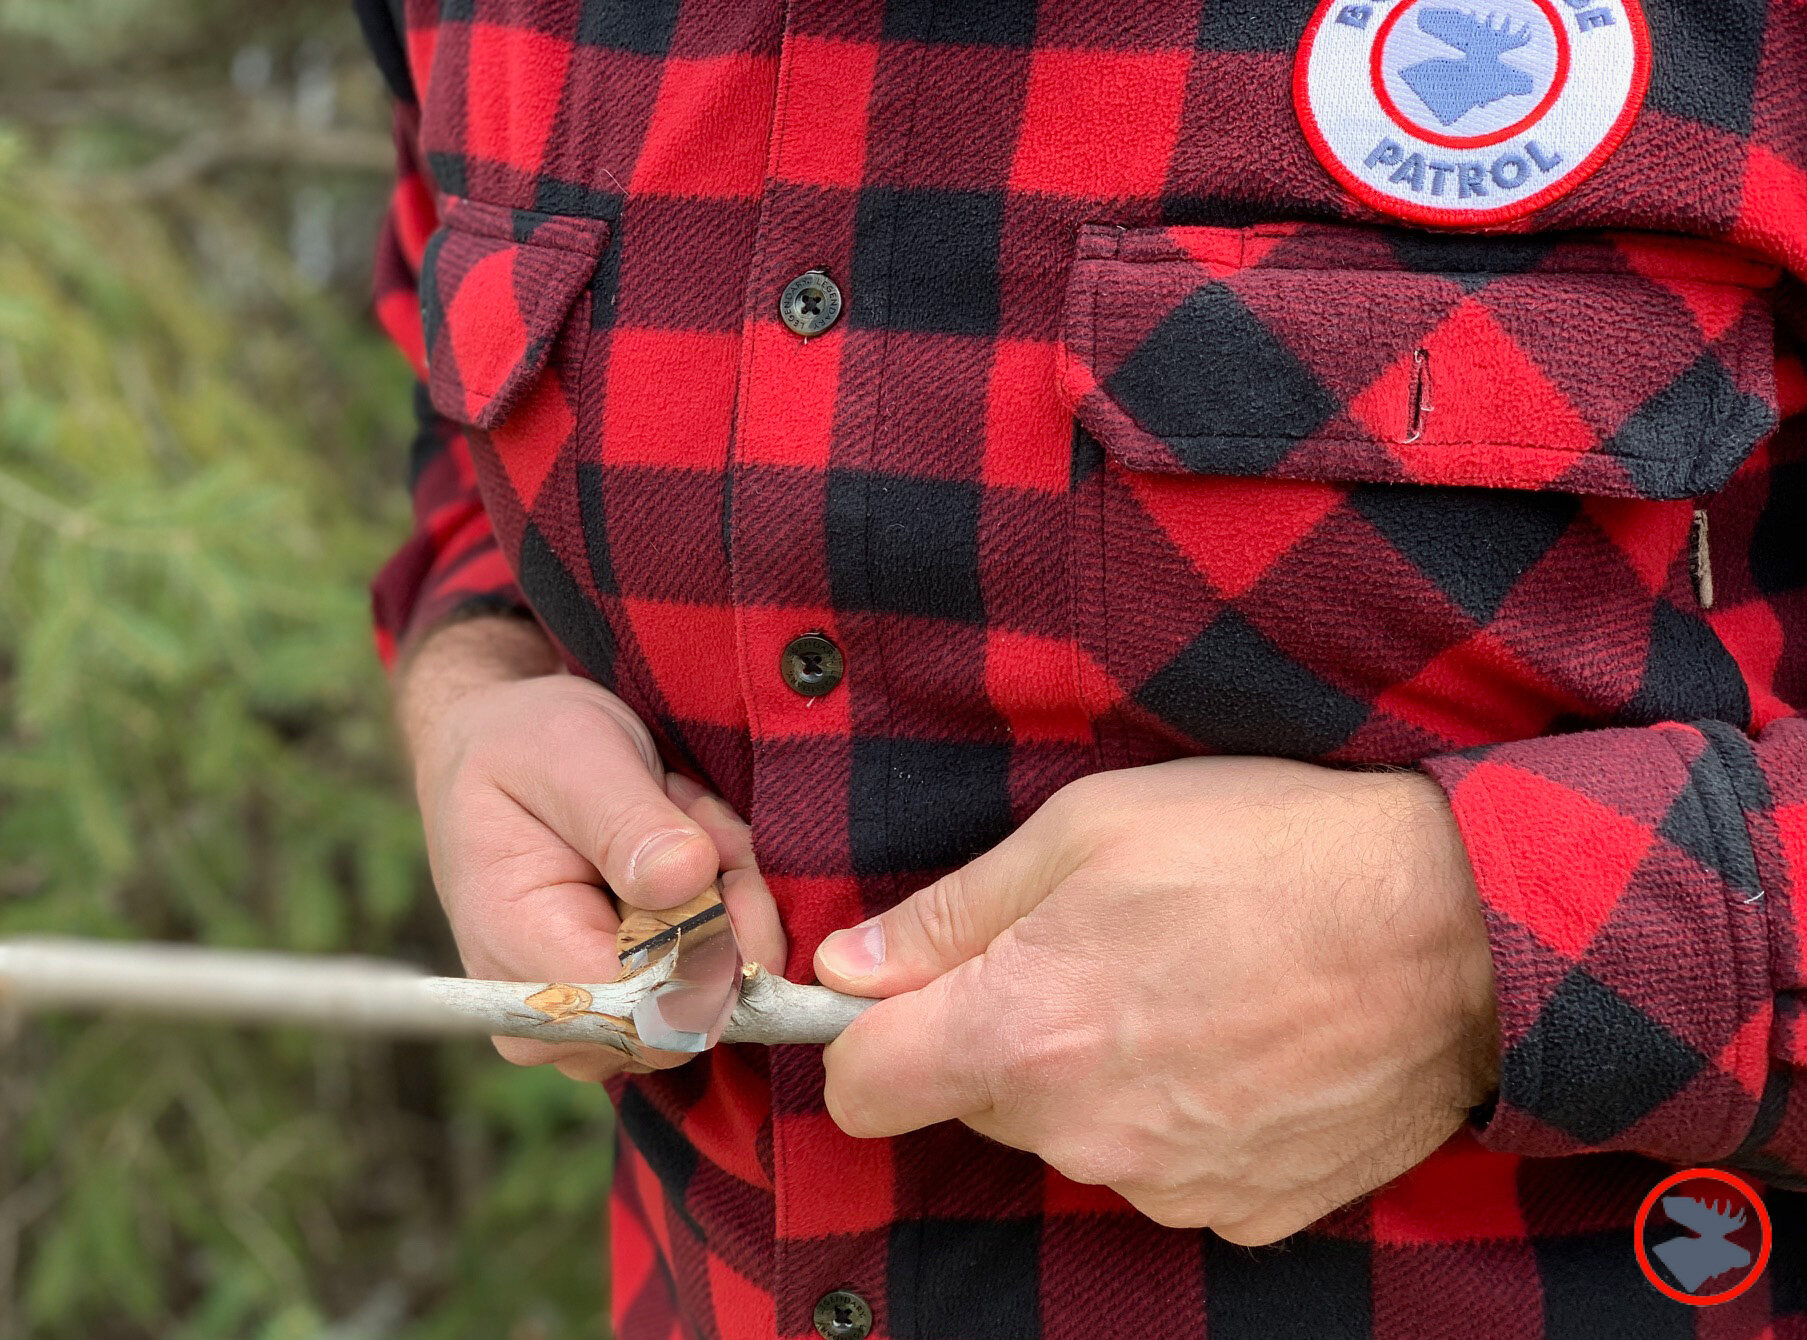
Grips and techniques. The intuitive cutting motion is a slashing forehand grip. With the elbows unsupported and the knife working with pressure at arm’s length, this cut can be useful, but it also lacks control and can be potentially dangerous for nearby campers. Adding a “chest lever,” “braced,” and “reinforced cuts,” and learning how to pull wood or cord into a stationary supported knife can improve the safety and effectiveness of your knife handling.
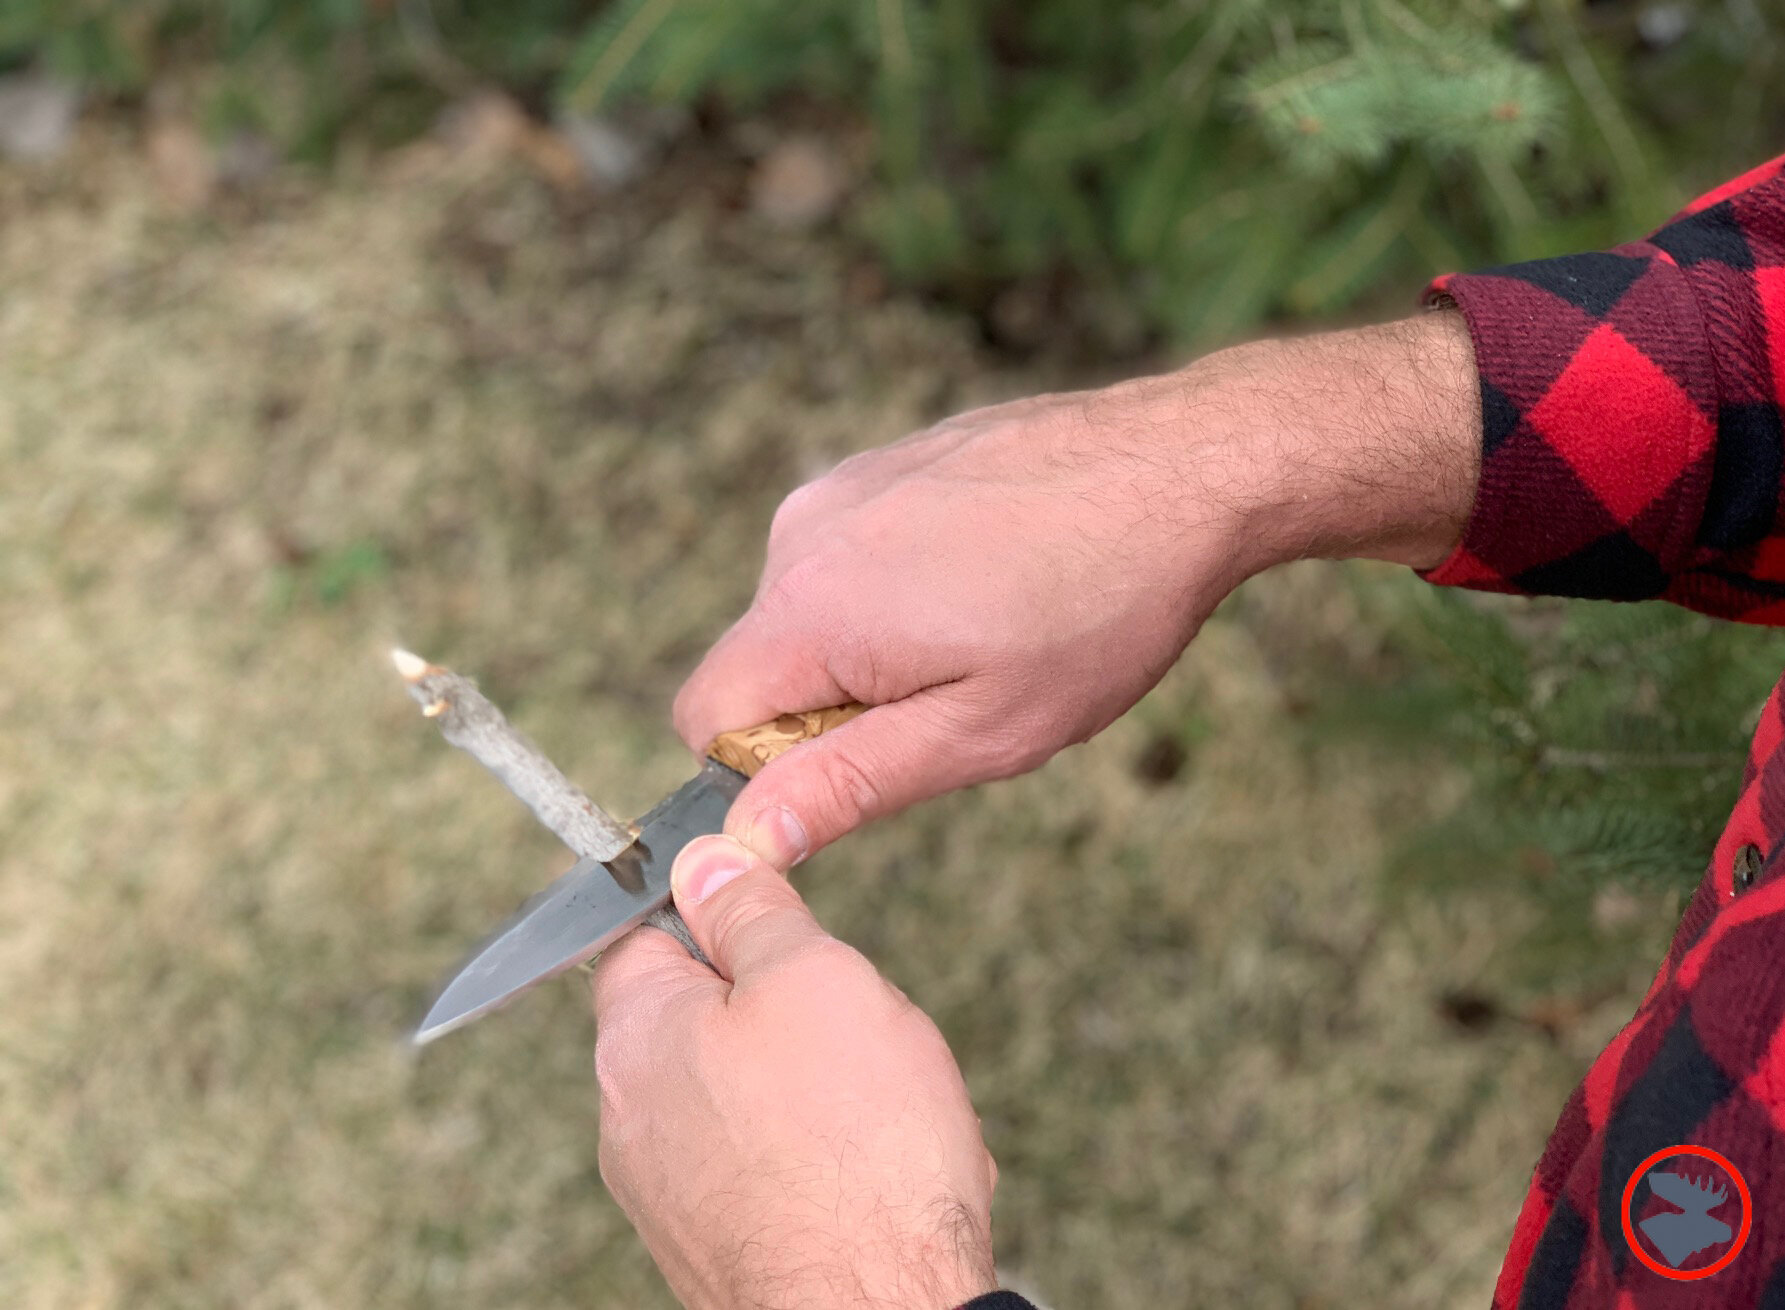
Sharpening. The dull knife is ineffective, frustrating, and often dangerous. Learn how to put a truly sharp edge on your knife. It’ll be safer and more enjoyable to use. A dull knife that requires force to be ripped through a cord or stick often shoots wildly out the other end once it finally cuts through the material. With a sharp knife, minimal force is needed for surgically-controlled slices.
Fire prep. A good knife in the right hands can go a long way to helping start your fire. When you’re out in the woods and the rain won’t stop, knife skills can help you get to the dry wood inside a branch or log. Shavings are a basic step. Understand the limits and capabilities of your knives. Robust, “full-tang” bushcraft and survival knives are designed to take a beating and can be hammered to create split wood that will burn better—especially in the rain. Lighter duty knives can break if abused, but you can carve wedges to then use to split large wood. Carving fine feather sticks is a great way to develop your knife skills and help start your fire quickly!
Fish & game dressing. If you’re planning on taking fish or game, it might be helpful to make yourself some cleaning cheat sheets to keep in a Ziplock bag to ensure you do the best job possible with the game meat. Skillfully filleting around Pike Y bones is a classic canoe country conundrum.
Carving. Have the basics mastered? Try carving! There’s a reason old-timers sat around pot-bellied stoves or on the porch whittling. It’s a nice way to pass the time and a rewarding hobby. Check out Doug Linker’s fun carving tutorials.
*For more knife information, check out our posts on knives for canoe camping, and a review of an old favorite, the Buck 110 Folding Hunter.
Knot Tying
A good repertoire of knots and rope work is one of the greatest gifts you can give yourself! It will help you quickly rig a snug and dry camp, and your fellow campers will look on as if you’re conducting a magic show! No more saggy tarps pooling up with water and cursing while wrestling with tangled messes of lines while trying to hang bear bags.
Practice Pointers
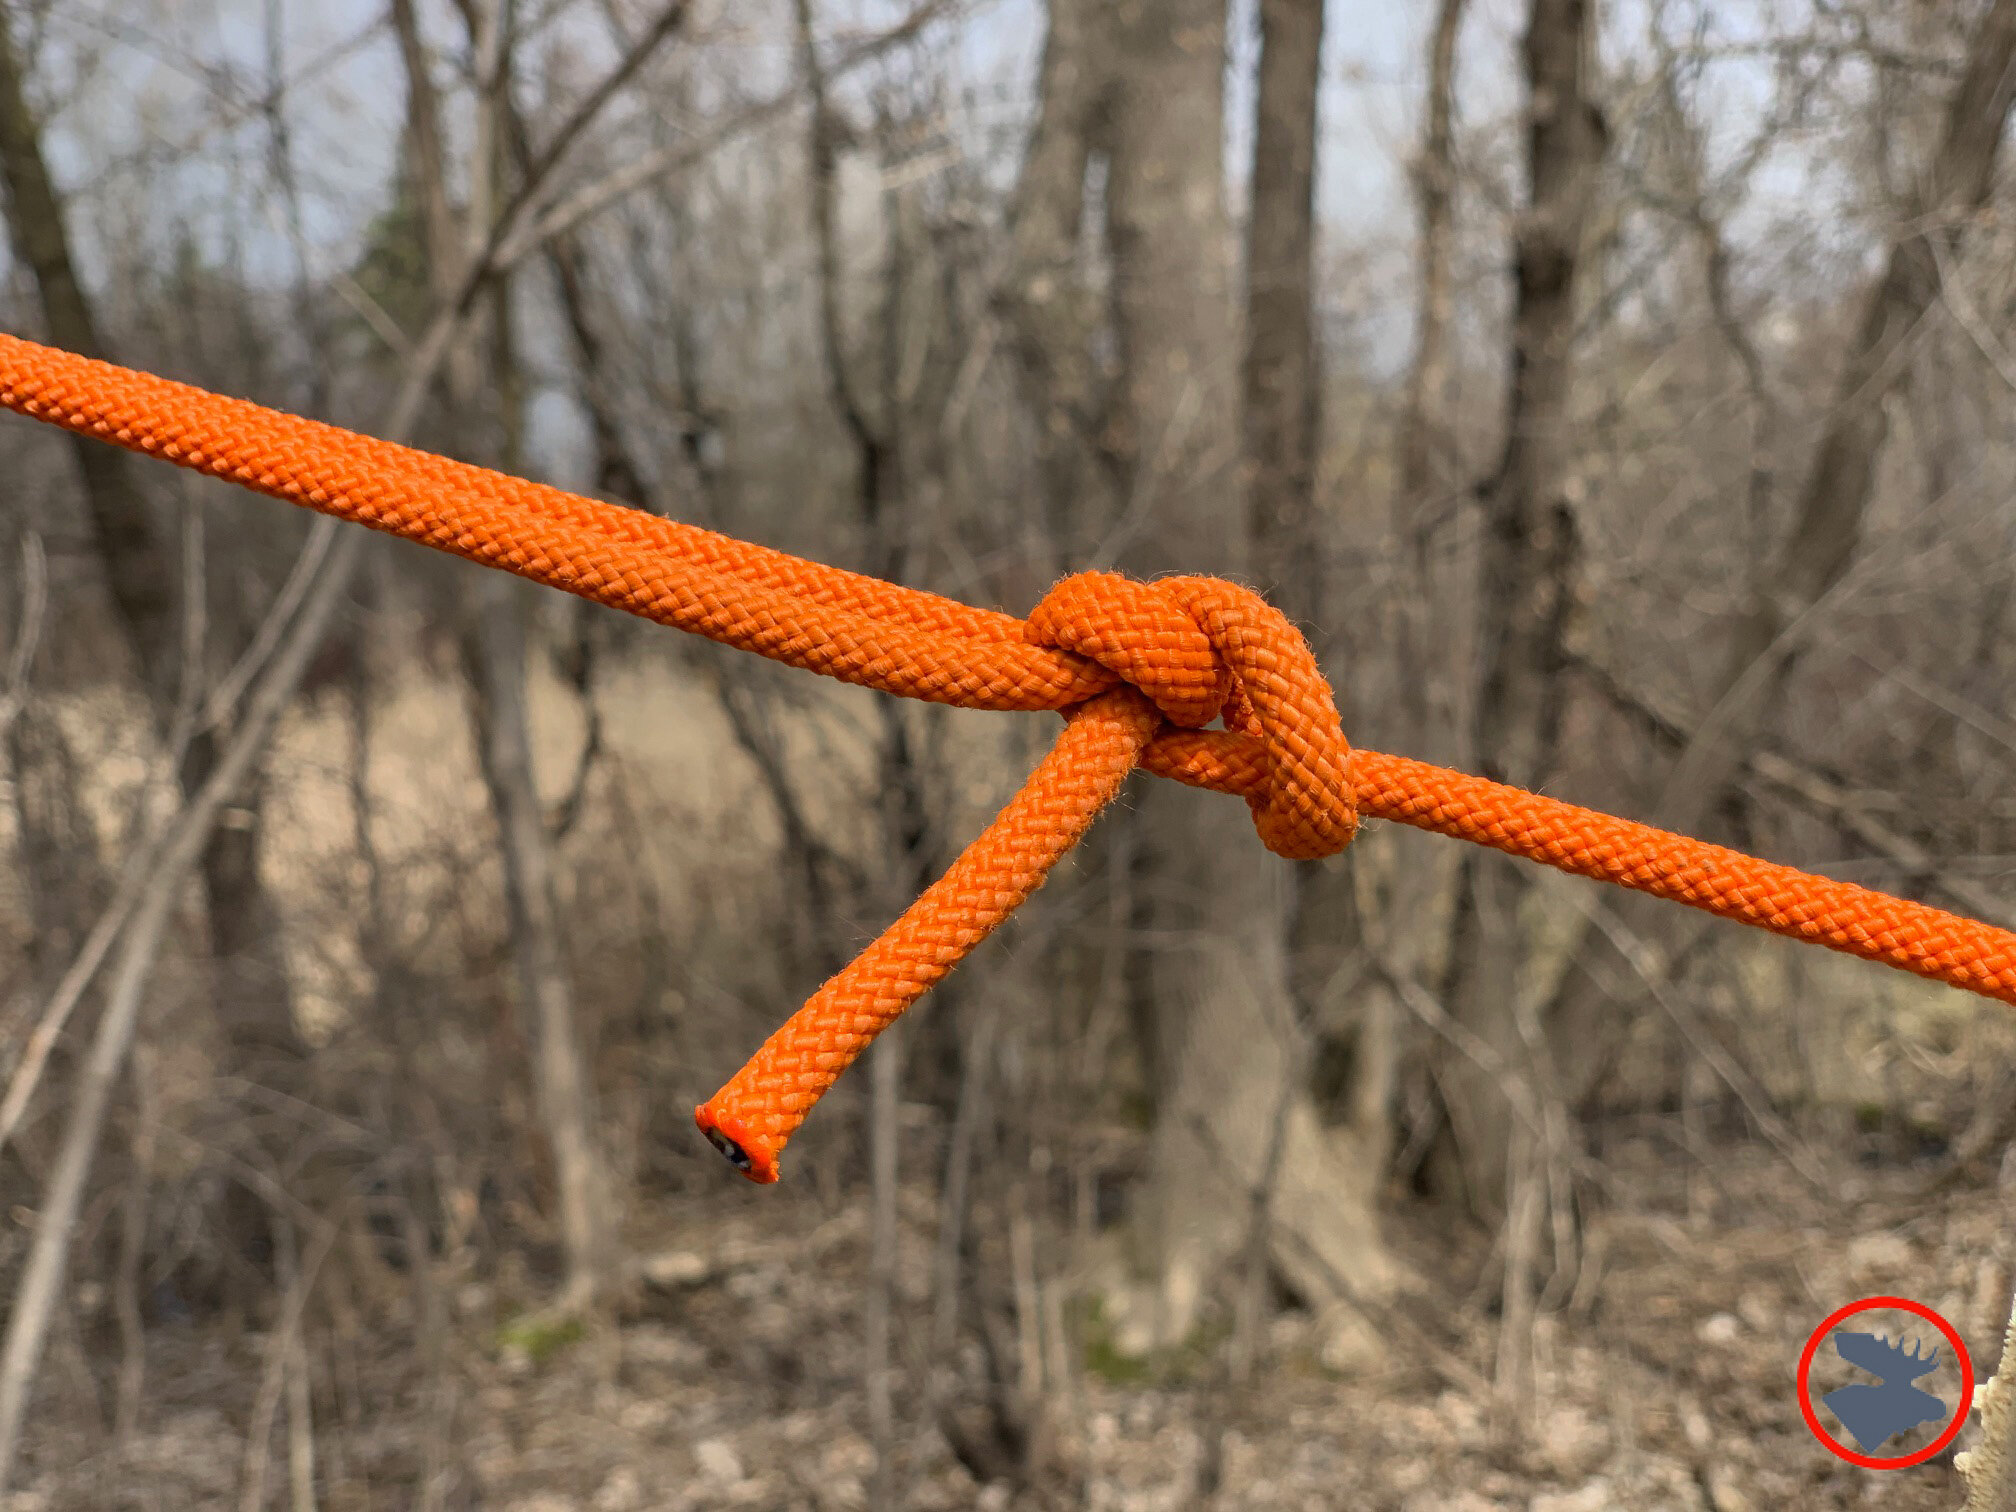
Creating a fixed loop. The bowline is a one of the most basic—and most important—knots. Learn the bowline early, as well as the many different ways to employ it.
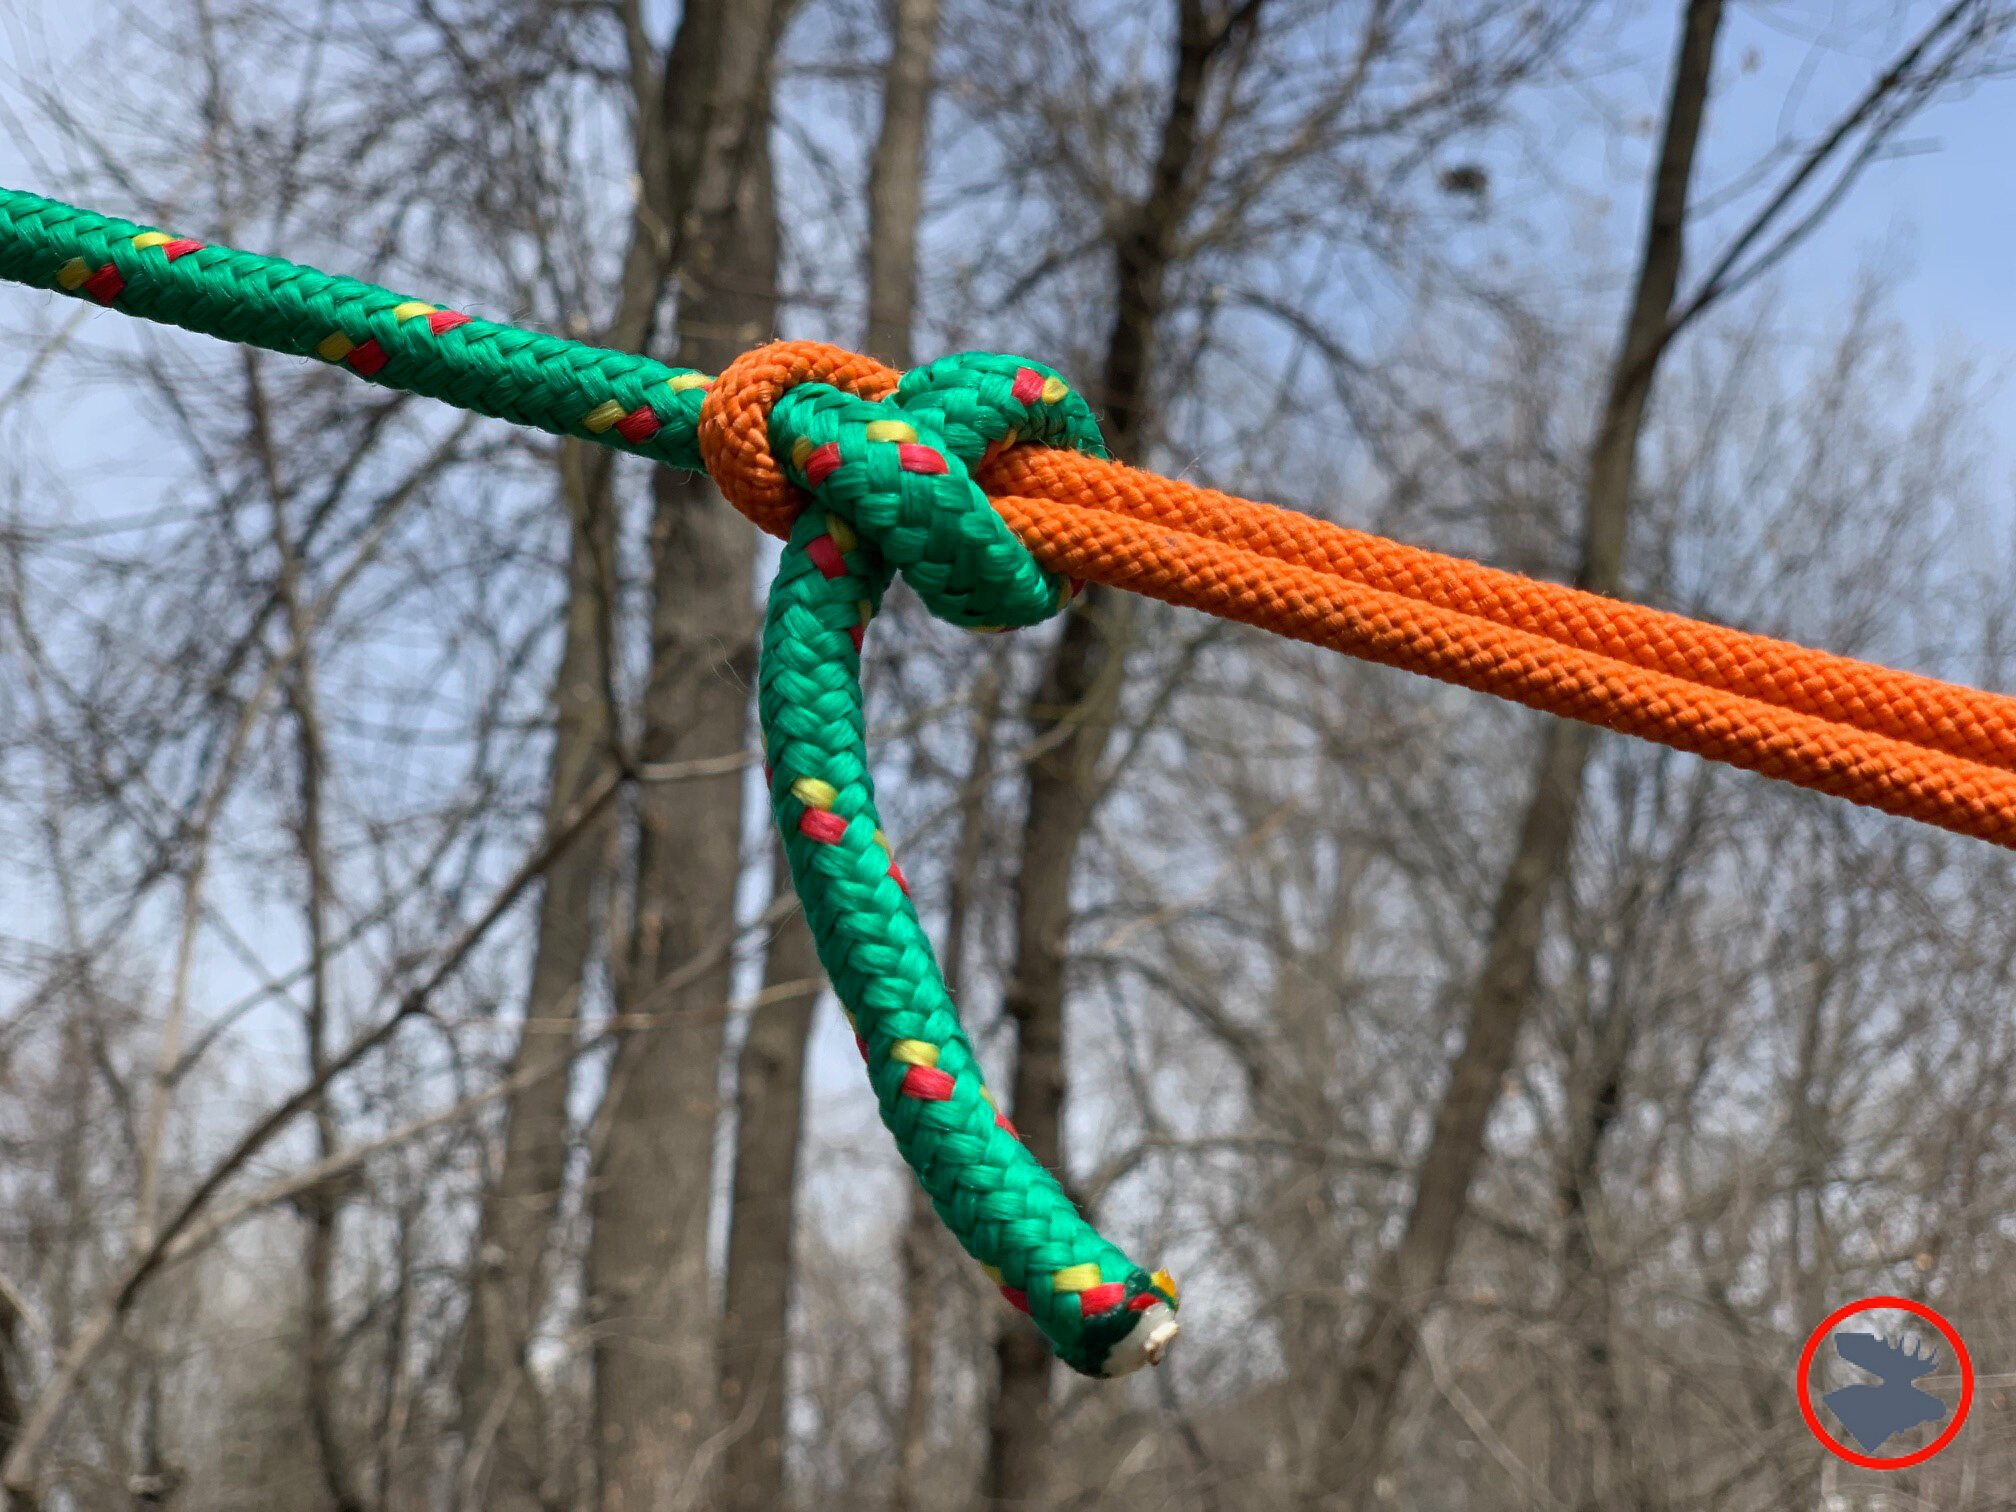
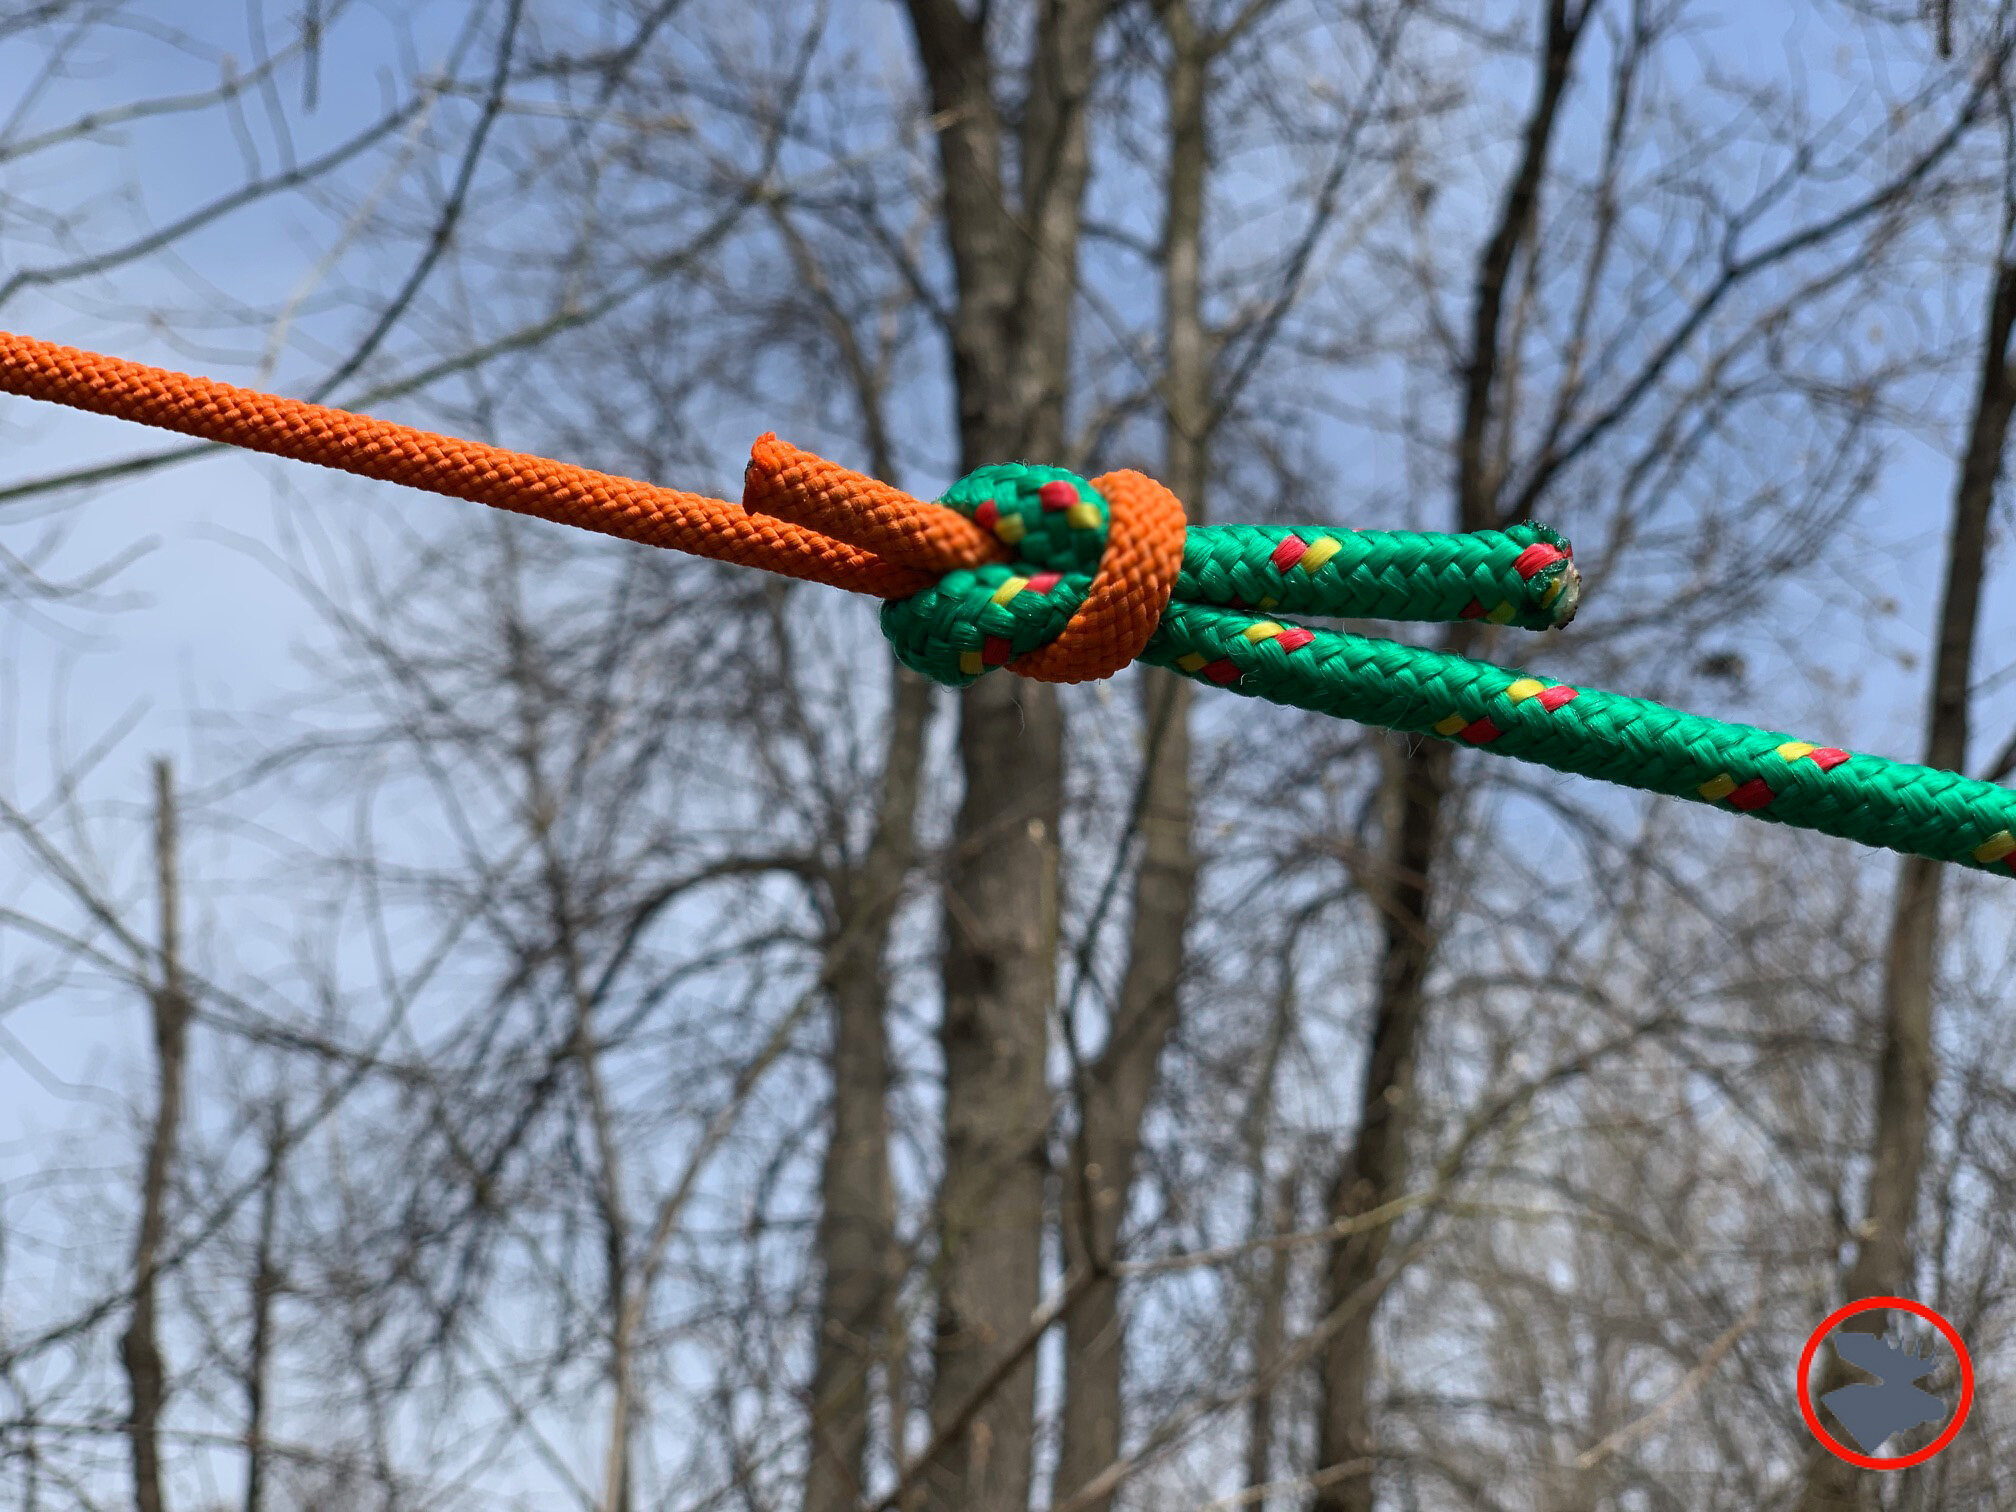
Join two ropes. While there are many knots that will work here, I suggest mastering the sheet bend first. In fact, might as well make it the double sheet bend. The square knot is a classic, and I really like the fisherman’s knot as well.
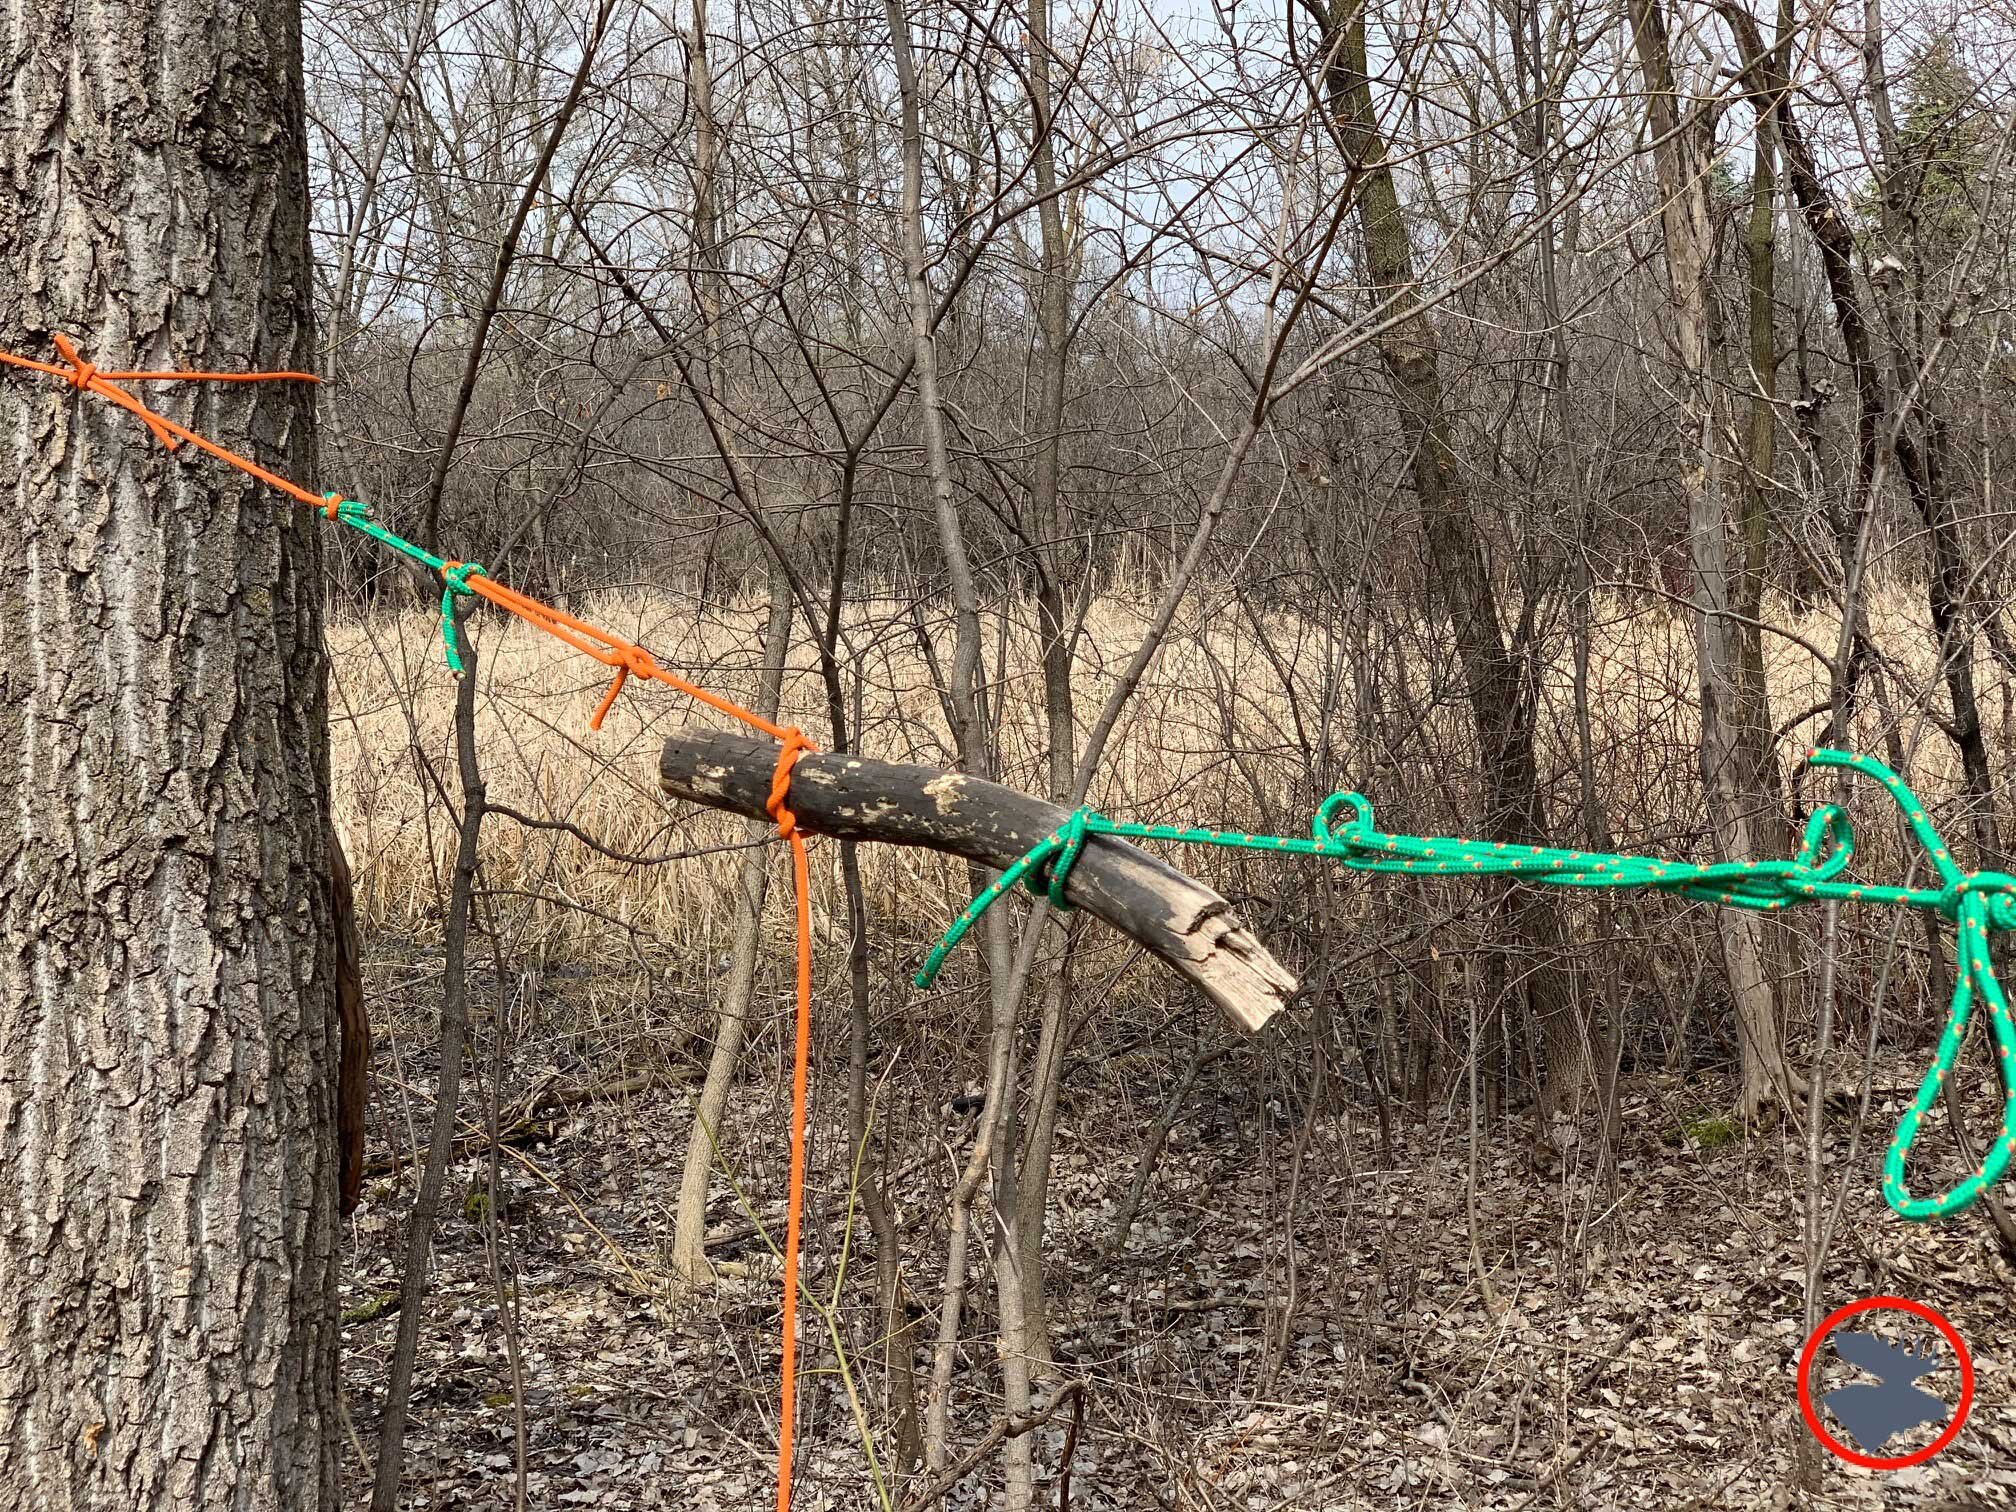
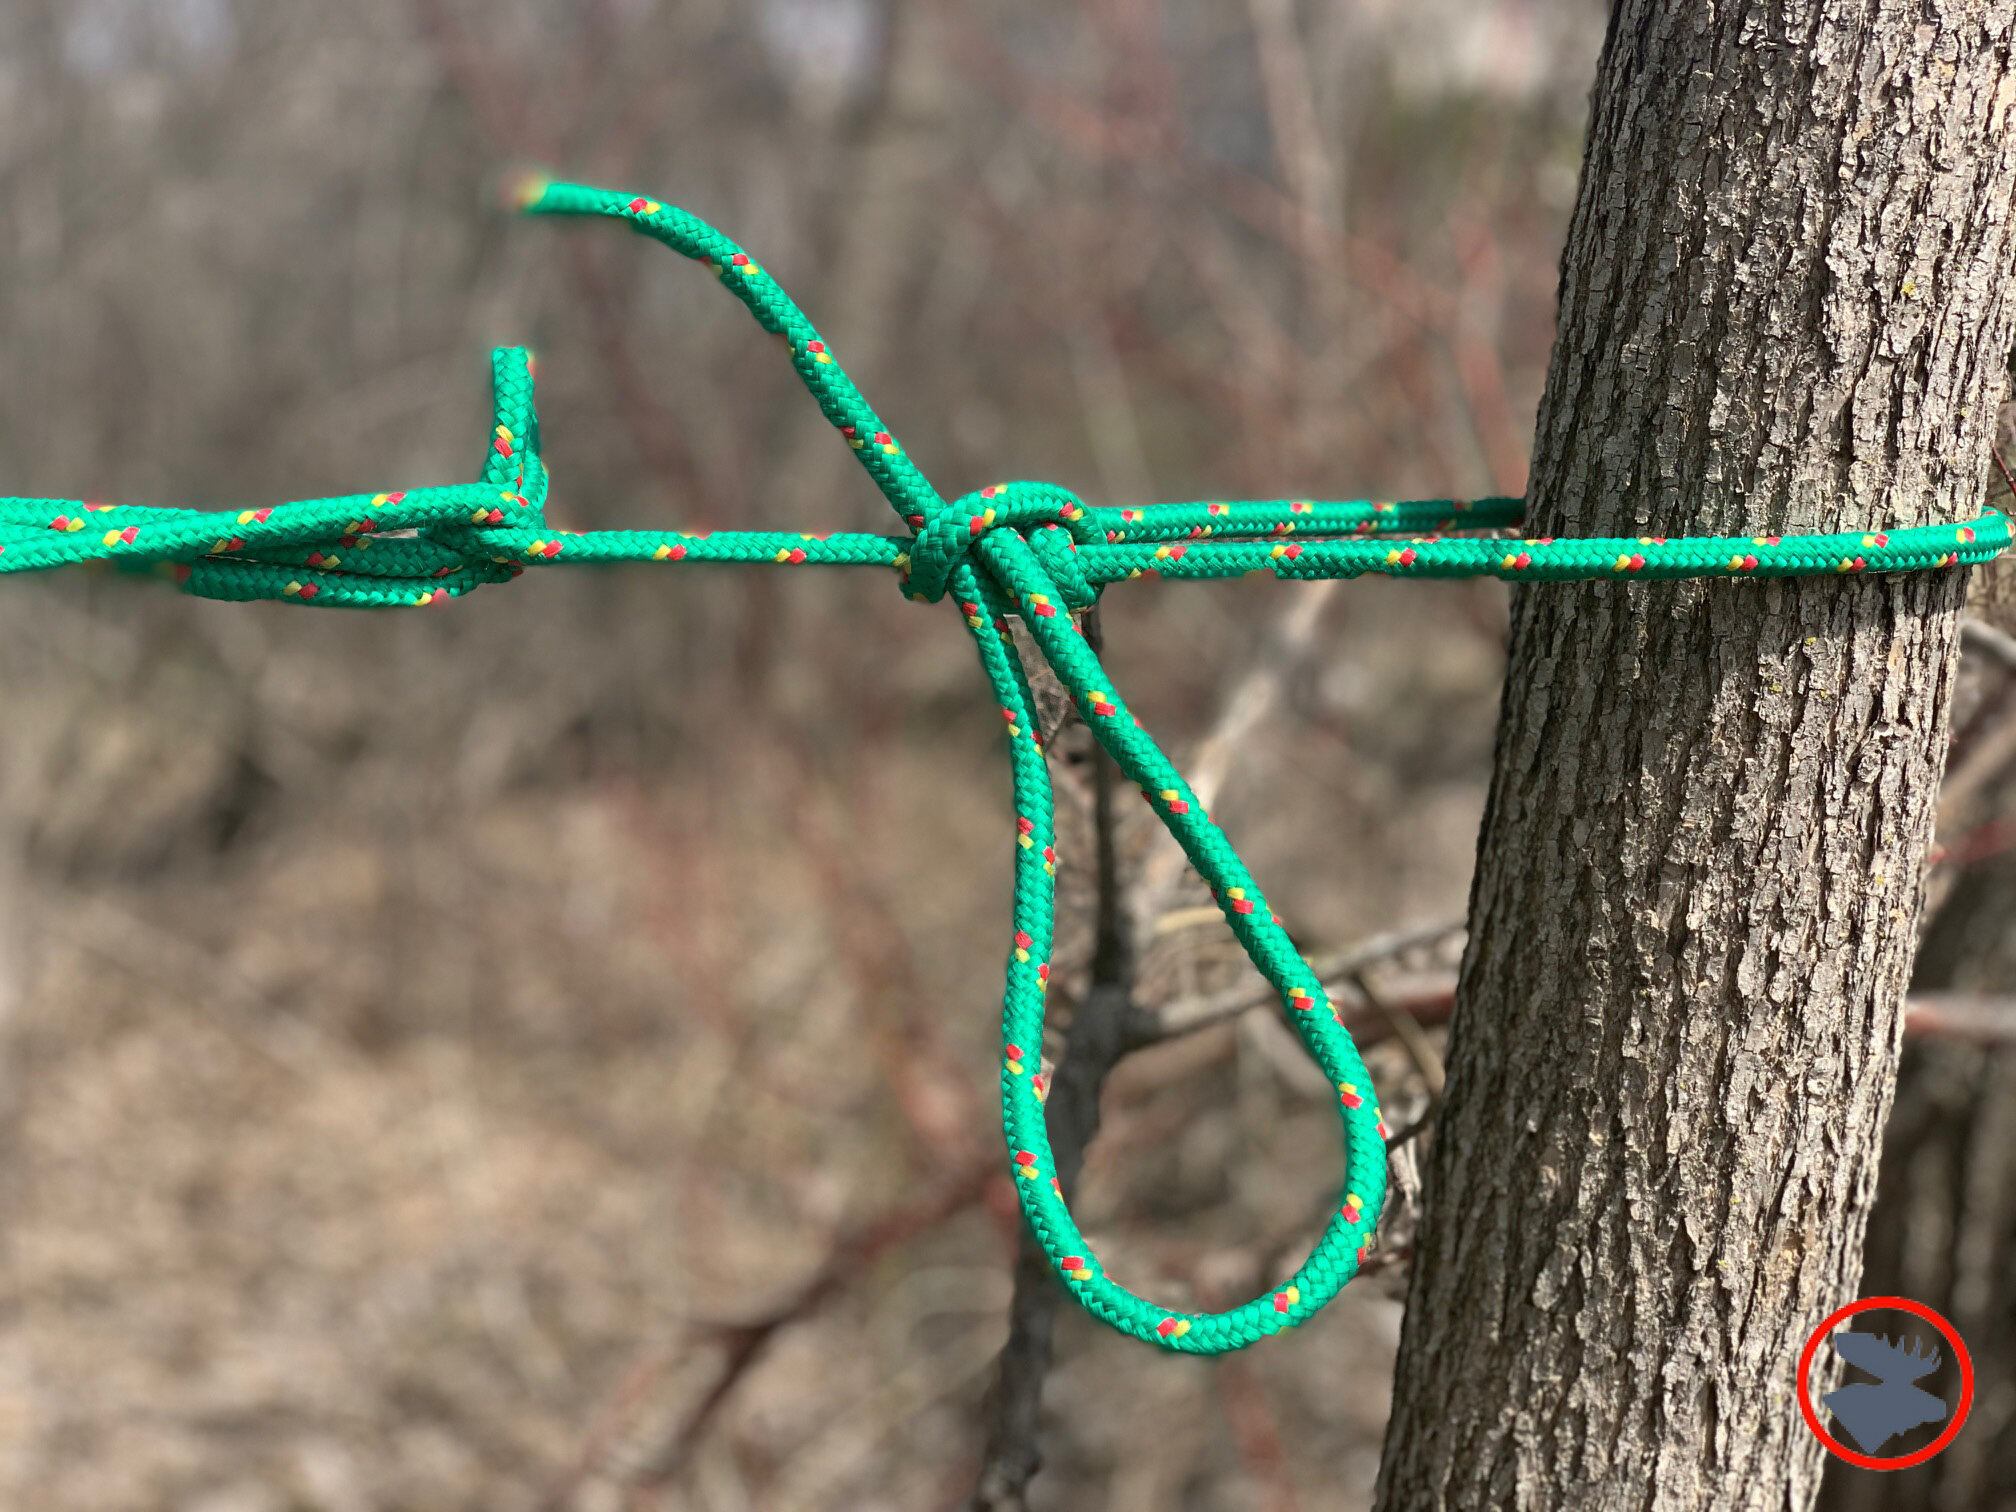
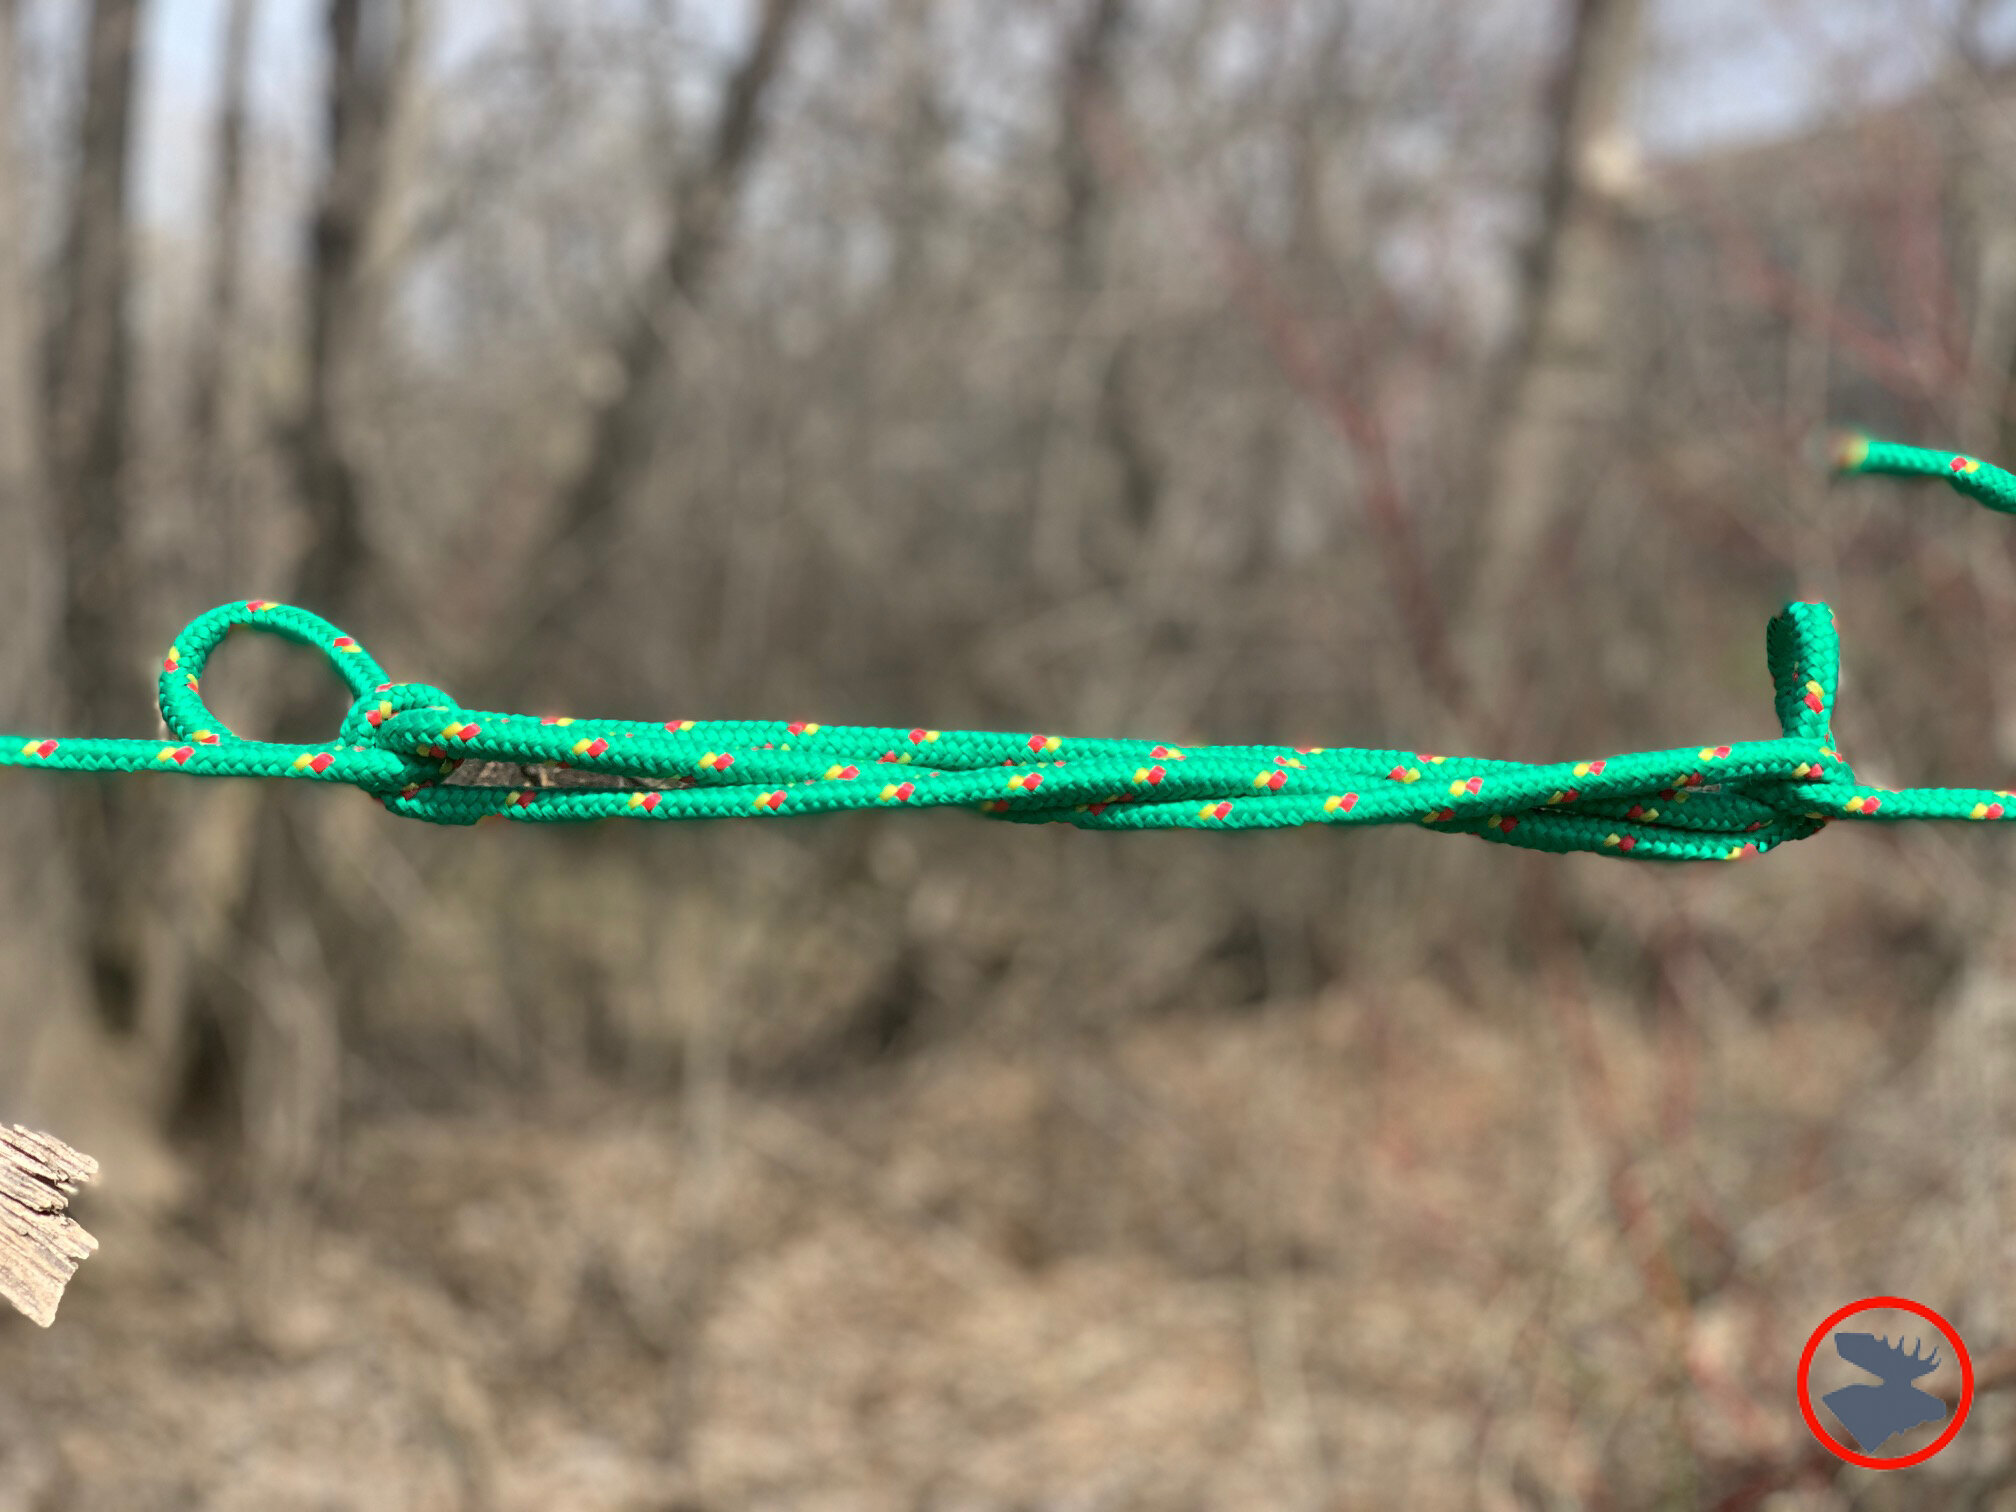
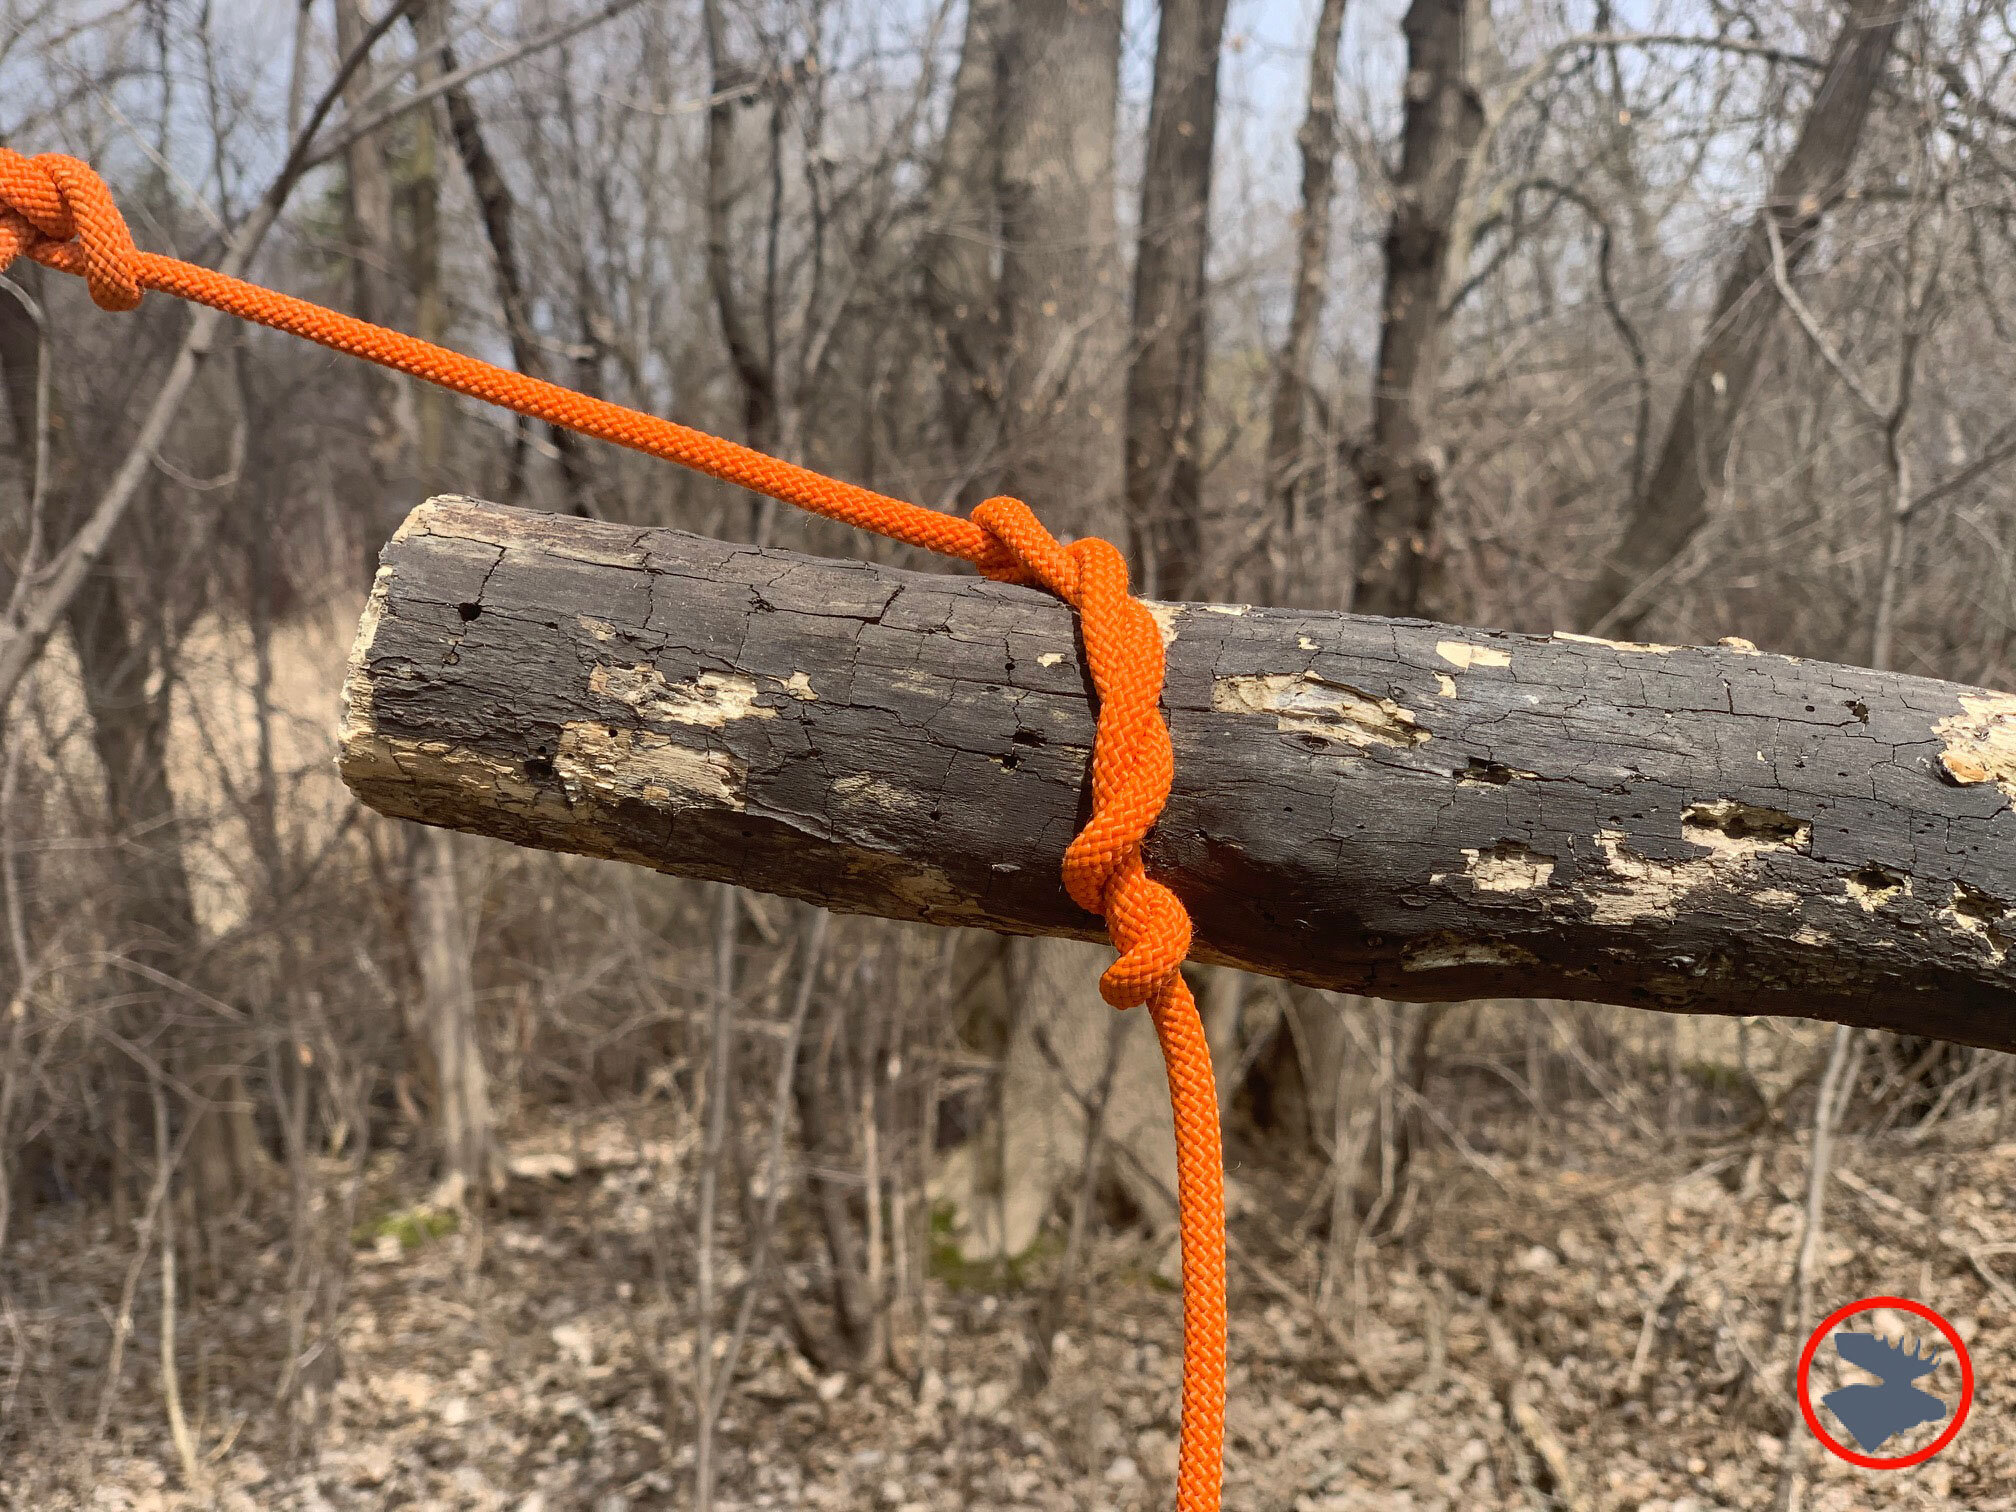
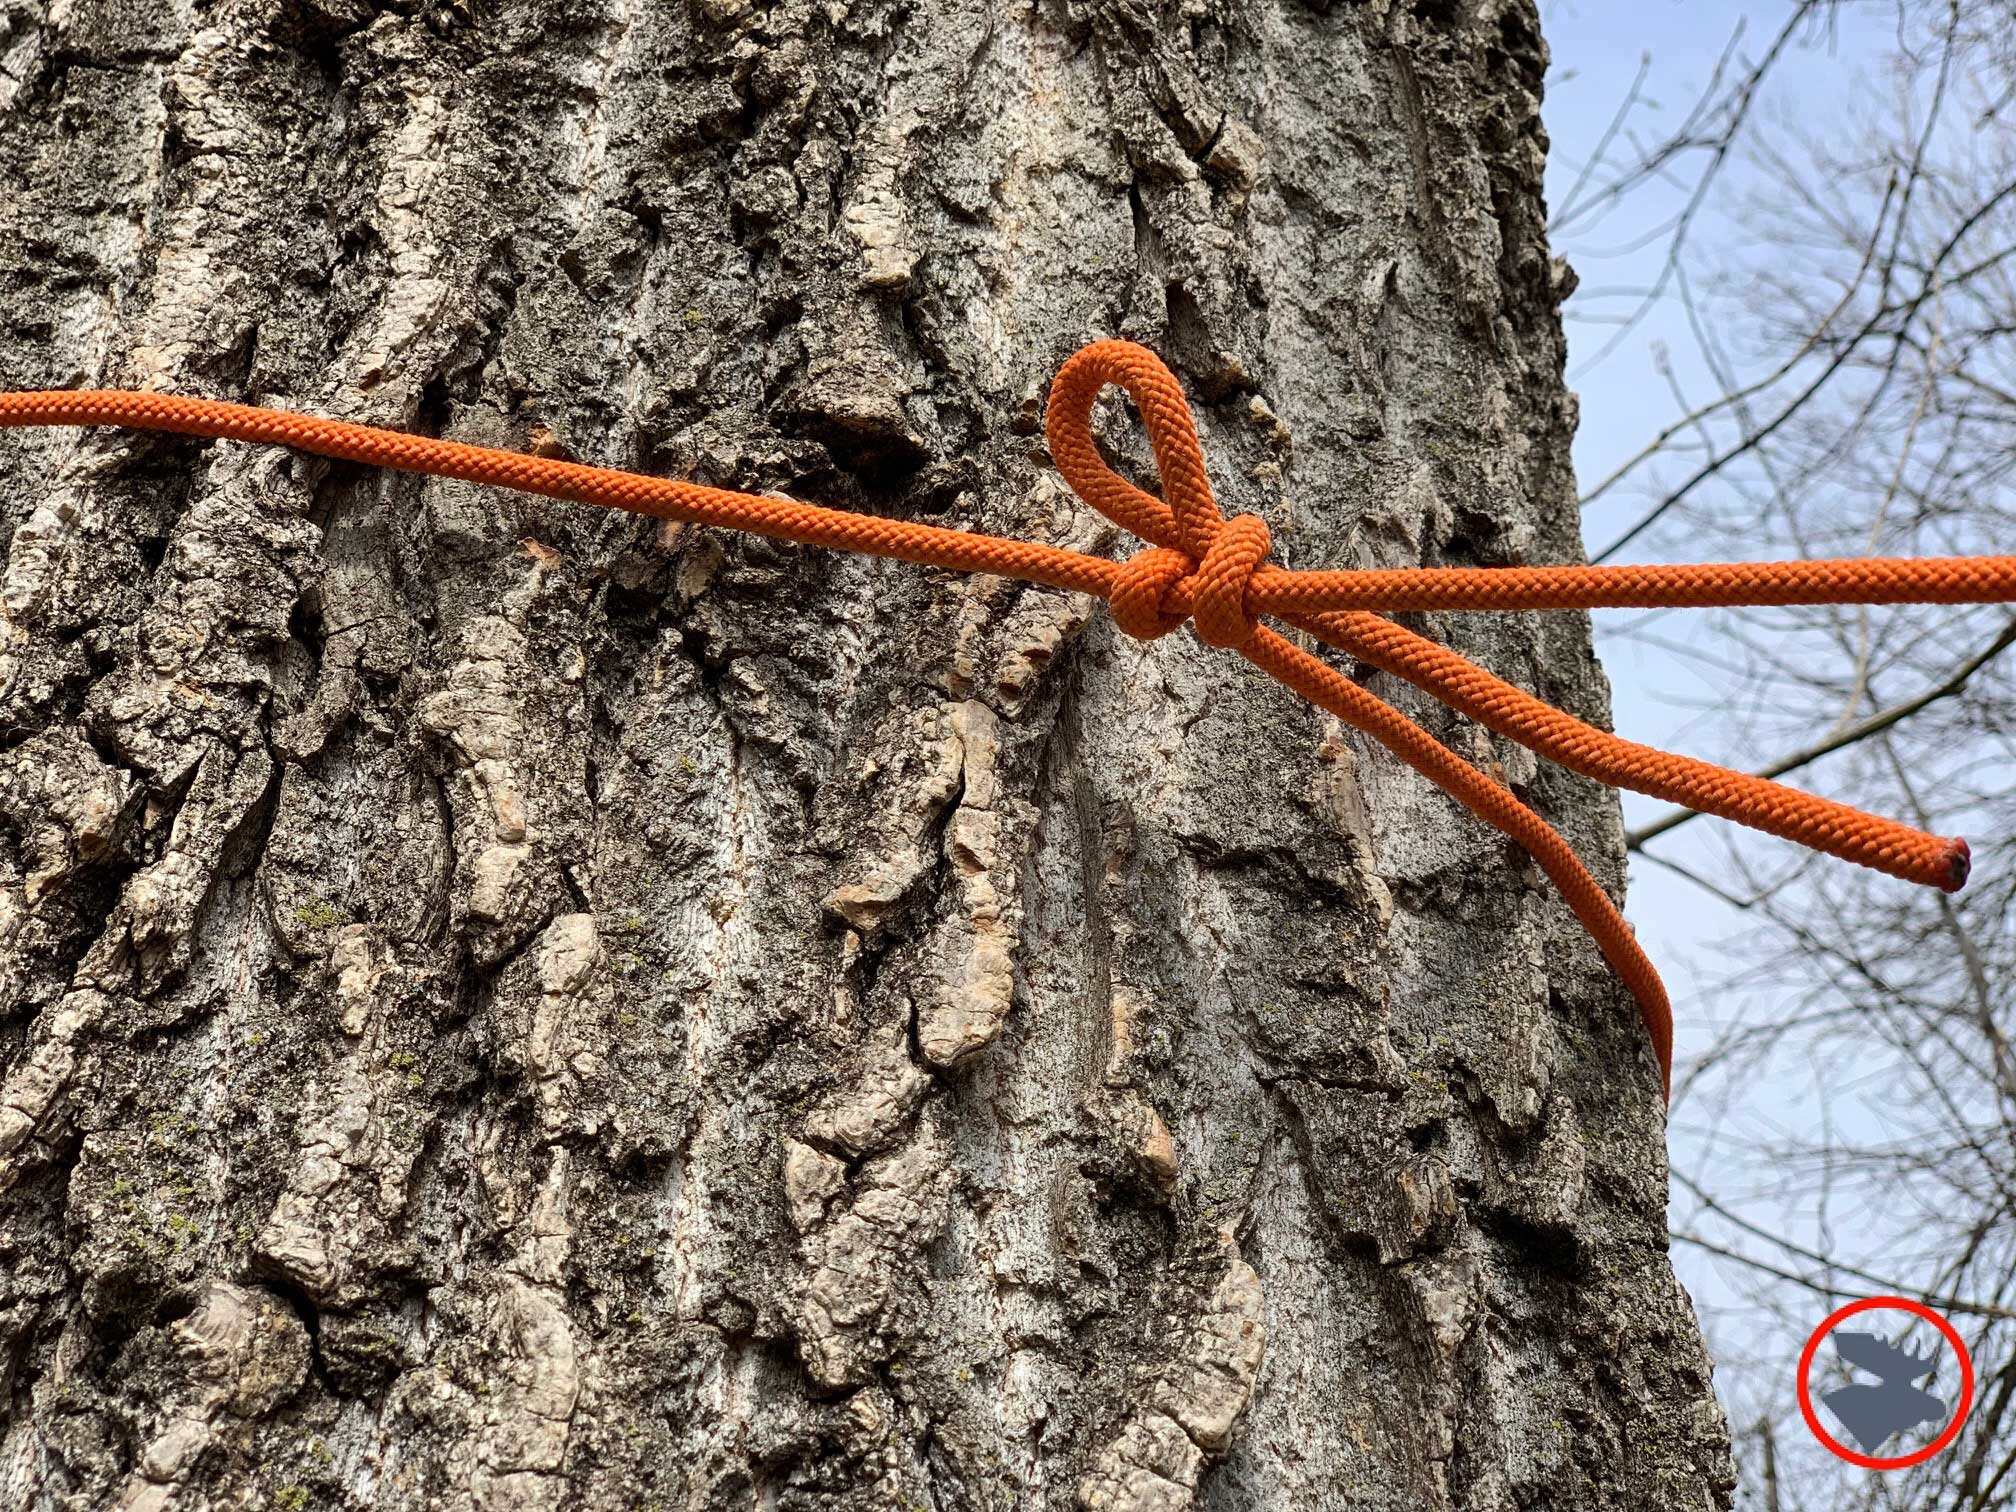
Create an adjustable loop. The ability to adjust tension tent and tarp guy lines, or a clothes line, without retying the knot is a core camp craft element! The taut-line hitch is a good basic knot, while the powerful trucker’s hitch is excellent for tying canoes on vehicle roofs or stretching a heavy ridge line drum tight.
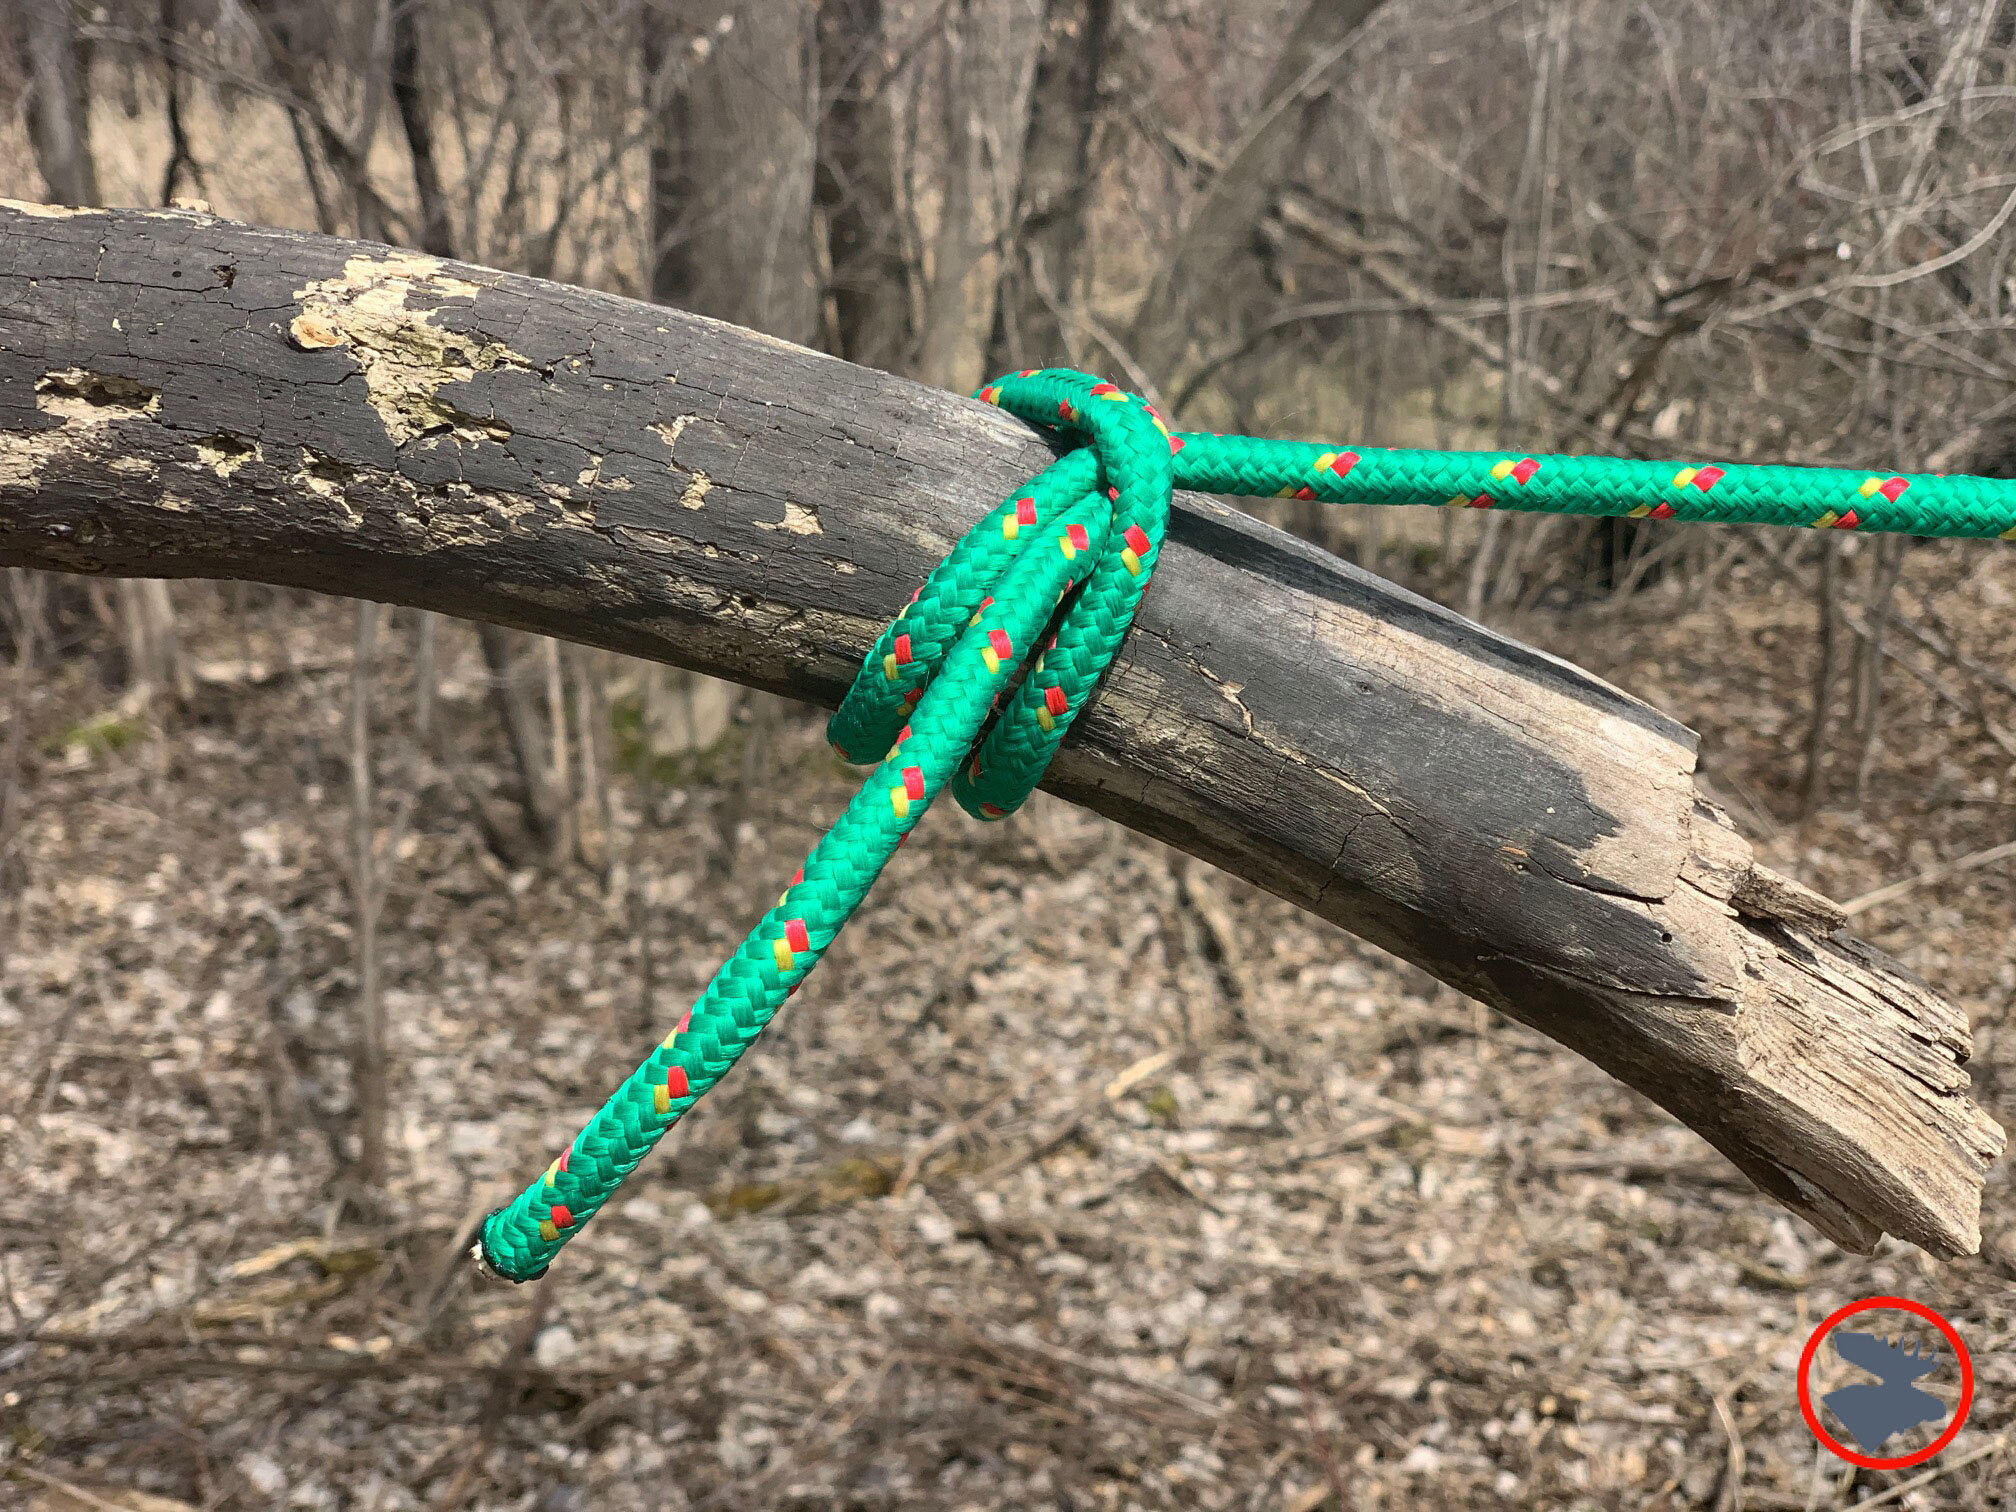
Lashing poles together. Learn the Canadian jam knot, made famous by Mors Kochanski. This simple knot will allow you to lash poles with a minimal amount of cordage. There are many fun and useful projects that can be undertaken with the classic lashings, such as the square, round, diagonal.
Create natural cordage. Already have a couple dozen knots and lashings down and looking for extra credit? Try your hand at making cordage out of natural materials. It is amazing to see the quality of cordage primitive skills practitioners can twist up from plant fibers.
You could spend a lifetime learning knots, and really enjoy your time. Learning the ones mentioned above, and the rest of the basic Boy Scout knots, will give you a good set knot knowledge for your next outdoor adventure.
Paddle Strokes
Many people struggle to learn paddle strokes when in the heat of the moment. While fighting wind and waves or rushing into a set of rapids, it’s easy to get tunnel vision, forget the nuances of paddle strokes, or revert to old habits. Dry land training can help develop the proper stroke mechanics, so you have them in your muscle memory when you’re back on the water.
Practice Pointers
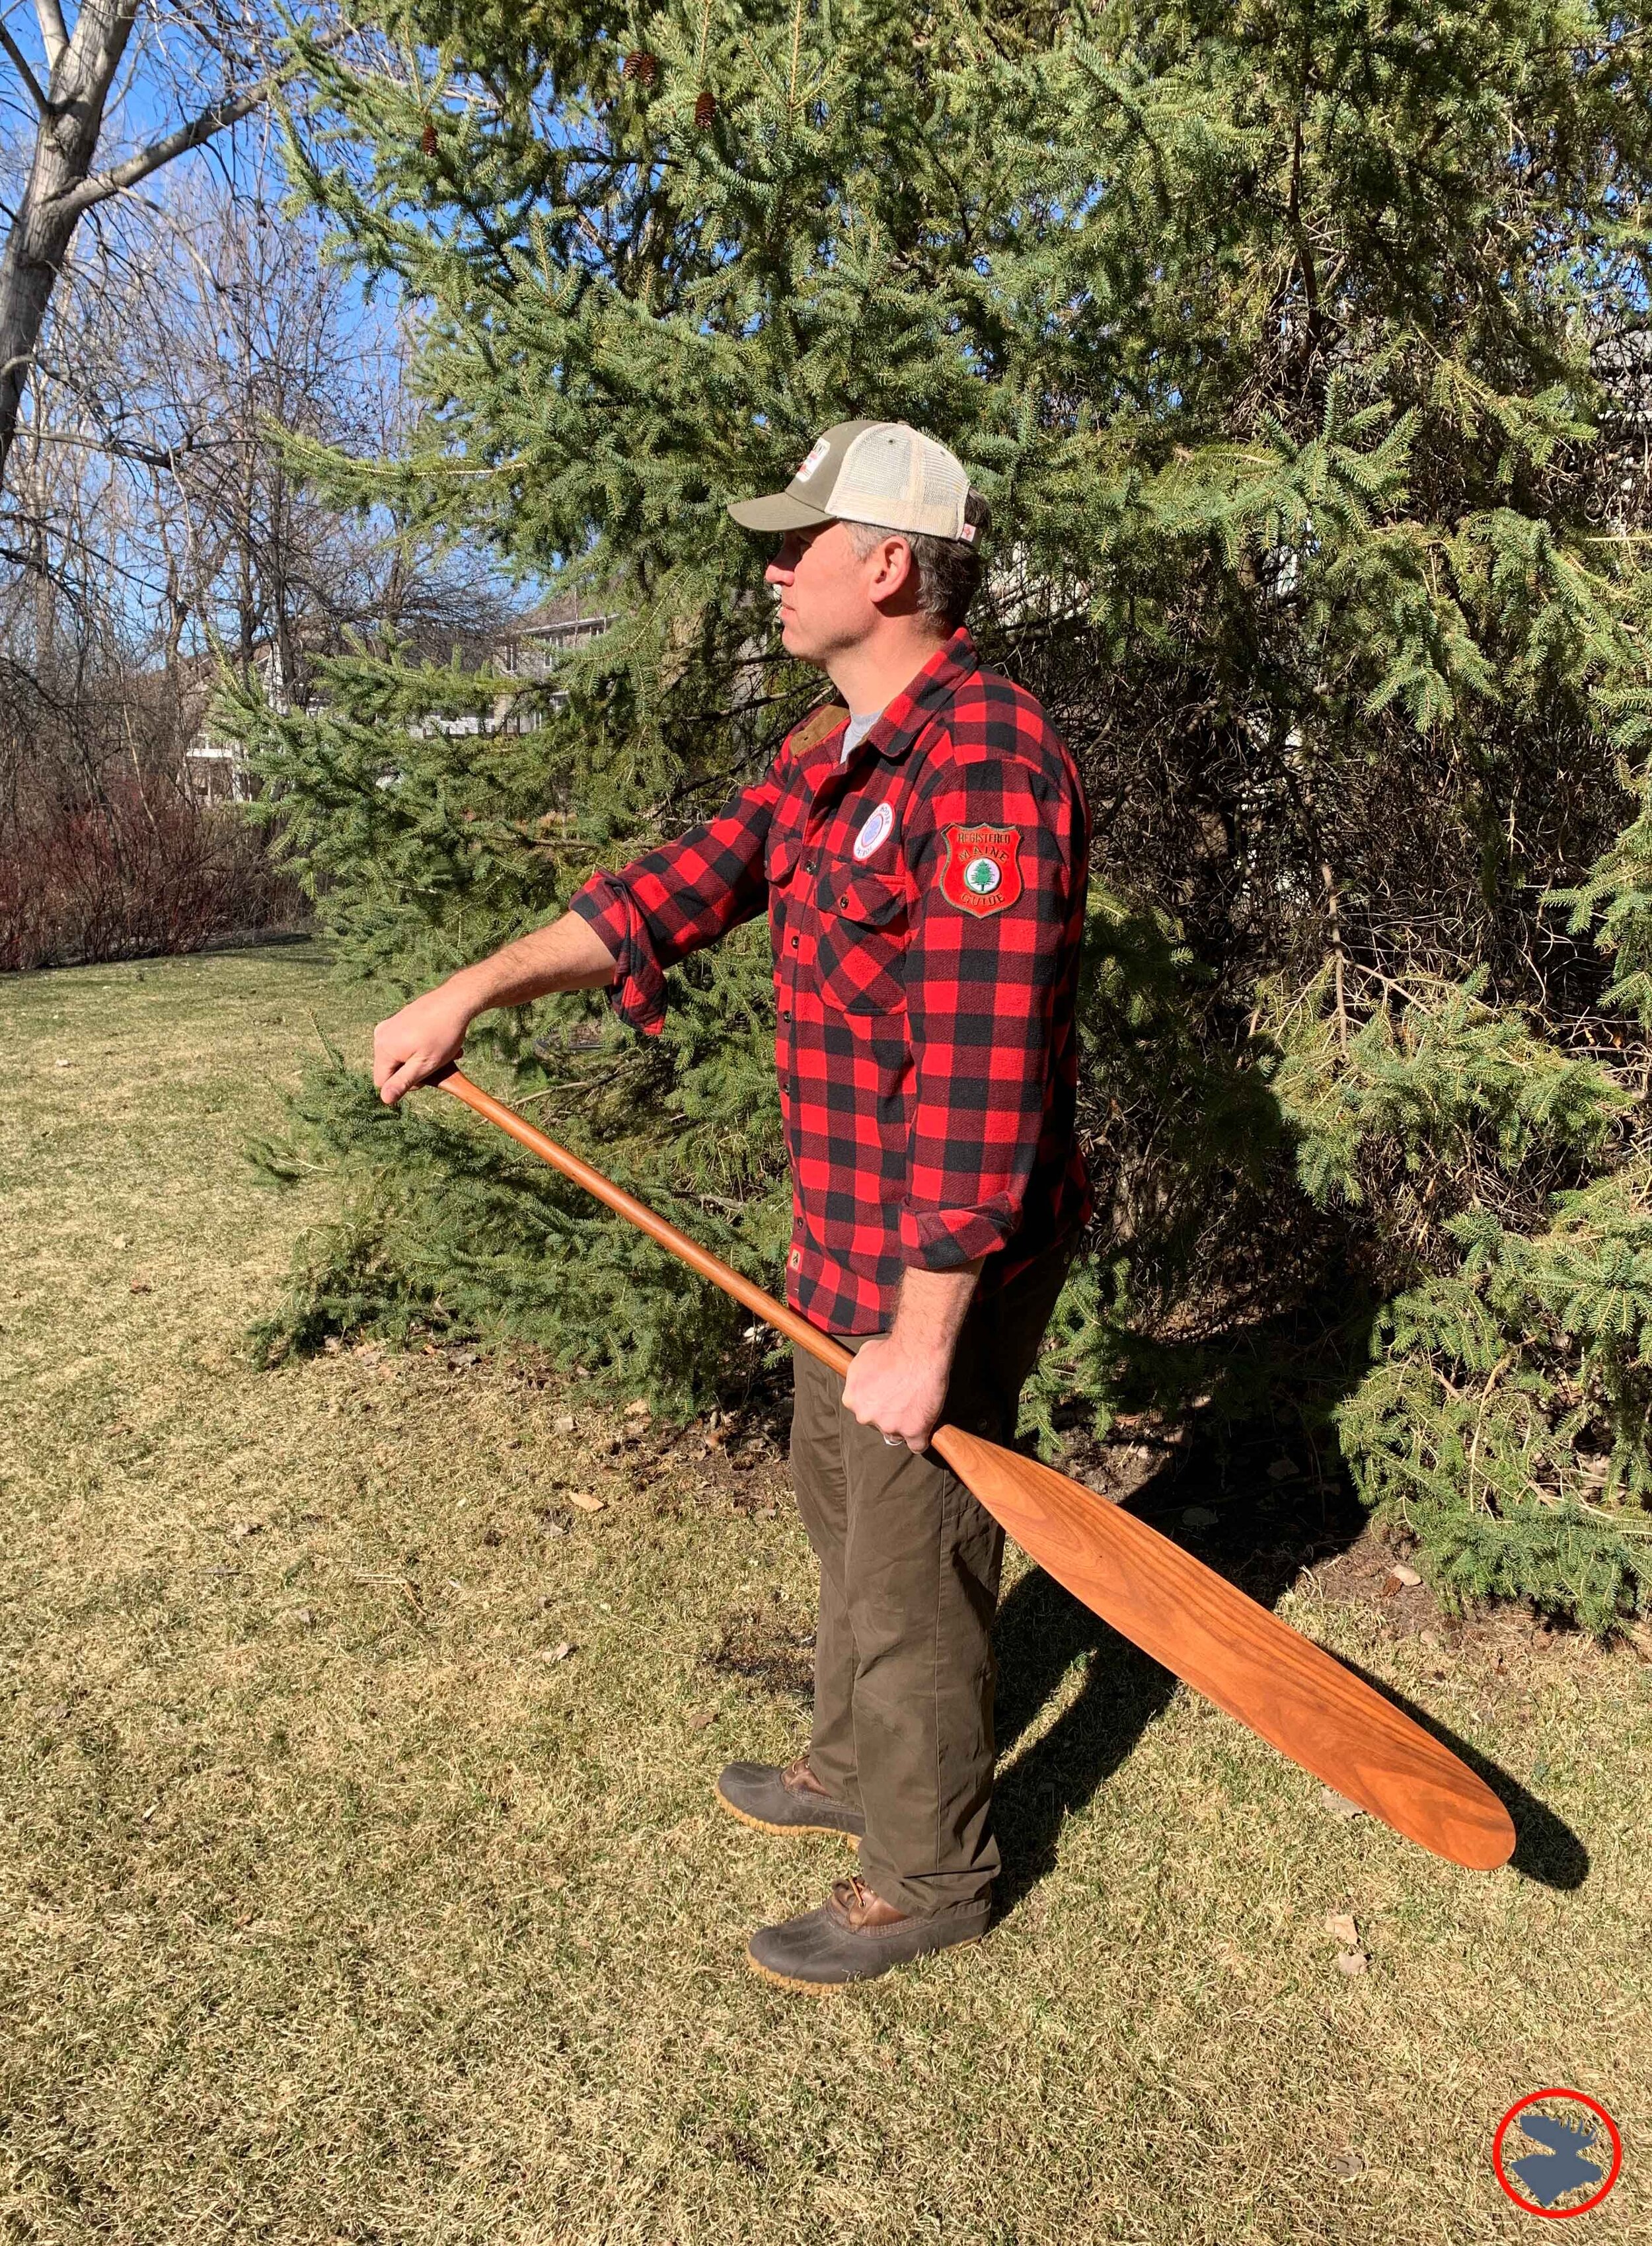
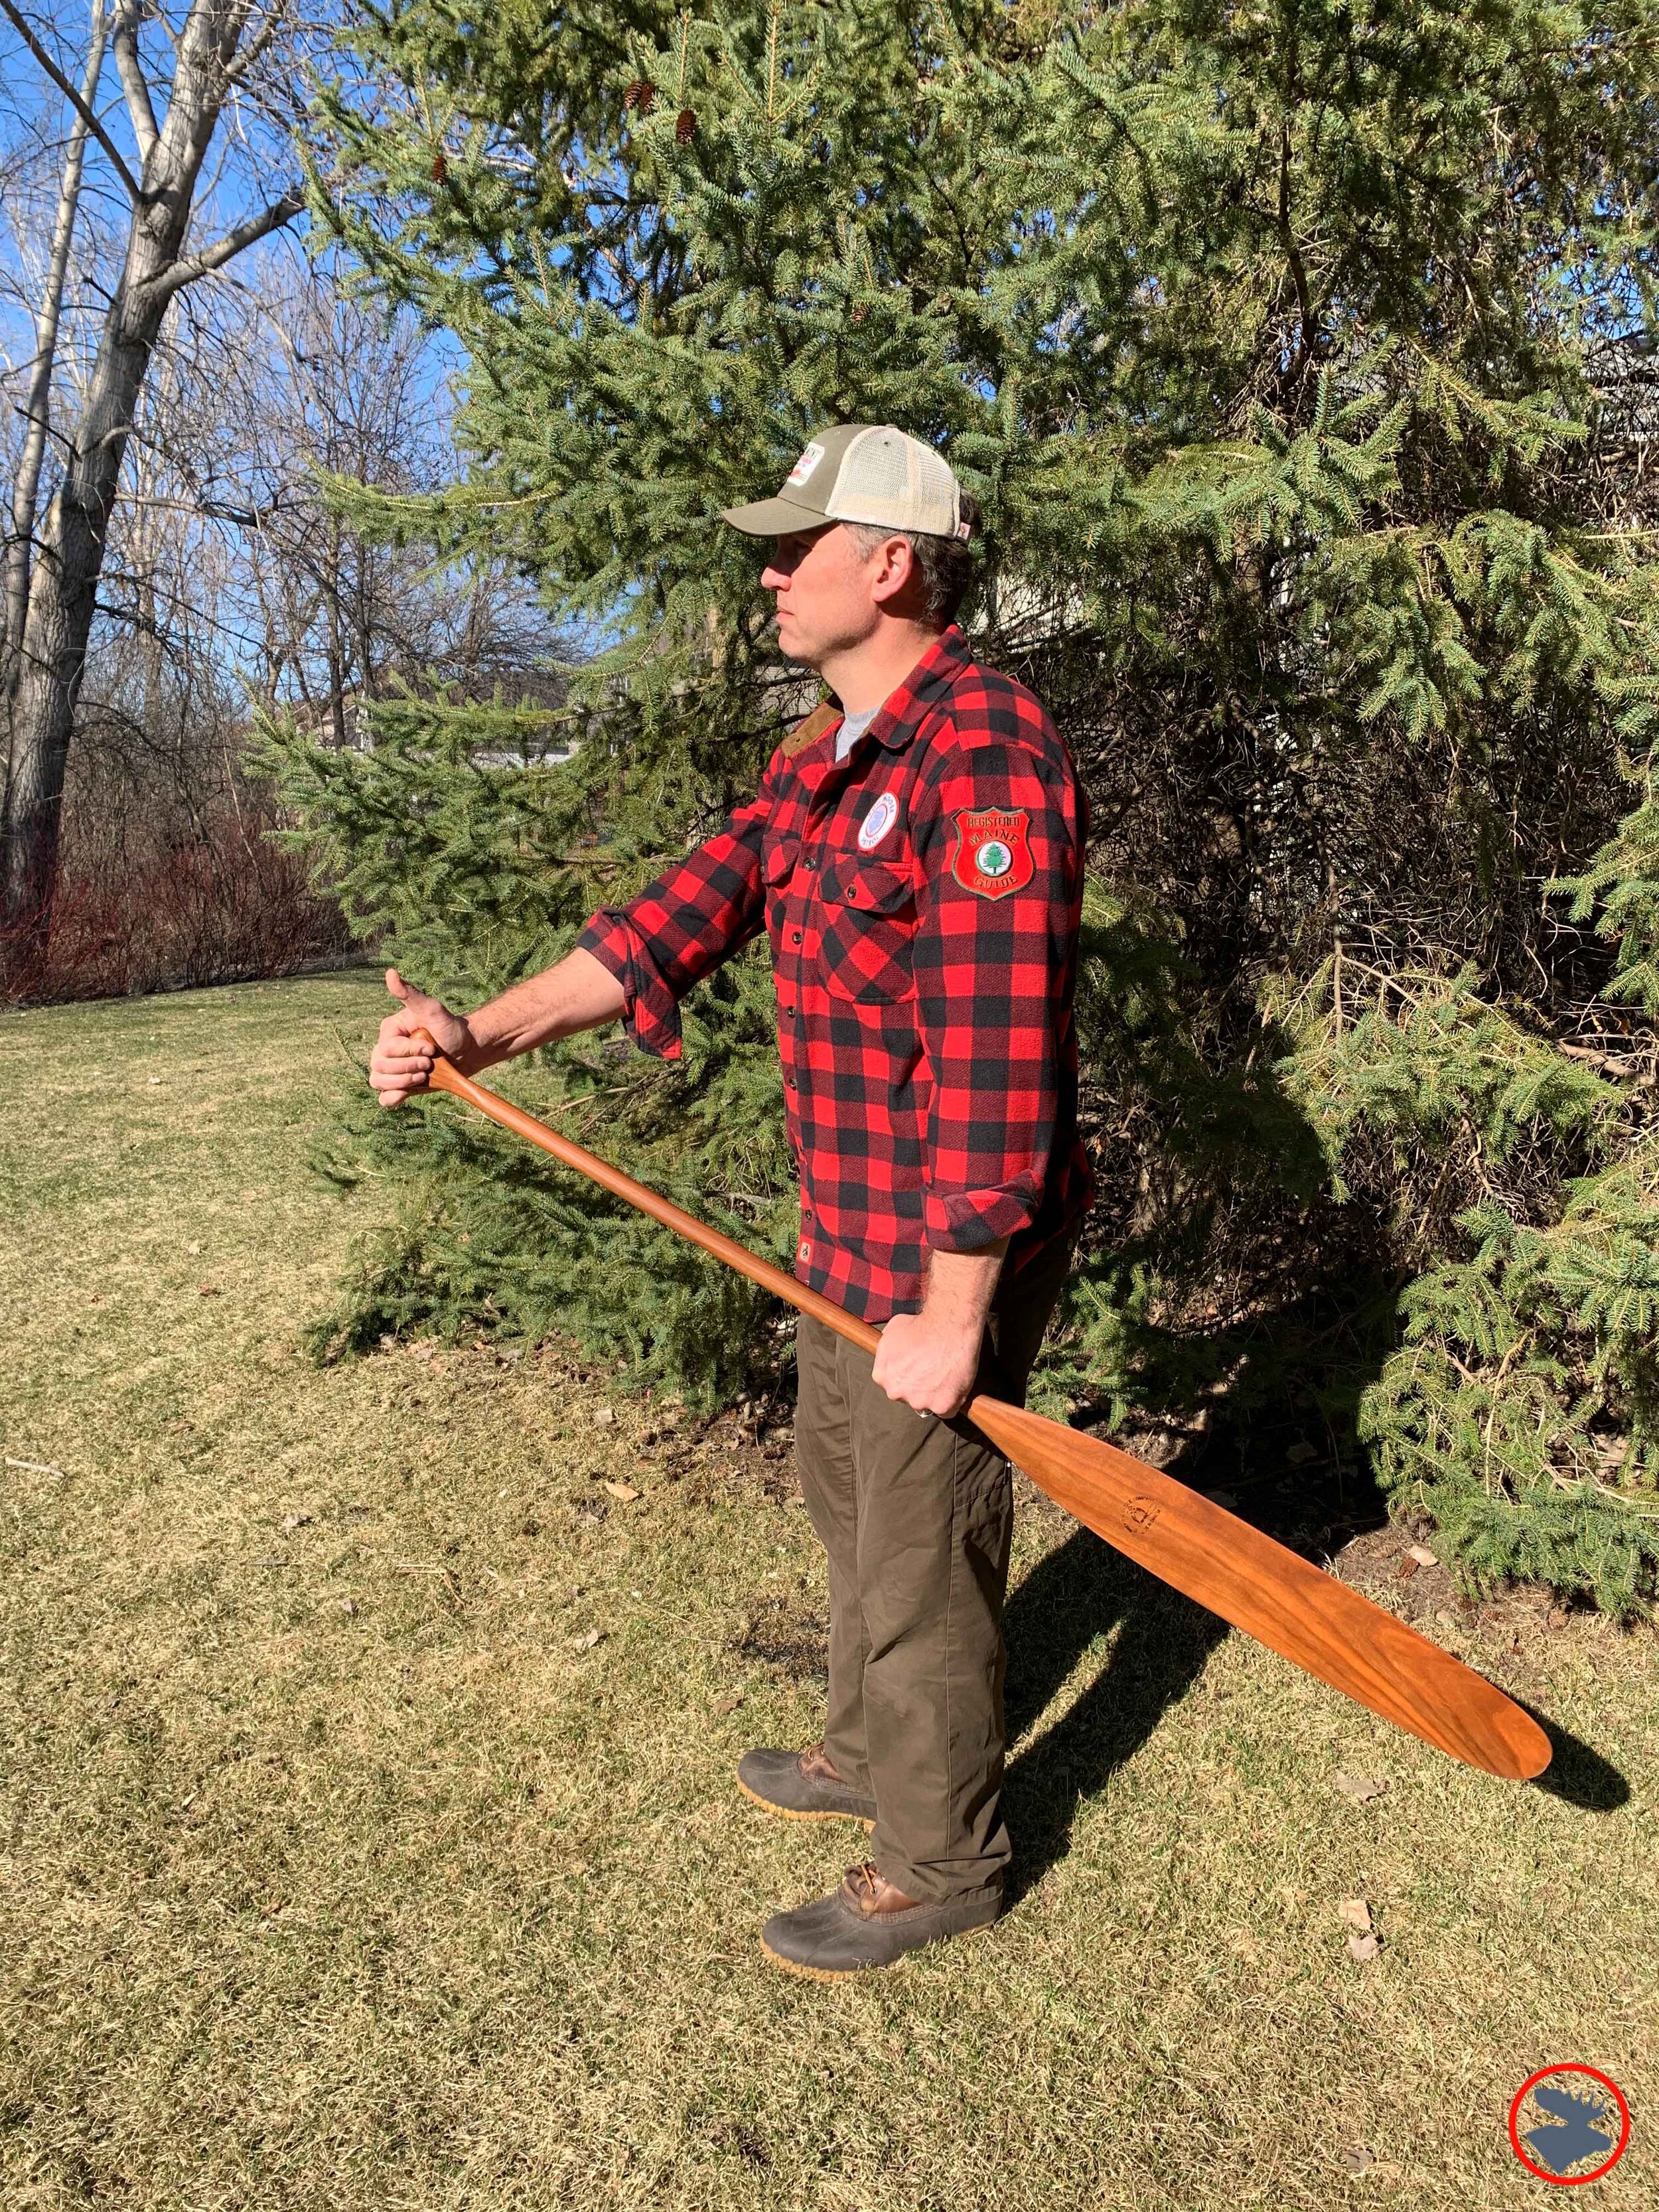
J-Stroke. A well-honed J-stroke has long been the mark of a well-trained canoeist. When paddling in the stern, are you able to keep the canoe on track, straight as an arrow with one stroke rolling into the next while continuously paddling on one side? With the J-stroke, your wrist turns to apply steering leverage with your top hand thumb rolling down toward the water. This allows your paddle to maintain its grab on the water, and you can smoothly transition into the next stroke.
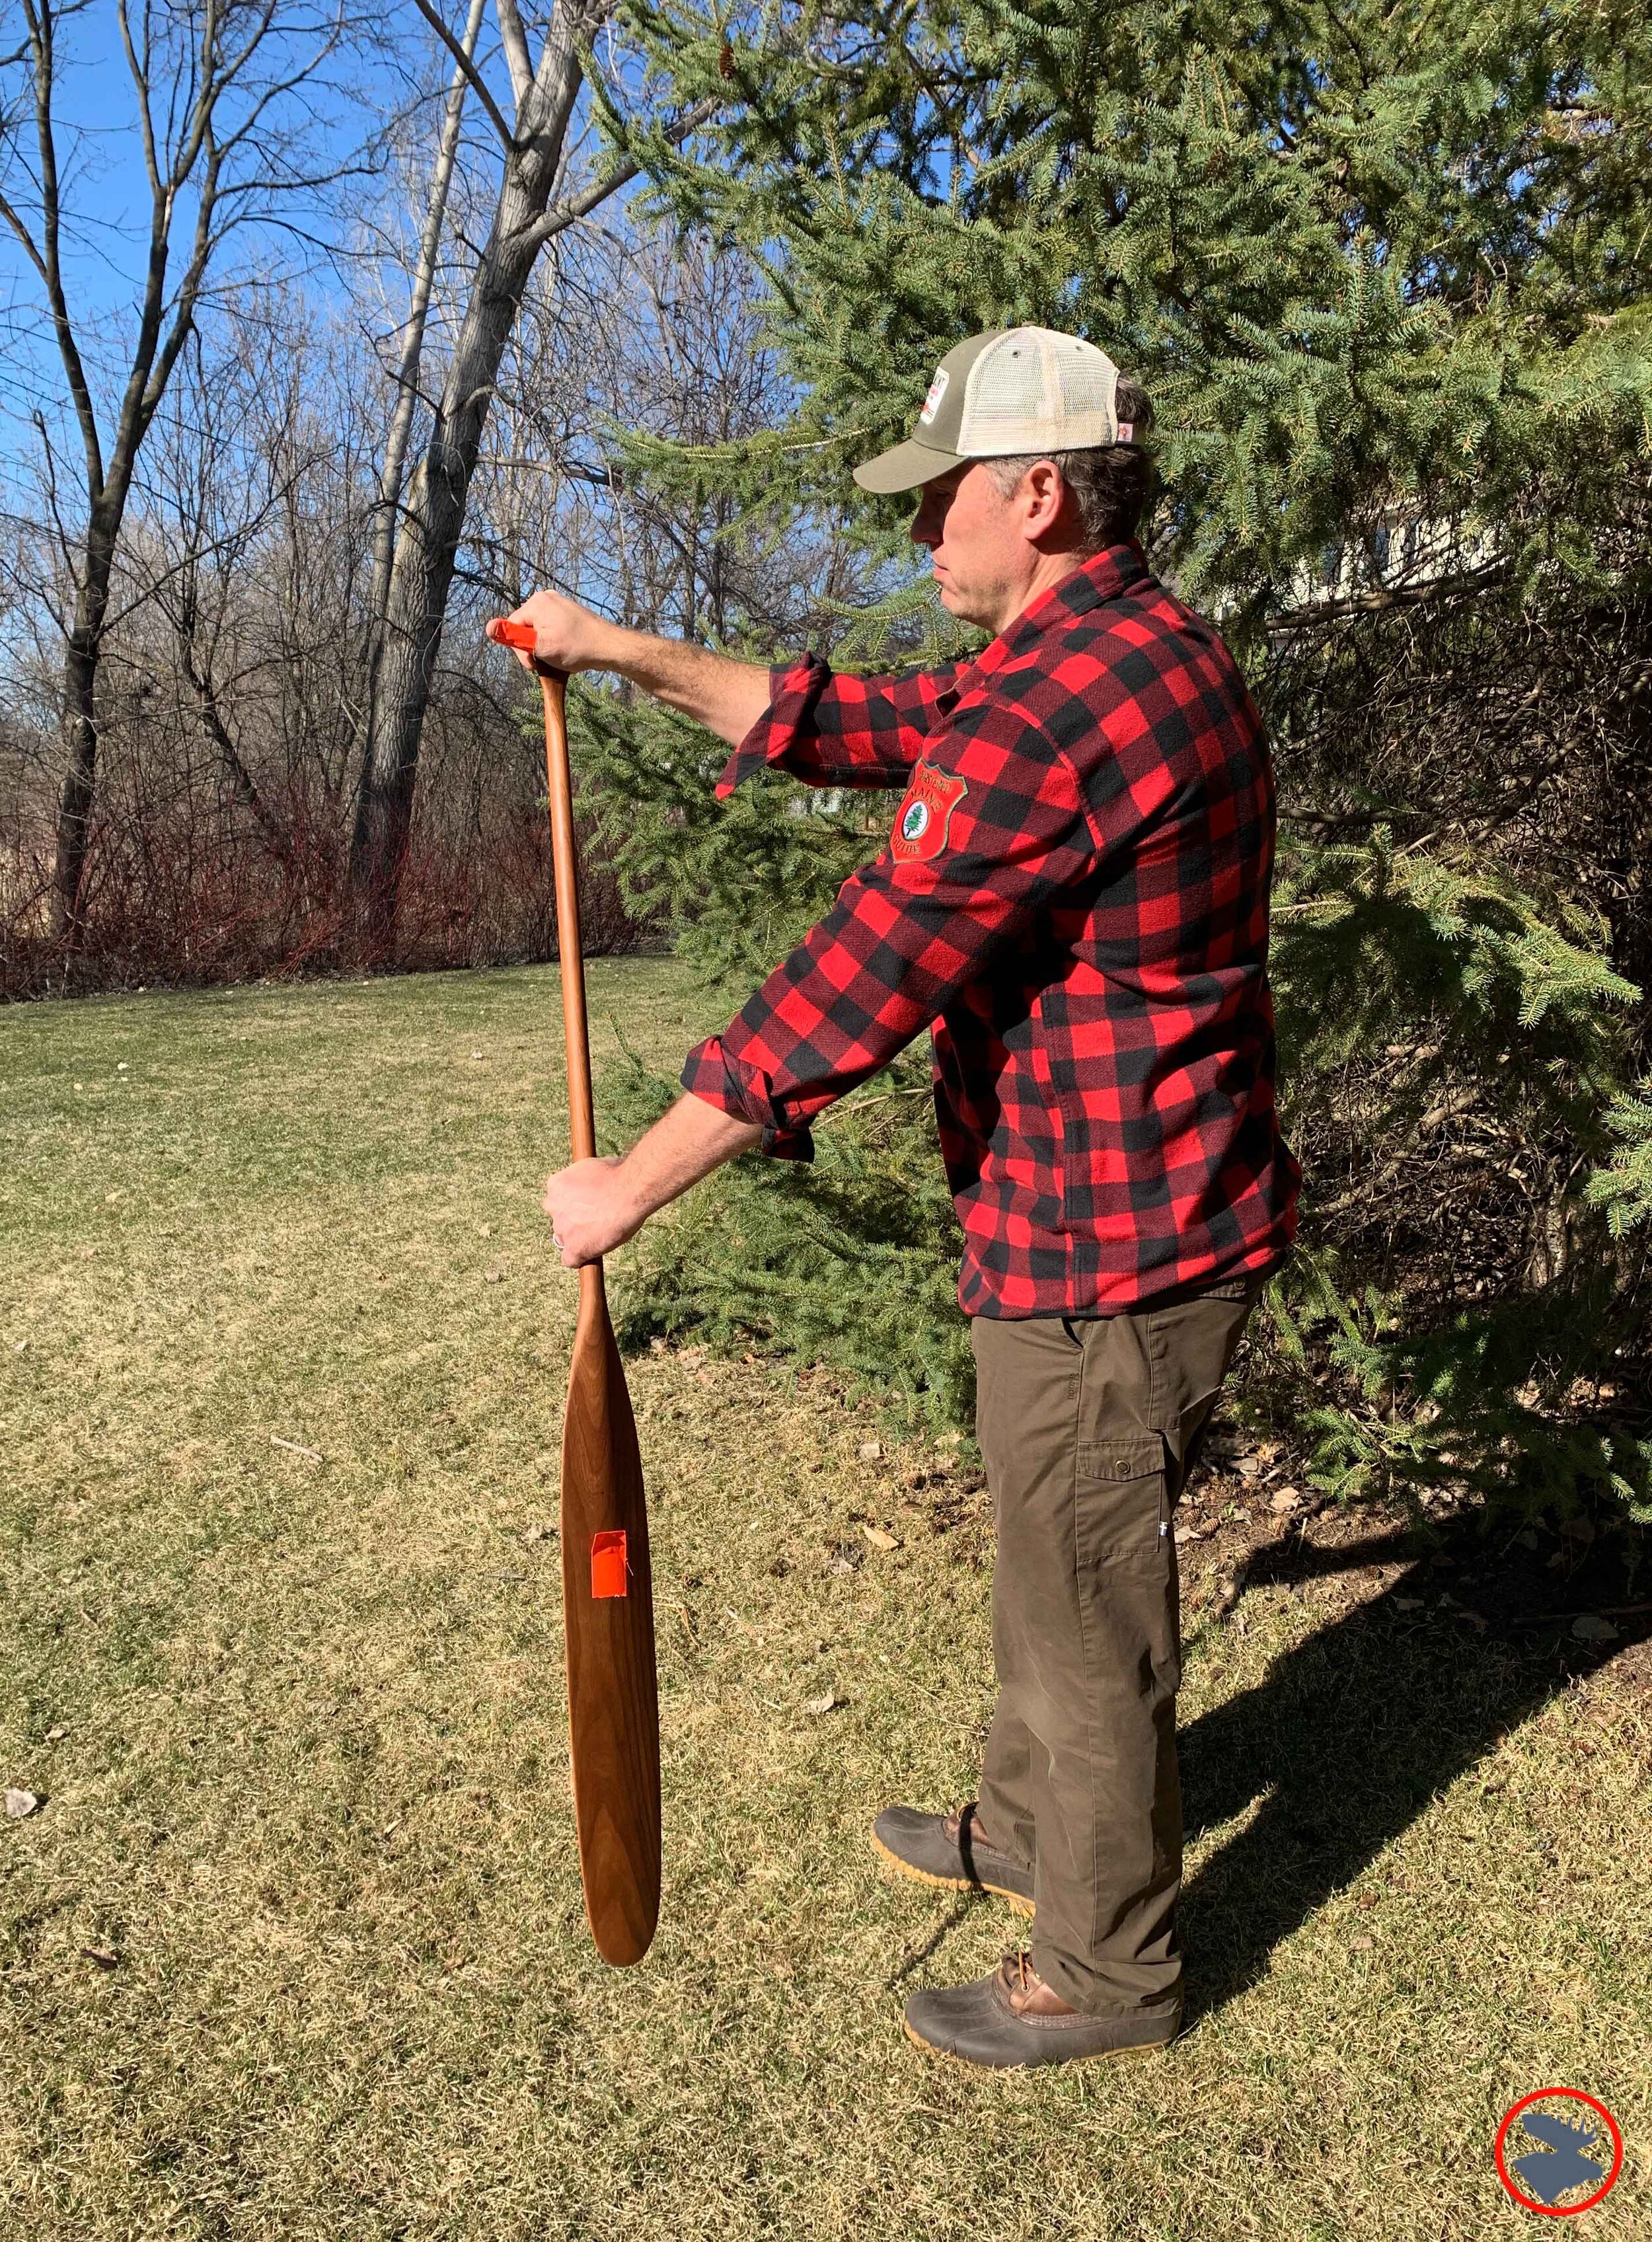
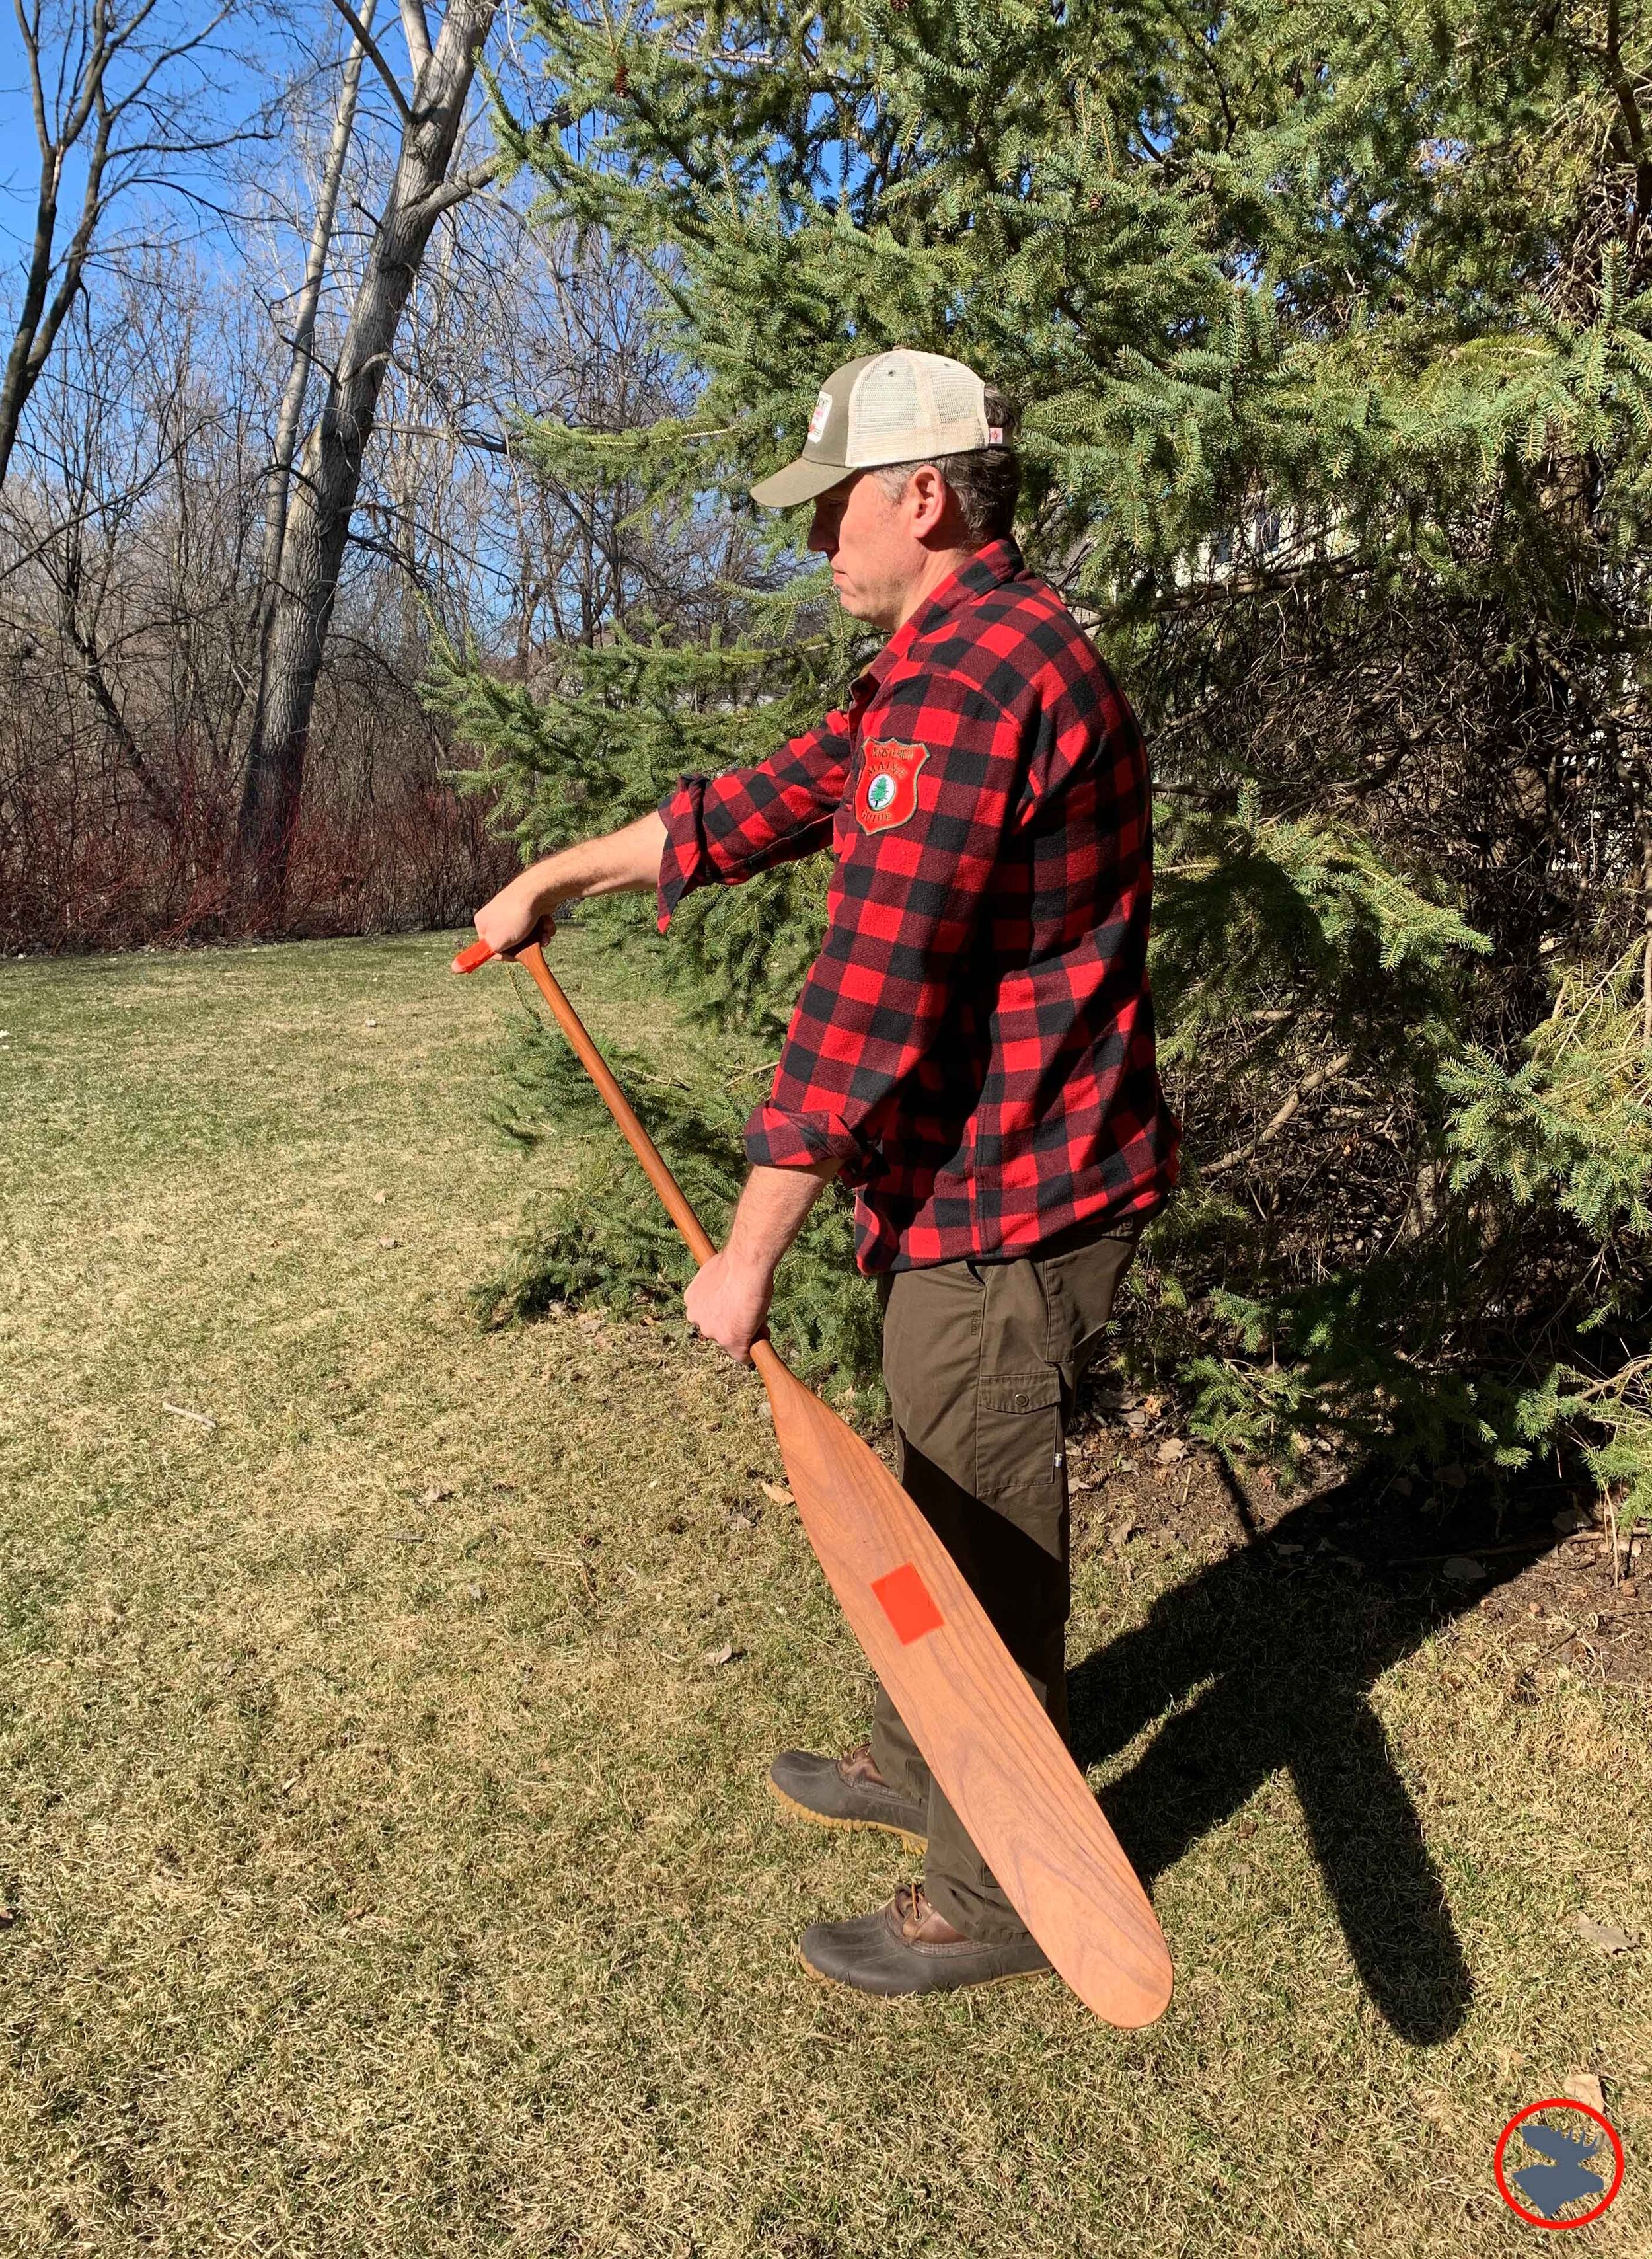
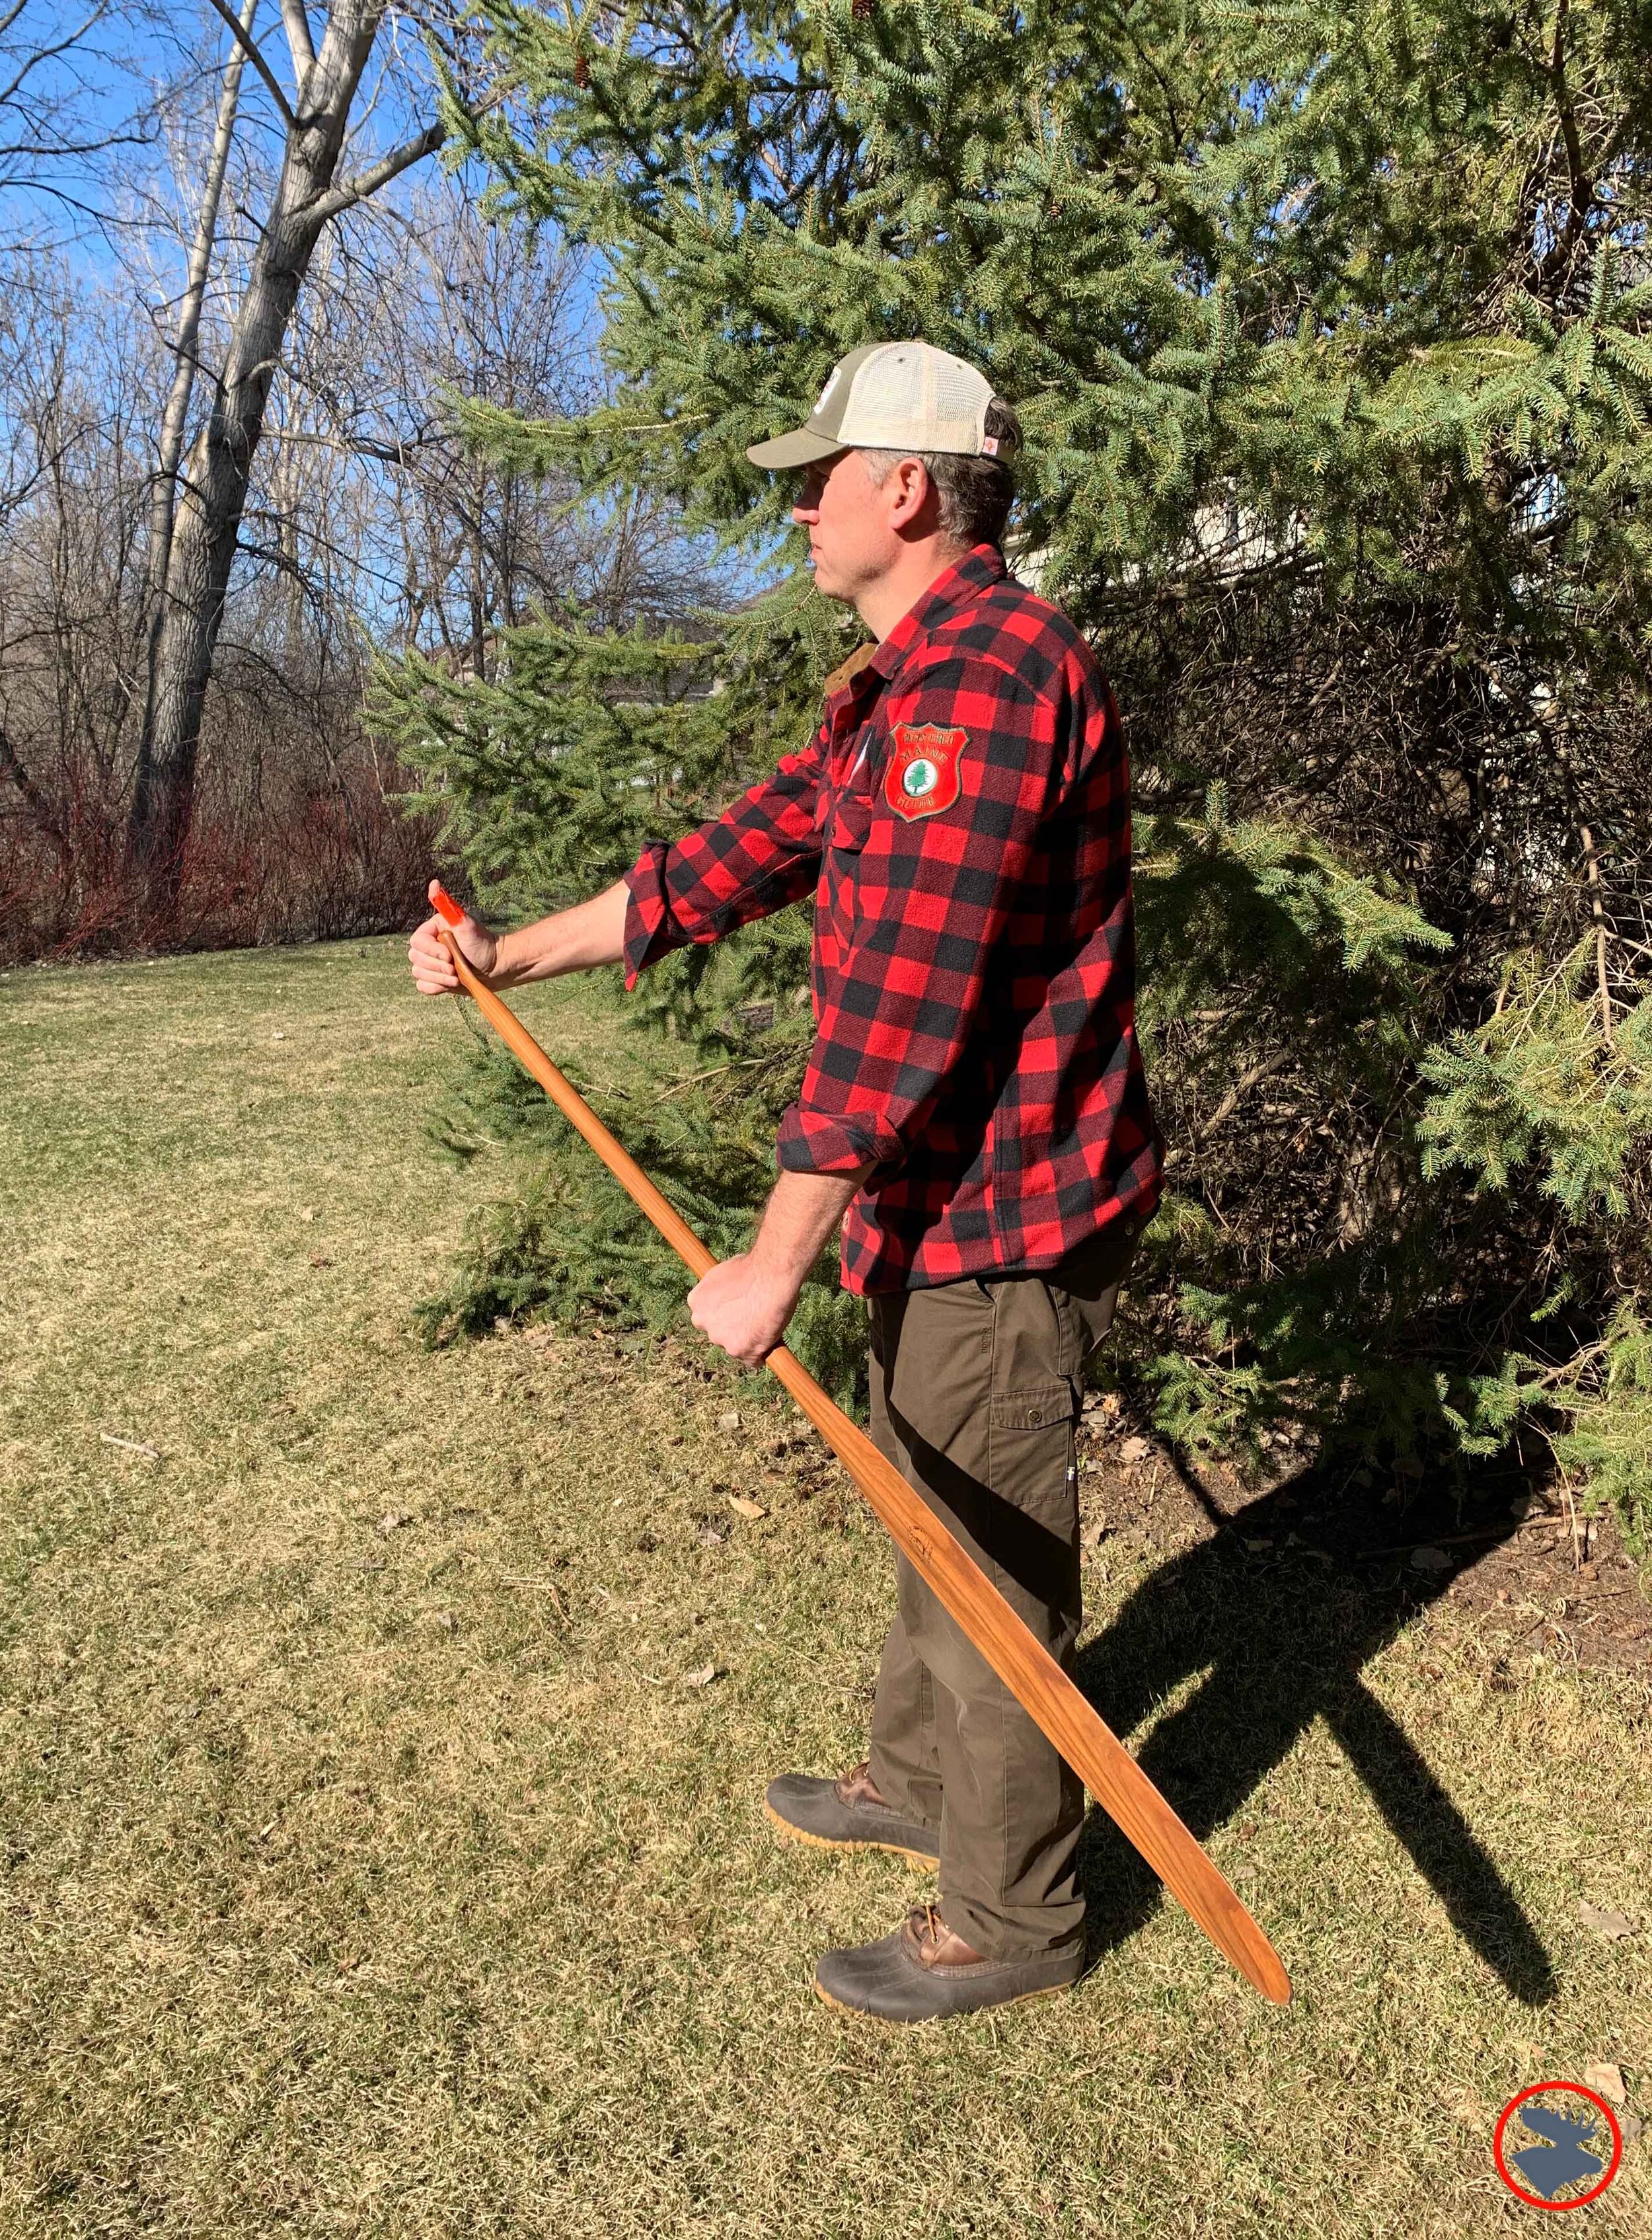
Be careful though! Does your top hand thumb end up pointing toward the sky? If so, you are likely doing the “Goon stroke,” and dumping your blade’s purchase on the water and transitioning into a rudder. This works, and in fact is commonly used as a powerful “River Pry” in whitewater, but is clumsy for flat water cruising because it frequently creates a drag (and will have canoe snobs snickering behind your back). Note the orange tape in the photo below. When the orange thumb is up and the orange on the blade is visible, it’s a J-stroke. When the thumb is down, and no orange is showing on the blade, it’s a Goon stroke.
Cross-draw and draw strokes. Many people think the stern paddler does all the steering and the bow paddler is just there for muscle and good looks. Not so. On rivers, having a bow paddler who can effectively perform two simple strokes, the draw and cross-draw, is a huge advantage. The cross-draw is not complex, but here again, when on the river, bow paddlers who haven’t practiced this stroke often become discombobulated in the heat of the moment. It’s not just for rivers either. Many of the favored Boundary Waters and Algonquin touring canoes are flat and turn like barges. Having a bow paddler who can deftly add in a nice static draw or cross-draw can really add to the paddling ease.
Eddy turns and ferrying. You’re less likely to practice these canoe river maneuvers on dry land, but understanding all the factors at play, including river currents, angles and tilting, speed, and strokes, can feel like a complex math problem. If you don’t have a thorough understanding of what needs to happen to pull off these fun and useful river techniques, hit the books so you have it down conceptually before you’re on the river. Bill Mason is still one of my favorites on subject, and he has some great books detailing various paddling techniques. Don’t like to read? You’re in luck! His instructional films are even better!
Canoe poling: pole recovery and crossover snubbing. When you’re learning to pole a canoe, you have a lot to contend with while trying not to get dunked. There are two fairly simple but important steps you can practice on dry land that will help your pole game. When snubbing down river, getting your pole jammed on a cross-bow snub can clothesline you and send you out of the boat. I’ll often do a quick warm-up on the riverbank of switch sides with the pole to help prevent me from lazily going for a cross-bow snub in a dicey downriver situation.
When huffing and puffing on your climb upriver, you want a very smooth and efficient pole recovery to set yourself up for the next plant and push. Practicing your “pool queue” and “windmill” recoveries in the backyard will have you well prepared for your next poling adventure.
Canadian & northwoods strokes. While the J-stroke is effective, these somewhat mysterious old-time regional variations of the J-stroke are worth learning to increase your paddling skill set. The Canadian—at least my interpretation of it—is my favorite long-distance cruising stroke, especially for solo paddling.
For more information about these wilderness skills, check out my recent chat with WTIP radio: